
Table of Contents
How To Connect A Garage Door Opener To Your Car?
How To Connect A Garage Door Opener? Many newer cars come equipped with technology that allows you to connect your garage door opener to the car. This is very simple and requires no technical knowledge. Simply press the desired HomeLink(r) button in your vehicle for one second and then press the “Program” button on the opener. The long and round LED lights should flash blue and then turn off.
Installation:
If you are new to DIY garage door opener installation, follow the instructions in your owner’s manual as closely as possible for a safe and successful project. Before starting, make sure there is a grounded 120V electrical plug in the ceiling near where the opener motor will be mounted (or have one installed by a professional). It is also important to understand how the safety system works and how to adjust opening and closing force.
Once the rail is assembled and attached to the garage door frame, mount the carriage tube (where the carriage travels when operating the opener) and power unit to the ceiling. Most manufacturers require blocking of framing members where heavy components will be placed under stress to prevent swaying and vibration that can interfere with the operation of the opener. Be sure to have scraps of 2×4, 2×6, and plywood on hand for this purpose.
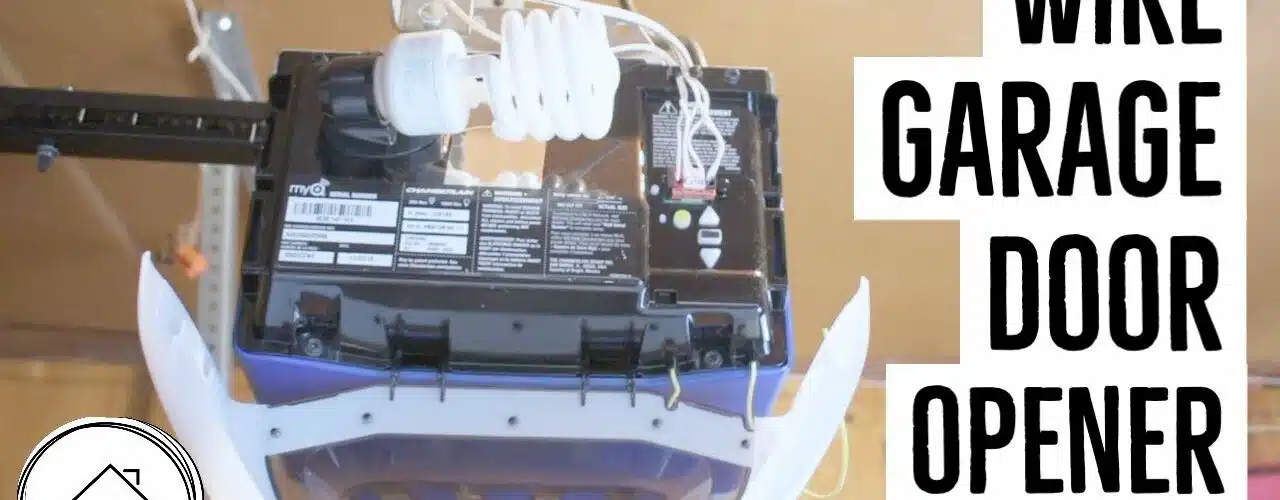
Next, program the garage door opener for your home’s existing remote controls or for a HomeLink system in your car. To do this, locate the square programmer button on the opener motor unit. Press and hold the button while pressing the remote button you want to program until the indicator light on the opener starts flashing slowly and then begins to blink quickly. Repeat the process for any additional HomeLink buttons you wish to program.
Troubleshooting:
There are a variety of reasons why your garage door opener may not be functioning properly. In many cases, a quick troubleshooting process can help get your opener working again. It’s always best to consult the instructions manual for your specific brand of opener if you’re having trouble.
Make sure that the remote control batteries are charged and in good condition. If the problem persists, it’s time to replace them.
If you can close the garage door using the wall switch, but it won’t open with the wireless transmitter or keypad, there could be a problem with the safety sensors. Check that they aren’t blocked, misaligned or dirty. Also, make sure that they are positioned so that the long and short sensor wires aren’t touching each other. If the sensors are touching each other, it’s likely that they are dirty and will need cleaning.
The next issue to look at is the motor itself. If it’s not operating at all, the most obvious explanation is that it’s unplugged. This can be verified by looking at the plug coming out of the motor to ensure that it’s plugged in properly. It’s also possible that the GFCI or circuit breaker that powering the garage opener has tripped or burned out.

Finally, the motor limit screws may need adjusting. If the door keeps trying to run into itself, you’ll want to tighten these screws. If the door only opens a few inches, then stops and goes back down, this is probably due to the photo-eye sensors being obstructed or dirty.
Repair:
If you find that your garage door opener isn’t working, it can be easy to troubleshoot. Start by ensuring that the remote control batteries are fresh and that the sensors are properly aligned. Then, if needed, lubricate moving parts, check and reset travel limits, and re-program your garage door opener using the “Learn” button (see your owner’s manual for guidance).
Lastly, ensure that your opener is connected to an electrical outlet. If it isn’t, connect it to a nearby power socket or call a professional for assistance.
It’s also possible that the signal from the Remote to the opener has been disrupted. Make sure you’re less than 20 feet away from the opener and that the antenna is clear of debris. Finally, if your opener is old or worn out, it may be time to replace it. If this is the case, it’s easy to find new models at your local hardware store or online. Once you’ve found the model that best fits your needs, the programming process is simple – simply follow these general guidelines and consult the manufacturer’s manual for specific guidance. Note that if your garage has a torsion spring, you’ll likely need the help of a professional. This is a dangerous operation that should only be done by a qualified professional. Also,
Replacement:
When you’re ready for a new garage Door opener, follow the manufacturer’s instructions. You’ll need to put the rail together, and then slide the carriage (also known as a trolley) onto the rail; this is the part that moves along the rail and pulls the door open. Be sure to support it on the floor or table – it’s heavy! Once it’s in place, feed the belt or chain through the rail and around the motor. The screw at the end of the belt or chain allows you to adjust the tension.
If the opener’s battery is dead, you’ll need to reset the opener code using its programming buttons. You can also use your car’s HomeLink system to connect your new opener to a compatible vehicle.
Blocking is a necessity; make sure the blocking is on studs in the ceiling, not just sheetrock. The blocking will prevent the door from crashing into the ceiling or wall when it’s opened or closed. You’ll also want to adjust the closing force; if the opener is slamming into the wall when it closes, increase this setting. It can take some experimentation to get the force right; remember that it’s best to make very small adjustments, and retest often. Finally, be sure to replace the light bulbs with “rough service” versions; these can withstand vibration better than LEDs or CFLs.


Add comment