
Table of Contents
How To Connect A Wireless Controller To Switch?
How To Connect A Wireless Controller To Switch? While the Switch comes with a pair of Joy-Con, it also supports Pro Controllers and other wireless game controllers. This guide will cover how to connect and re-pair them with the console.
Most people are familiar with how physical wireless controllers work, managing multiple access points. However, many clients may find that a physical WLAN controller is either too expensive or overkill for their needs.
Features Of Connect A Wireless Controller To Switch
- The Nintendo Switch comes with a pair of Joy-Con that can be used as wireless controllers. But the Pro Controller and third-party alternatives are available. Adding extra controllers can make local multiplayer easier. And it’s possible to use the console with Bluetooth headphones or a wired headset. Pairing a new controller is relatively easy, but the process can be confusing if you’re not familiar with it. In this article, we’ll walk you through how to connect a wireless controller to a Switch in handheld mode. Or while the system is docked. We’ll also discuss how to reconnect a controller after waking. The console from Sleep Mode or disconnect it when you’re done playing.
- While you can buy the official Nintendo Switch Pro Controller for around $70. There are plenty of third-party options that provide a similar experience for significantly less money. For example, the PowerA WX4 is an excellent choice that’s designed to be both comfortable and precise, and it supports both Bluetooth and 2.4GHz wireless connections. Its USB-C port allows you to charge it while using the controller, and it has an LED indicator that lets you know when it’s connected to a computer or to the Switch. Moreover, it’s a snap to connect to the console by opening the “Controllers” menu on the home screen and pressing the sync button near the USB-C port. You’ll need to press the button until the controller lights begin to flash.
1. Connect the Controller to the Switch Dock
When playing a game on the Switch, you can use wireless controllers for added comfort and precision. However, if you want to play with friends or at home, you’ll need to connect the controllers using a USB cable. The process is easy and can be done in a few steps.
To begin, ensure that your Switch is docked and connected to a TV or monitor in tabletop mode. Next, select ’Controllers’ from the home screen and then ’Change Grip and Order’. The Switch will now begin looking for wireless controllers to pair with. Once this has been done, grab your wireless controller and locate the sync button, which is usually on top or back of the controller. Press and hold this button until the lights on your controller start flashing, indicating that it is in pairing mode.
You’ll need a USB-C adapter that supports Bluetooth, such as the Mayflash Magic-NS Wireless Controller Adapter or the 8Bitdo Wireless USB Adapter. Both of these devices support a variety of different consoles and can even be used with Wii remotes or DualShock controllers.
The adapter you’re using will have a male USB connector that plugs into one of the two USB ports on the left side of the Switch (or the single USB port on the right side of the Switch OLED). Once plugged in, press and hold the small button on the adapter until a purple LED starts flashing.
2. Turn on the Switch
While it is possible to connect a wireless controller to the Switch, you need to be sure that the console is on before the controller can be paired. You can do this by plugging in the charger or by pressing the power button on the console itself. Once the controller has been paired, you can disconnect it from the USB cable and use it wirelessly.
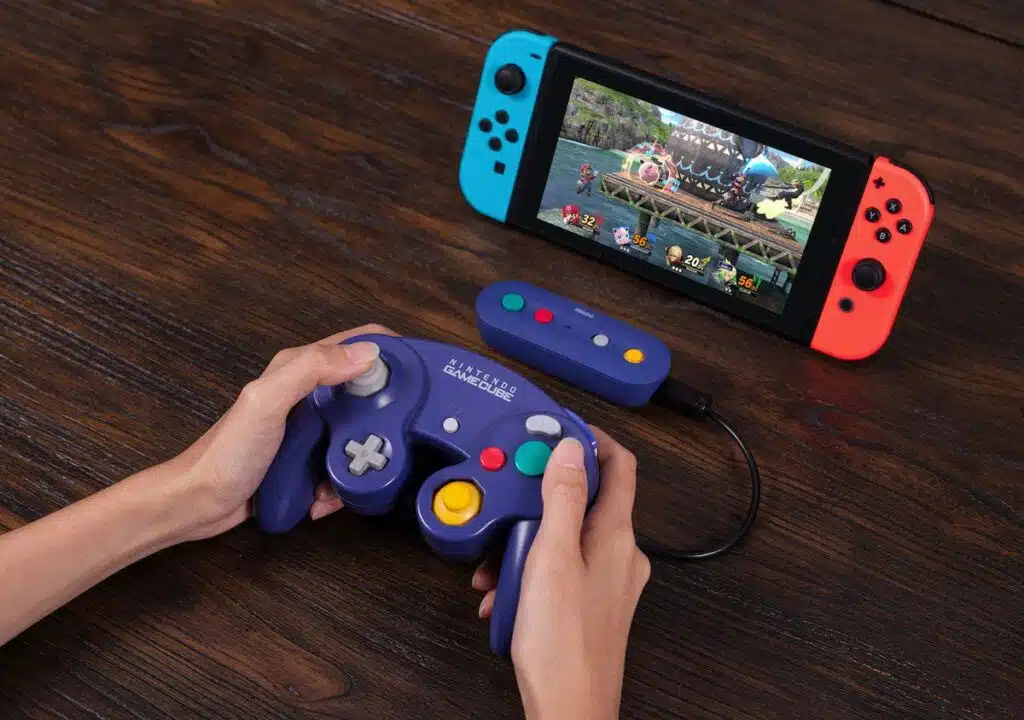
You can also pair a Joy-Con to the Switch without a dock by using the Sync button on the controller. This will make the controllers appear on your screen, and you can select them from the menu to change their grip and order.
The only drawback to this method is that you can’t use the controllers while the Switch is in sleep mode. This can be a bit of a hassle for some gamers, especially when playing local multiplayer games.
The other option is to purchase a third-party adapter that can be used with the Nintendo Switch. These can be purchased online for relatively low prices, and most are compatible with several different systems. The Mayflash Magic-NS adapter, for example, can be used with the Switch, as well as Wii U controllers and even some older PlayStation 4 controllers. This makes it a versatile tool that is worth considering if you have a lot of older peripherals.
3. Press the Sync Button on the Controller
If the controller has a small, pin-sized sync button on the top or back (like the Wii remote), press it until the lights start flashing. This puts the controller in pairing mode, and the Switch will automatically detect it on its screen.
You can use the same method to connect any Xbox Series X or Series S controller to a Switch in tabletop mode, as long as it supports Bluetooth wireless. First, detach the controller from your console. Then, press and hold the small button on the adapter until it starts flashing purple rapidly. It’s okay to do this while the console is in docked or TV mode, though it’s important not to pull and drop the console itself if you are playing in tabletop mode.
If the adapter doesn’t have a small button, you can try pressing the Xbox home button on the controller itself. This will trigger it to enter pairing mode, but it may take a few seconds for the controller to pair with your console. Once the controller is paired, its player LED(s) will stay lit. You can then select it in the Controllers menu on your Switch, and you can change its grip and order if necessary. The maximum number of controllers that can be paired to a single console will vary by controller and features.
4. Change Grip and Order
A standard controller can work with a Switch, but you might want to go wireless for extra functionality and style. You can do this with a PS4 DualShock 4 or an Xbox One controller. As long as the adapter is plugged in and the switch is turned on. The instructions are a little different for each, but the process is the same.
With the Switch turned on and the adapter plugged in. You can open up the settings for each controller (Controllers > Change Grip/Order) to change the order of the buttons on the controller and to set which side it will be on. Once you’re done, the player indicator lights should show that your controllers are paired and ready to use.
You can also pair a controller directly with the switch via Bluetooth, using the home screen. The buttons or buttons you need to press vary depending on the controller. But usually, they’re the ‘L’ and ‘R’ buttons (named for the sides they’re on – Left or Right). After that, you need to select ‘Controllers’ from the main menu. Then choose the first option (‘Change Grip/Order’) and follow the onscreen instructions.
Do I have to use the little plastic railing attachments when playing with Joy-Con detached? They might make things more comfortable, but they’re not necessary to play the Switch.
Conclusion
Whether you’re using the detachable Joy-Con controllers or the official Pro Controller, pairing (and then re-pairing) these wireless gamepads can be a bit of a faff. But it’s easy to get things back up and running with a few simple steps.


Add comment