
Table of Contents
How To Connect Nintendo Switch To Monitor?
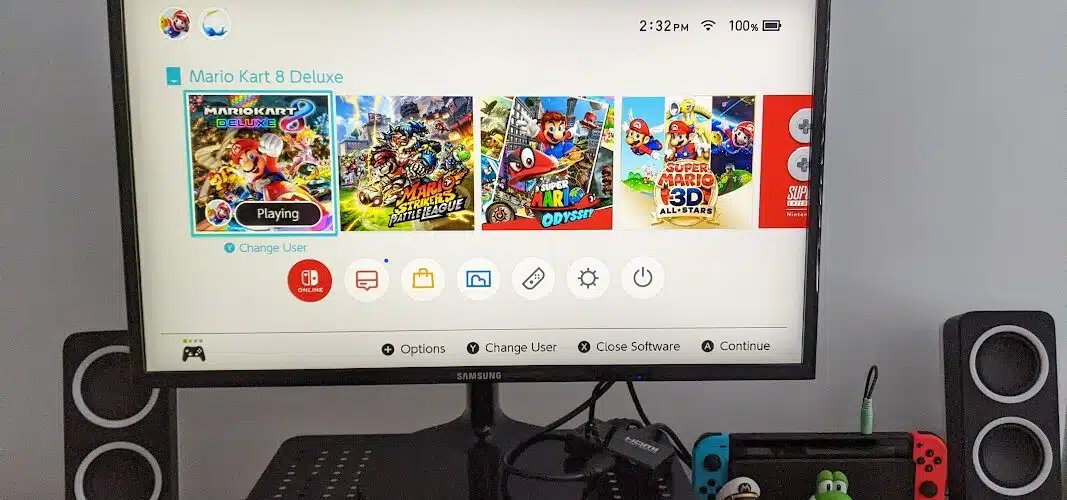
How To Connect Nintendo Switch To Monitor? Many Switch-exclusive games require a large screen, and some are even incompatible with TV Mode. Fortunately, there are a few workarounds that make it possible to connect your Nintendo Switch to a monitor.
This article uses an Elgato HD60 HDMI capture card and its free software, but any similar product should work. Follow the steps below to display your Nintendo Switch on a computer monitor successfully:
1. HDMI Cable:
The Nintendo Switch can be connected to a monitor using an HDMI cable. This method can provide many benefits, including a larger screen size, better refresh rates, and customizable settings. It can also help reduce input lag, which is sometimes experienced on the console’s built-in screen or some TVs.
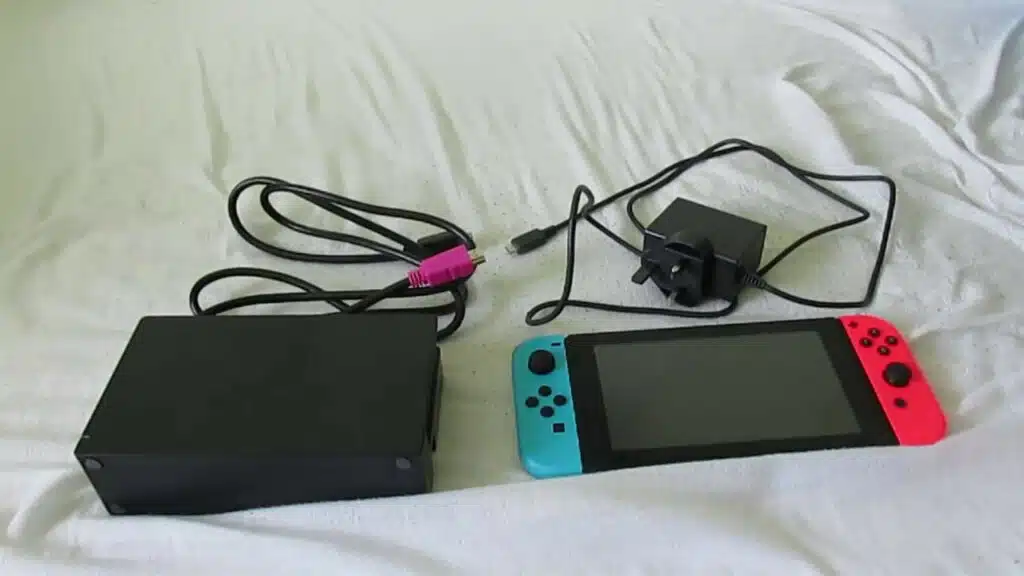
To connect the Nintendo Switch to a monitor, you’ll need the dock and an HDMI cable. Plug the dock’s USB-C cable into a power source, then plug the other end of the cable into the port on your monitor that’s labeled HDMI. You may need to select the HDMI input source on your monitor’s operating system display (OSD), which is usually found on the screen’s buttons.
If you want to record video from your Switch gameplay, you’ll need a capture card such as the Elgato HD60 S+, which has both HDMI in and out ports. The card can be used with either a Windows or a Mac computer, and it supports both Microsoft’s Xbox One and Apple’s iOS devices. Once the capture card is plugged into the USB-C port on your console, you’ll need to install a video recording program such as Elgato’s free Game Capture HD. After that, you’ll be ready to start recording your gameplay! The captured videos can be viewed on your PC’s monitor or the video recording program.
2. Dock:
Nintendo Switch can be connected to a monitor using the Dock that comes with it. The Dock enables you to connect the Nintendo Switch to a TV or monitor, so you can play your favorite games on a bigger screen. The Switch can also be connected to a laptop for more versatility. However, this can only be done if the laptop has an HDMI input port.
The first step is to plug the dock’s USB cable into a power source. Make sure that it is plugged in securely so that the connection is strong. Then, connect the other end of the cable to the HDMI port on your monitor. Make sure that the cable isn’t too tight or trapped behind the monitor because this can damage it. Also, make sure that the monitor is turned on.
Once you have plugged the cable in, you can connect the Switch to your Monitor. Make sure that you have a stable internet connection and that the game is running smoothly. Once the game is playing on your monitor, you can adjust its settings to optimize the experience.
The only problem with this setup is that you can’t use the Switch’s built-in speakers, but this isn’t a big deal since most modern monitors support Bluetooth audio. This is an excellent option for those who want to play their favorite Nintendo games on a PC monitor.
3. Power Cord:
If you want to play Nintendo Switch games on a PC monitor without using TV Mode, you can do so with the help of some additional hardware and software. This method uses a capture card and video-capture software to transfer the game’s image onto a computer monitor. The exact steps vary between capture cards and software, but most work in similar ways. It’s important to note that this process will consume a significant amount of power, so it’s best to plug your laptop into a power source during the operation.
To begin, connect the Nintendo Switch’s HDMI cable to its dock and plug the dock into a power source. Then, connect the other end of the cable to the monitor’s HDMI port. Make sure that the monitor is turned on and that its input is set to HDMI. Finally, open your video-capture software and configure it to display the Switch’s screen on the computer.
This guide uses an Elgato HD60 HDMI capture card and the free Game Capture HD software, but the instructions should be the same for other HDMI capture cards and video capture software. If you don’t have a suitable capture card, consider buying one online or at your local electronics store. These cards are portable, run off USB power, and have built-in speakers. They also support HDMI output, so you can use them as a secondary monitor for your laptop or desktop PC.
4. Monitor:
The Nintendo Switch can be connected to a monitor using the dock and an HDMI cable. This can provide several benefits, including a larger screen size, improved visual experience, and faster refresh rates. You can also use the monitor to customize your gaming settings and improve your gameplay.
To connect the Nintendo Switch to a monitor, you will need a HDMI cable and a dock with an LCD screen. The dock should have a connector on the front that plugs into the console. You will also need to ensure the HDMI cable is plugged into the correct port on the dock. Some older computers may not have HDMI ports, but you can use an adapter to connect the Switch to the monitor.
Once you have connected the Switch to the monitor, you can start playing your favorite games. To adjust the settings on the monitor, open the menu and select Settings. From there, you can change things like color balance, contrast, and brightness. You can also play around with the refresh rate and response time to optimize your gaming experience.
Using the Smart Device transfer function, you can also transfer photos and videos from your Switch to your PC. This is useful if you want to save a copy of your gameplay for later or to share with other players. Just select the media you want to transfer and follow the prompts on your operating system.


Add comment