
Table of Contents
How to Connect a Wireless Mouse to MAC:
If you have recently purchased a wireless mouse, you may wonder how to connect it to your MAC. First, you should make sure that your mouse has Bluetooth capabilities. Then, you should open the Bluetooth software on your computer.
Once you have the software open, click on the Devices tab and click on the Add button. Then, follow the instructions on the screen to pair your mouse with your computer.
Logitech MX Master 3 How to connect a Wireless mouse to MAC:
If you are wondering how to connect a Wireless mouse to your MAC, you have come to the right place.
First, you need to enable Bluetooth on your MAC. To do this, open the Bluetooth status menu in the Dock of your desktop. Select the Bluetooth tab.
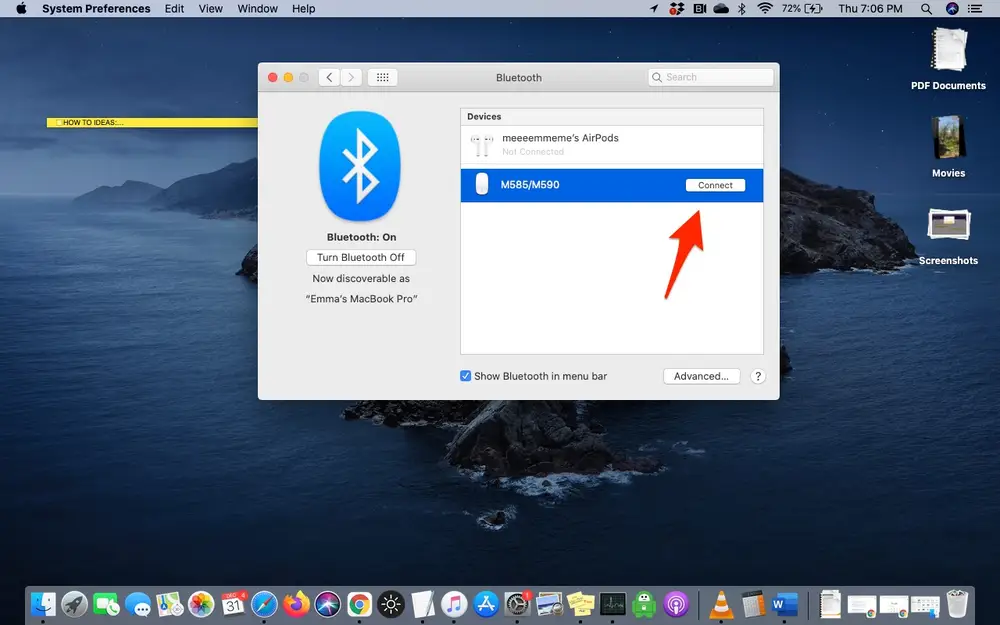
You’ll see your mouse’s name in the list. If the mouse’s indicator light is red, then it’s not connected. You can also plug in a wired mouse into your computer’s USB port.
Next, make sure that your mouse is fully charged. Also, remove the plastic from underneath the batteries.
If this still doesn’t help, try restarting your computer and updating your operating system. Once you’ve done these two things, you’ll be ready to use your wireless mouse.
You can also try to reconnect the wireless mouse with your MAC. The Bluetooth connection between the two devices will be restored once you reconnect the device to your Mac.
After connecting the wireless mouse to your Mac, you should receive a notification stating that the mouse has successfully paired with your Mac. If this doesn’t work, you may need to restart your Mac to make it work.
Logitech RF dongle:
To connect your wireless mouse to your Mac, you will first need a Logitech RF dongle. This dongle is small and connects to your Mac via Bluetooth. The mouse will display a device name in the Devices list after pairing. Next, you will need to open up the Bluetooth software.
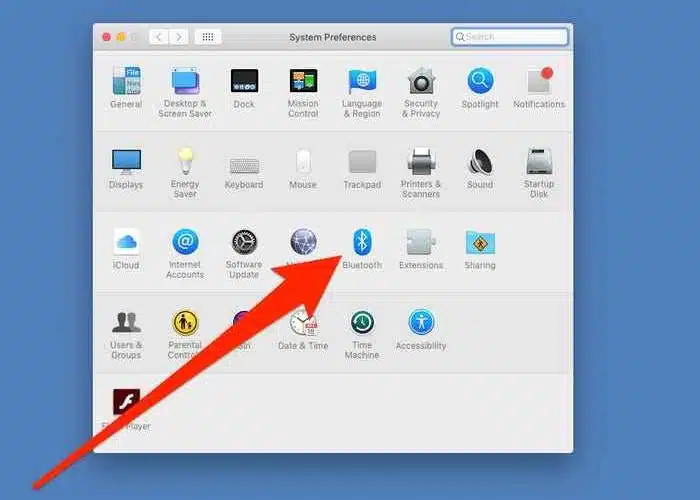
Click on the Bluetooth icon in the System Preferences. Now, click on the Bluetooth button and select Set Up New Device. Then, hold the mouse at least a few inches away from the Mac and click Continue.
Once the pairing process is complete, you should see your mouse on the screen and be able to use it on your Mac.
If you do not have a Bluetooth dongle, you can use another wireless receiver that works with your mouse. Logitech offers several different models of this device. One of the most common models has an orange logo, which makes it compatible with the Unifying protocol.
The Unifying receiver is also compatible with the Unifying protocol. The two receivers are compatible with each other, but you will need a compatible receiver to pair them with your Mac or PC.
Bluetooth how to connect a Wireless mouse to MAC:
If you want to connect a wireless mouse to your Mac, you can enable Bluetooth. However, if you don’t own a Bluetooth mouse, you might want to use a USB mouse. Here’s how to do that.
The first step is to restart your Mac. To do this, hold down the power button. Wait for a few seconds and then press it again to restart your computer. You will then see the Bluetooth status icon on the menu bar.
Connecting your Bluetooth mouse is easy, but you’ll need to follow some simple steps. First, make sure your mouse is turned on and discoverable. Once it is, you can start the connection process. In Mac OS, go to System Preferences, then Bluetooth. Select your device, click Connect, and then enter the serial number.
After a few seconds, the mouse will be connected to your Mac. You can also check if it’s connected by clicking the Bluetooth status icon on the Control Center, or by clicking the Bluetooth icon on the menu bar.
Also, If the Bluetooth connection doesn’t work, try restarting your Mac. If this doesn’t work, your mouse may need to be manually connected to your Mac.
If your mouse is not recognized, you may need to manually reconnect it by going to the Bluetooth status menu. You can also turn off your Bluetooth mouse by right-clicking it and selecting Disconnect.
USB-C to Lightning cable:
If you have a wireless mouse, you’ll want to find a way to connect it to your Mac using a USB-C to Lightning cable. Most mice nowadays have USB-C ports.
These cables are compatible with Apple MacBooks and iPhones, and they are perfect for charging your mouse.
If your wireless mouse doesn’t connect to your Mac right away, try turning it off and selecting it again. If this doesn’t work, disconnect your USB receiver and plug the mouse directly into the Mac. This should solve your issue. If you’re using a USB hub, you might also need to disconnect the receiver before connecting it.
First, open the System Preferences menu. You can also open the Bluetooth menu by double-clicking the mouse.
Once you’ve done that, click on the Bluetooth icon on the right-hand side of the menu. You should see the name of your new mouse there. After the mouse is connected, you can use it.


Add comment