

Table of Contents
How To Connect AirPods To Computer From HP?
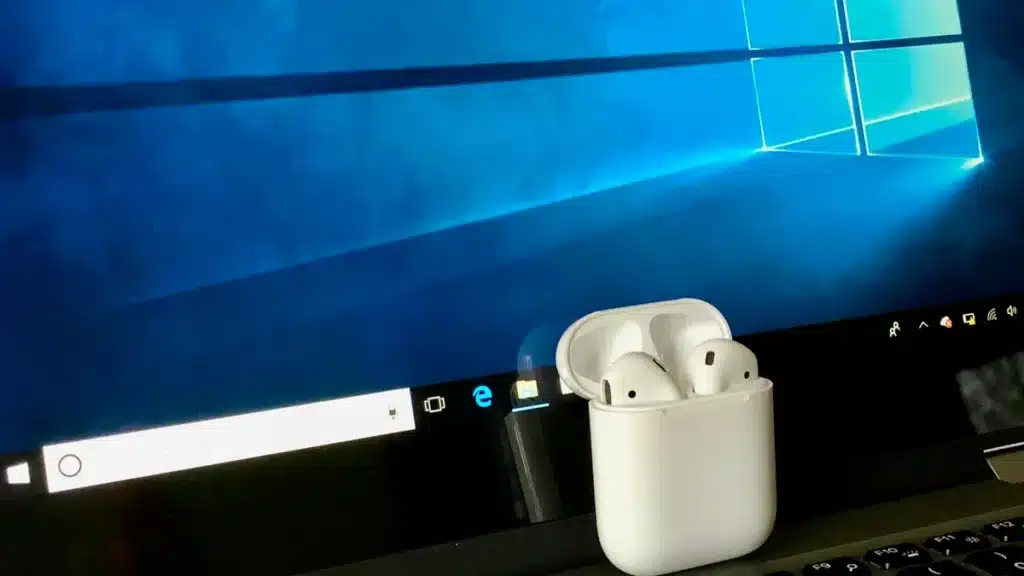
How To Connect Air Pods To Computer? Pairing AirPods to a Windows laptop from HP is an easy process. Just make sure your earbuds are in their charging case and follow the steps below for quick audio control.
AirPods automatically connect to any Apple device signed in with the same iCloud account and are capable of streaming music, watching videos, video calls, and more for hours of wireless listening.
1. Open the AirPods Case:
Once your AirPods are charged and ready to pair, open the case and press and hold the setup button until the LED light flashes white. Then, select your AirPods in the list of Bluetooth devices on your computer and click Connect. Once the connection is successful, you can use your AirPods with your computer and other Apple products.
If your AirPods are already paired with another device (such as an iPhone or iPad), they’ll automatically connect to your Microsoft computer when they’re within range. You can connect them to a different device manually through the device’s Bluetooth menu, if necessary.
To manually connect your AirPods to non-Apple Devices, make sure that Bluetooth is turned on and that your device is in pairing mode. Open the Settings app on your computer and select Bluetooth & other devices. Click Add a device and select your AirPods. Once your AirPods are connected to your computer, they’ll automatically connect to other devices that you select in the Bluetooth settings menu.
To permanently disconnect your AirPods from a device, follow the same steps as you would for connecting them to a new one. You can also disconnect them from a previous device through its Bluetooth settings menu. To reconnect your AirPods, open the Settings app on your computer and select Bluetooth.
2. Press and Hold the Setup Button:
Whether you’re using your AirPods to listen to podcasts on the go, watching a video, or participating in a Zoom call, you want to make sure that sound plays through them. This is especially important if you’re working in a noisy environment. If your audio doesn’t play on your Mac or PC, it may mean that your AirPods aren’t set up for Bluetooth. Fortunately, it’s a simple process to get your AirPods up and running.
First, make sure that both the AirPods and their case are charged. Next, press and hold the setup button on the back of the case. You should see the status light start flashing white. Once the status light turns white, you can proceed to connect your AirPods to your computer.
On your Mac, click Control Center from the menu bar and select your AirPods as your audio output device. This will ensure that all of the sound produced by your Mac will be played on them. For your convenience, you can also enable Conversation Boost, which allows you to hear the sounds of conversations around you when you’re on a call or in a meeting.
On your Windows PC, click the Settings icon from the taskbar and choose Updates & Security or System (for Windows 11). Then, open the Bluetooth & other devices menu. You should see your AirPods appear within the list of available devices, with a “Paired” or “Connected” indicator.
3. Wait for the LED Light to Flash White:
AirPods are wireless earbuds that are designed and manufactured by Apple. They are popular among users because of their convenience and great sound quality. However, like any electronic device, they can experience connection issues from time to time. If your AirPods are flashing white but won’t connect to your computer, here are some steps you can follow to fix the issue.
First, make sure that your Windows PC is Bluetooth-capable. You can do this by right-clicking on the Windows icon in the taskbar and selecting the Bluetooth toggle if it isn’t already on. Next, open the AirPods case and press and hold the setup button until the LED light on the case turns white. This light is located inside the case or on the front of it depending on the model you have.
Once the light on the AirPods case turns white, wait for a few seconds until the Add a Device menu appears on your Windows PC. Select Bluetooth from the list of devices and wait for the AirPods to appear in the list of available devices.
You can also connect your AirPods to a Mac computer by following the same process. Once you have successfully connected your AirPods to a Mac, you can start using them. If you ever encounter a problem with your AirPods, you can always contact Apple to get help or service for them.
4. Select Your AirPods:
Several tech improvements and updates from both Apple and Microsoft have made AirPods more compatible with Windows computers. Whether you’re working or listening to music, a simple connection is all it takes to enjoy high-quality audio. Just follow the steps below to get started.
Start by making sure your AirPods are charged and in their case. Open the lid and press and hold the small, circular button on the back of your AirPods or on the front of the case (AirPods Pro) until the LED light inside (or on the front of the case) flashes white. It can take up to 15 seconds for the AirPods to enter pairing mode.
Next, make sure Bluetooth is enabled on your computer. If it’s off, flip the switch to turn it on. Then go to your laptop’s Settings and select “Devices” or “Bluetooth & other devices.”
Once you’re on the Bluetooth & Other Devices page, click Add Bluetooth or another device. Then select your AirPods from the list of available devices.
Once your AirPods are connected to your Dell Computer. They should automatically connect to any other devices. You’re signed in using Apple Handoff — like your iPhone or Mac laptop. You can even switch between them. So you can listen to music on your MacBook while answering a call. On your iPhone or responding to an email on your iPad.


Add comment