
Table of Contents
How To Connect Canon Printer To Laptop?
How To Connect Canon Printer To Computer? However, connecting them to a laptop can be tricky. Thankfully, this detailed guide will walk you through the process.
Start by ensuring that your printer has wireless functionality. It should have a button that says “Wireless” or an antenna symbol.
Features Of Connect Canon Printer To Computer
- If you’re trying to connect your Canon printer to a laptop or computer, there are a few things you need to know. The first is that your printer and laptop must be on the same wireless network. Then, you’ll need to install the correct printer driver on your laptop. You can find the right driver on Canon’s website by searching for your product model and downloading it from there. After installing the software, you can begin printing documents and images.
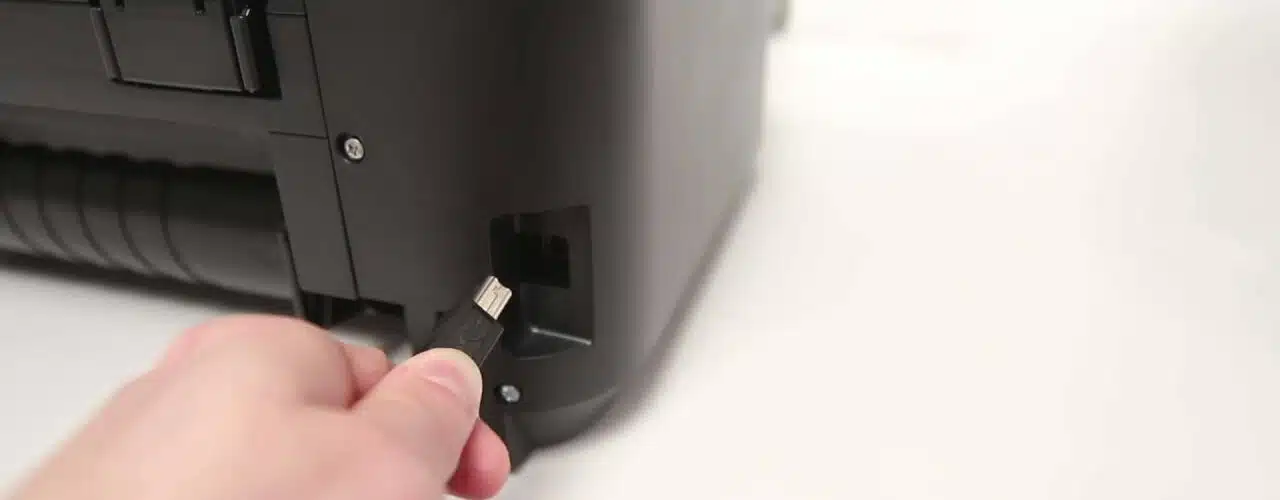
- Whether you’re connecting to an existing Wi-Fi network or using wireless direct, the process is relatively simple. Plug one end of the USB cable into the printer and the other into an available port on your laptop. Then turn on both the printer and laptop. You may need to restart your computer a few times during the process.
- Once the installation is complete, you can verify that the connection is working by opening the Devices and Printers (Windows) or System Preferences (Mac). Your Canon printer should be listed. If it’s not, you may need to download and reinstall the drivers. If the problem persists, check for updates for your security software. I’ve seen it wreak havoc with HP printer software before.
1. Connect the Printer to Your Computer
Printers are essential tools for individuals and businesses who need to produce physical copies of documents, images, and other materials. They can be used to print in high quality and provide a professional look. Printers are also useful for those who are trying to digitalize their documents and images. They can be connected to a computer or laptop via a wired USB cable or over Wi-Fi. The process of connecting a Canon printer to your computer is simple. The key is to prepare adequately, ensuring that your devices are compatible and that the printer drivers are updated.
Start by identifying your printer model number, which can be found on the back or bottom of the device. This will help you find the correct printer drivers and installation instructions for your specific model. Next, plug the printer into an available power outlet and turn it on. Then, connect the printer to your computer using a USB cable (if you’re using a wired connection) or over Wi-Fi (if you’re using a wireless connection). Finally, install the printer driver on your computer to complete the process.
If you’re using a wireless connection, refer to the instructions in your printer’s manual for detailed information on connecting to your home network Click + and follow the on-screen instructions.
2. Install the Printer Driver
Whether you’re printing photos or documents, a Canon printer offers reliable performance and vibrant prints. But connecting it to your laptop can seem like a challenge. Fortunately, it’s quite easy. The key is to prepare adequately and ensure your devices are compatible. To connect your Canon printer to your computer, you’ll need a USB cable (for wired connections) or a Wi-Fi connection and a network name and password (for wireless setups). You’ll also need the latest driver software. Download this from the manufacturer’s website and follow the installer instructions.
Among the most popular printers on the market are those from Canon, a company known for its photography and photo-related products. The company makes inkjet and laser printers in a variety of colors and sizes, from budget options to more expensive models.
The PIXMA TS8320 is an all-in-one photo print ideal for everyday printing and features built-in Wi-Fi for wireless printing. It comes with a large selection of ink cartridges for high-quality photos. Its low cost and ease of use make it a great choice for home use. Its compact design and ability to print square photos are additional pluses.
3. Connect the Printer to Your Network
Canon printers are well-known for their high image quality and fast printing abilities. They also come with the ability to connect to both wired and wireless networks. In this blog, we will learn how to connect a Canon printer to a laptop using both wired and wireless connections.
The first step in connecting a Canon printer to your network is to connect it to your router. The most common method involves connecting the printer to an existing Wi-Fi network, but you can also use a wireless direct connection if you don’t have a Wi-Fi router. If you’re unsure how to connect the printer to your network, check the manufacturer’s website for specific instructions.
Once the printer is connected to your router, you can connect it to your computer using a USB cable (if applicable) or by following the on-screen instructions. Once the installation process is complete, you can print documents from your Canon printer on any device on your home network.
If you’re having trouble connecting your printer to your network, try restarting your computer. This can help resolve many issues, including problems with installing the printer driver. You can also try changing the wireless network settings on your printer to see if this helps. If you still have trouble, try contacting your router manufacturer for further assistance.
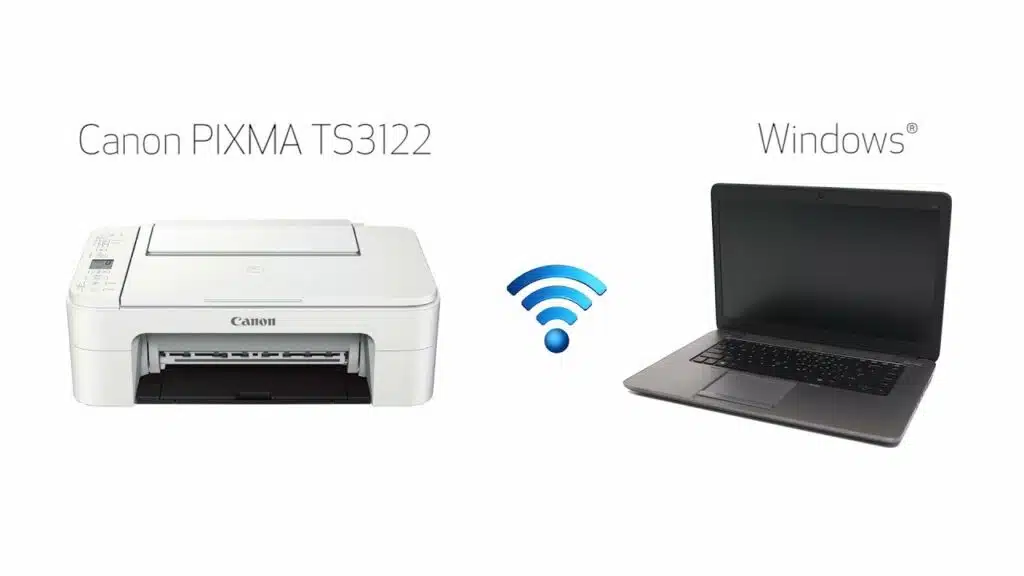
4. Connect the Printer to Your Laptop
You can connect the printer to your laptop wirelessly or by using a USB cable. The method you use depends on the type of printer and your network configuration. Check your printer’s instruction manual for specific instructions.
If you’re using a wireless connection, connect the printer to your home Wi-Fi network. You should also make sure that the printer and your laptop are on the same network.
Once the printer is connected to your network, open the Settings app on your laptop. Click Devices and Printers or System Preferences > Printers and Scanners, depending on the operating system you’re using. Add the printer to your computer by clicking + Add a printer or scanner. If Windows asks you to install drivers, follow the on-screen instructions.
Once the driver is installed, you can print from your laptop. You can also use a mobile app to print from your tablet or smartphoneKeepingep the printer and laptop updated with the latest drivers and other software is important. You should also regularly clear any pending print jobs on your laptop to avoid a backlog. In addition, it’s a good idea to clean the printer periodically and replace any damaged parts
Conclusion
The company offers a variety of printers to suit different needs, including inkjet, laser, photo, and dot matrix models. Some of these models are also Wi-Fi compatible, allowing you to print documents and photos from your laptop or computer without the need for cables. However, setting up a wireless connection can be tricky, especially for newcomers to the world of printers.
First, you will need to make sure that both your Canon printer and your laptop are switched off. You will also need a USB cable, which is usually included with the printer or can be purchased from an electronics store. Once you have these items, follow the instructions in your printer’s manual to connect the devices. You can also visit Canon’s website to find a driver for your printer model and install it on your laptop. After completing this process, you can now use your Canon printer with your laptop and other computers.
.


Add comment