
Table of Contents
How To Connect Cricut To Computer Bluetooth?
How To Connect Cricut To Computer Bluetooth? Is a comprehensive guide for connecting your Cricut machine to your computer. It’s a simple process that requires just a few steps!
Before you begin, ensure that your machine is turned on and within 10-15 feet of the computer. Also, make sure that the wireless Bluetooth adapter is plugged in.
1. Turn on your Cricut:
If you’re new to crafting, connecting your Cricut machine may seem intimidating. However, following a few simple tips can make the process quick and easy. You can use a Bluetooth (wireless) connection or a USB cable. If you have questions, check your Cricut’s Quick Start Guide, watch our tutorial videos, or contact Member Care.
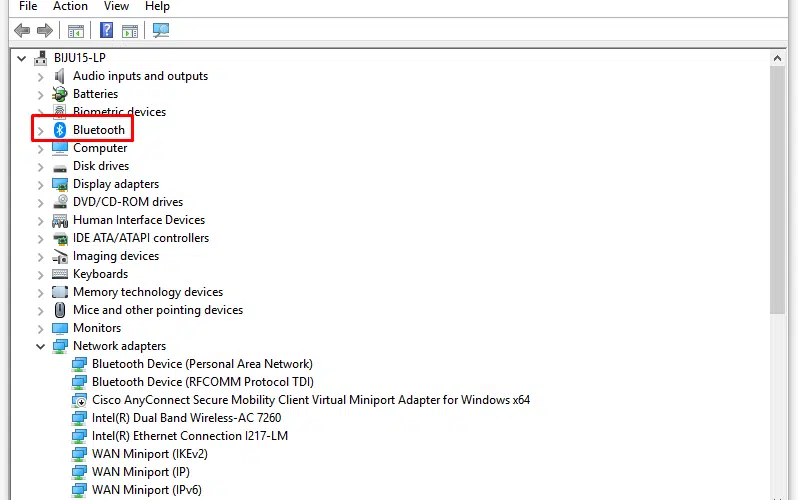
Ensure your machine is turned on and within 10-15 feet of your computer. If using a Bluetooth connection, make sure your computer is Bluetooth-enabled (check the System Preferences for a list of connected devices). Make sure the machine’s device code shows up in the list; this can be found on the bottom of the machine. If using a USB connection, make sure the cable is not causing an interruption in data flow and is plugged into the correct ports.
When prompted, enter the pin 0000 to start the pairing process. Once paired, your machine will show up as “Paired Gadget” in the Design Space app.
If the pairing process isn’t working, check to see if your machine has the most recent software update. If it doesn’t, download the latest version from your account in Design Space. Also, check to see that the machine’s power cord is plugged in and working properly. If it isn’t, try plugging the cord into a different outlet to rule out any potential power issues.
2. Connect your Cricut to your computer:
The first thing you need to do is make sure your Cricut machine is turned on and within 10-15 feet of the computer. Next, you’ll want to make sure your computer is Bluetooth-enabled (most computers are) and that the Bluetooth connection is on. If you’re using a USB cable, check the cable for any breaks or tears that could interrupt data flow.
Once your machine is connected to the computer, open the Design Space app and begin the machine setup process. Follow the on-screen instructions to finish the machine setup and get your Cricut ready for use. Once the machine is set up, you can start designing!
If you’re using an Explore or Explore One machine, be sure to connect the Wireless Bluetooth Adapter to your device before beginning the setup process. You’ll also need to install the Cricut Design Space App on your Android device and make sure that your Bluetooth is enabled. Once your device is ready to pair, select the “Add Bluetooth or other devices” option in Settings and wait for your machine to be recognized. When prompted to enter a PIN, select 0000 and then “Connect” to complete the pairing process.

After the machine is paired, it will show up under “Paired Gadgets” in your Apps and can now be used to create projects with the Cricut Design Space app on your Android device.
3. Pair your Cricut:
When you connect your Cricut machine via Bluetooth, it will ask you to launch the Cricut Design Space App. Once you do, follow the on-screen instructions to set up your machine and connect to your computer. Then, when the app is ready to begin connecting your machine to your computer, make sure your machine is within 15 feet of your device and that it’s powered on. When asked for a PIN, type in 0000 to start the process.
Once your machine is connected to the internet, you can start designing and cutting. You can use Design Space on any computer that’s running a supported version of Windows, Mac, or iOS. You can also access Design Space on any Android, iPad, or iPhone device that has the Cricut mobile app installed.
Ensure that your computer is Bluetooth-empowered. To do this, open the ’Devices and Printers’ window in your computer’s settings. Then, click the ‘Add a Bluetooth or other device’ button. Select the Cricut Explore Wireless Bluetooth Adapter or the Explore Air, Explore Air 2, or Cricut Maker Bluetooth module from the list and allow your computer to pair with it.
Once the connection is complete, a new window will appear asking for your consent to permit correspondence between your device and Cricut Design Space. Select the ‘permit’ option to proceed.
4. Start designing:
The get-started guide that comes in your Cricut box should prompt you to download and install the appropriate software for your machine. It will also give you a link to create a Cricut Design Space account. Once you have a Cricut Design Space account, you can start designing with your machine!
Design Space is a free software program that allows you to design and cut images for your Cricut. It is available for both Windows and Mac computers.
There are a few different kinds of images that you can use with Design Space. The most common are JPG, PNG, and SVG files. You can also upload a.DXF file if you want to make a drawing for your project. If you’re not sure which type of image you want to upload, you can check out the Image Library on the left side of the Design Space screen. This will show you all the images that are available to use with your machine.
Another thing that you can do with Design Space is add custom text to your projects. To do this, click on the Text Tool in the left toolbar. A blue box will appear that you can type into. You can choose from a variety of fonts to make your text look just right.
Another great feature of Design Space is that it will tell you what kind of blade you need to use for a specific material. This is a huge help when you’re starting! This will save you time and money by avoiding having to buy new blades all the time.


Add comment