
Table of Contents
How To Connect iPad To Projector?
How To Connect iPad To Projector? iPad-to-projector connectivity can be an invaluable asset to educators, professionals, and entertainers. Using either wired or wireless methods, this guide provides all of the knowledge and troubleshooting tips necessary to connect your iPad to its projector effortlessly.
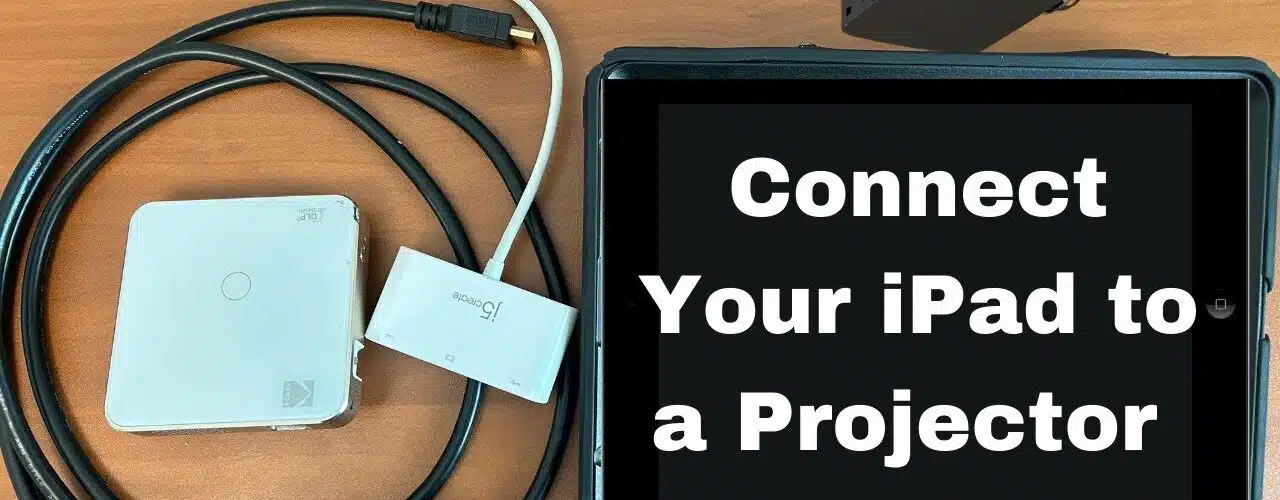
Connect an HDMI or VGA adapter to the dock or Lightning port of your iPad, with its other end connected to a projector.
Features Of Connect iPad To Projector
- Pairing an iPad and projector provides flexibility and portability in business, education, and entertainment settings. From business professionals on the move to educators in classrooms or presenters at conferences – using your iPad as an interactive display screen delivers an unforgettable and immersive experience to audiences everywhere!
- Some projectors feature a built-in smart platform or “screen mirroring” feature, enabling you to wirelessly connect an iPad and display its screen onto the projector via Wi-Fi using either Miracast, AirPlay, or Google Cast protocols; some older projectors may require wired connectivity instead.
- Current iPad models feature HDMI ports that make connecting them directly to compatible projectors or televisions simple and direct. To do this, an adapter and cable that match your iPad’s port type must be purchased – these may be purchased directly from Apple or third-party vendors, with many offering both HDMI and VGA connections.
- Newer iPad Pro models boast USB-C ports that make connecting them with a compatible projector via one cable easy. To take this approach, a suitable USB-C to HDMI adapter must match your iPad’s connector type as well as its cable; some adapters offer ports for power as well. However, this method only works if both your iPad and projector are on the same Wi-Fi network.
HDMI
No matter if you are an educator in the classroom or an executive in the boardroom, connecting an iPad to a projector opens up numerous possibilities for presentations, lessons, and entertainment. With the right cable or adapter, you can effortlessly showcase videos, images, documents, or any other form of media content on a large screen to captivate and leave an indelible mark on your audience.
There are multiple methods available to connect an iPad to a projector, including wirelessly via Airplay and wired with an HDMI cable. The first method requires either an Apple Lightning Digital AV Adapter (or a 30-pin to HDMI adapter for older iPad models) to be connected between your iPad and projector/TV/monitor – you may also need to plug a power cord if your adapter includes this capability.
To use the second method, a Nebula projector supporting Airplay on iOS devices and Wi-Fi connectivity are essential. Make sure both projector and iPad are on the same network before opening the AirPlay receiver app on the computer, selecting the projector from the list and following on-screen instructions until the connection is complete. You can then swipe up from the bottom (or top right corner on some iPads) or down in the top right corner (depending on the iPad model) of the screen to display the tablet’s display onto the projector screen mirroring feature.
VGA
While an iPad’s screen may be great for using Garage Band and watching movies from your couch, its limitations become increasingly cramped when sharing presentations or showing videos to a group. A projector provides the perfect solution: giving you more space for your content while giving viewers a compelling viewing experience.
Before, connecting an iPad to a projector meant using either an adapter cable or setting up an Apple TV box and configuring its mirroring feature to mirror its display. Now, most projectors support HDMI as well and newer models support Apple’s USB-C port directly supporting iPad connections. This makes syncing your display effortless!
First, power up both your projector and iPad. Connect an HDMI or VGA adapter from your iPad to its respective projector or monitor using a cable, and expect the device to detect and display your production automatically; otherwise, you may need to adjust settings on either or both.
This method works only if your projector supports both HDMI and VGA inputs, or has a USB-C port. If it does, a USB-C to HDMI or USB-C to VGA adapter can help connect it to an iPad; otherwise, simply swipe up from the bottom (or down from the top right corner on some iPads) to open Control Center, select your projector from its list, and tap “Control”.
Wireless
An iPad connected to a projector creates the perfect canvas for visual storytelling, be it presentations in the boardroom or enjoying movies with family and friends. Projectors are especially useful in educational settings where teachers can show apps or other third-party tools as a means to increase engagement and collaboration among pupils.
Connecting an iPad to a projector is easy; whether using wired HDMI, wireless AirPlay, or both methods. When using wired connections, simply attach your iPad via an HDMI adapter or cable directly into its HDMI port on the projector and access its Control Center before tapping “Screen Mirroring.” When connecting wirelessly via Wi-Fi network access point connection or select projector from the list in “Screen Mirroring”. You could also use an Apple TV instead for content display directly onto a projector screen.
Some projectors can connect directly to an iPad using only a single USB-C cable and adapter (depending on which type of display device). This method is similar to connecting a Mac laptop directly with a projector through its standard USB-C port.
Power
iPad is an invaluable tool for delivering presentations, showcasing creative work, or enjoying entertainment. Projecting an iPad screen offers a much larger canvas for viewing content with greater visual clarity and impact; connecting an iPad to a projector is straightforward with this guide providing step-by-step instructions on both wired and wireless connections.
Get the Appropriate Adapters
To connect an HDMI or VGA cable, an adapter may be necessary. The most straightforward way is using either the Lightning Digital AV Adapter that comes standard on newer iPad models or an older USB-C to HDMI adapter with power capability if applicable (referring back to Step 7 above). When plugging this adapter in, connect both ends of its cable directly into your projector – plug the other end directly into an adapter port of an older iPad model as needed). If your adapter includes power capabilities as well (additionally connect one with power), connect a power cable as needed (if applicable).
Once the appropriate cables and adaptors are connected, turn on both devices; turn the projector or display on while powering on your iPad; it should detect its connection immediately and begin mirroring to the screen automatically. If not, check the settings of both devices before making the necessary changes. Keep your iPad charged during its presentation to avoid unexpected disconnections from occurring; be sure to secure it on a stand or holder to prevent accidents from taking place.
Or you could use an Apple TV as an intermediary device and connect a wireless projector via AirPlay – giving greater flexibility and convenience, but requiring a network with sufficient speed to support streaming.
Conclusion
Connecting an iPad to a projector ushers in an era of seamless presentations, immersive entertainment, and dynamic visual experiences. Wireless integration between this dynamic duo frees you from cable limitations; effortlessly sharing your iPad screen in any environment without physical connections being necessary. This article will outline the straightforward yet impactful steps necessary for creating this wireless link allowing you to orchestrate compelling presentations, deliver captivating visuals, and take part in cinematic adventures with unprecedented ease and flexibility.


Add comment