
Table of Contents
How to Connect Laptop to TV Screen Mirroring?
How To Connect Laptop To TV Screen Mirroring? If your TV is smart, a wireless connection would save you some work. If it is not, you will need to use a wired one. Locate the video port on your laptop (it may be a mini- or micro- HDMI, Thunderbolt, or DisplayPort). Get an appropriate adapter and an HDMI cable.
HDMI:
If you have an HDMI TV and a modern laptop, screen mirroring is a great way to share what’s on the computer’s screen with your family. It’s a quick and easy process that works either wirelessly or via an HDMI cable, depending on your device.
The easiest option is to use an HDMI cable. If your laptop has an HDMI port (usually at the back), simply connect it to the TV using the cable. Most HDMI ports support both audio and video, so you don’t need a separate audio cable unless you want to.
This method is ideal if you’re giving a presentation or just need to work on something big while everyone else watches. The only downside is that the sound from your laptop will play through the TV speakers instead of your headphones.
Other connections include the old VGA port, which is still common on older laptops and some TVs, and the more recent DisplayPort, which can be converted to HDMI using an adapter. Many newer laptops also have USB-C, which you can use with an adapter if necessary.
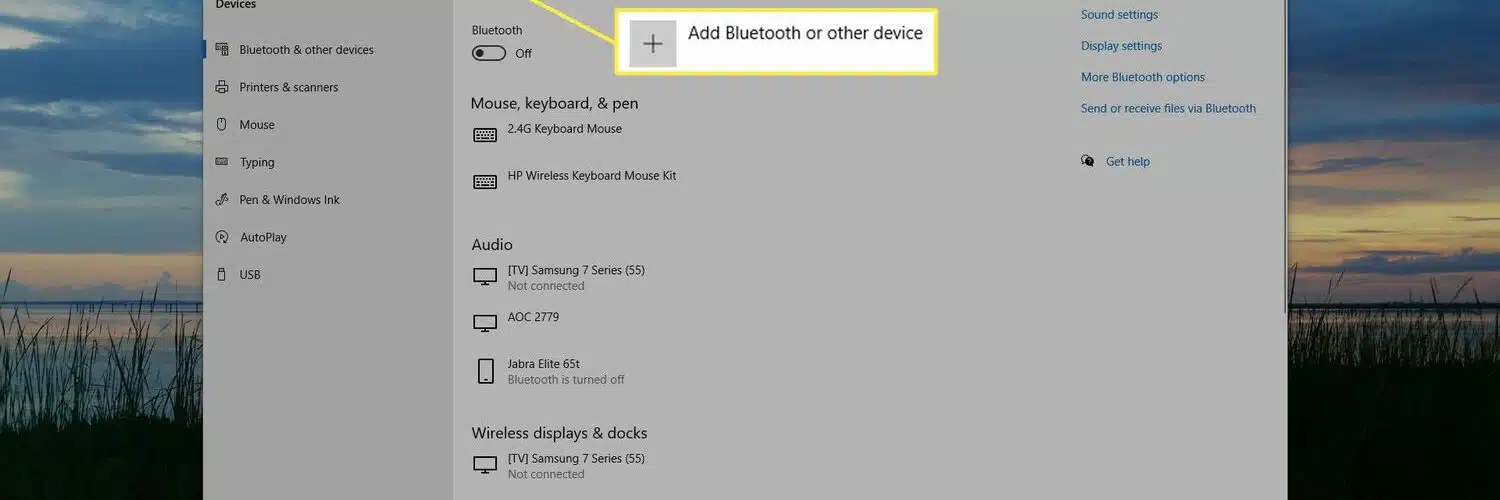
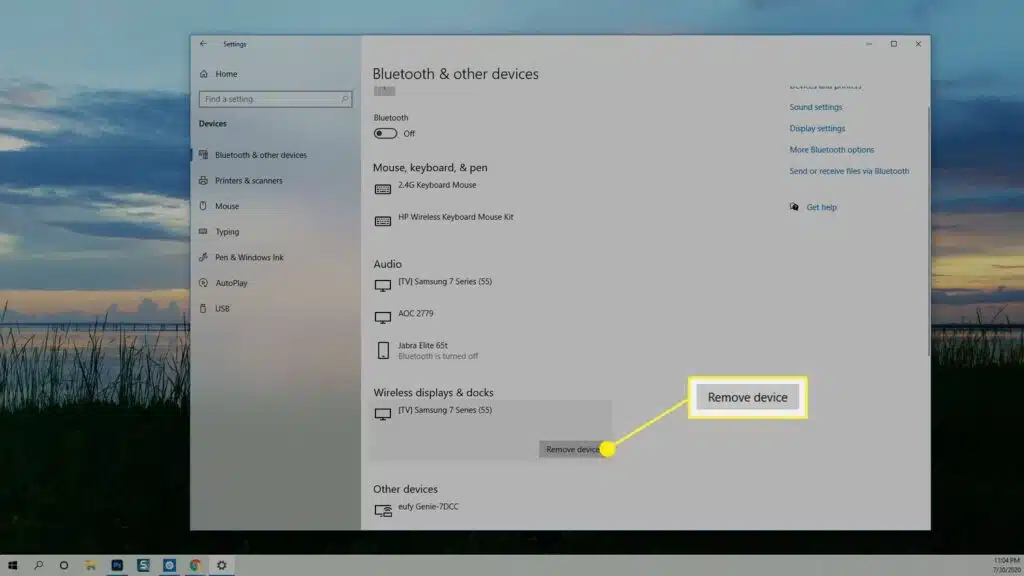
To get started, make sure both your laptop and TV are connected to the same Wi-Fi network. If you’re running Windows, press the Windows key and I to open the Settings app and then select Bluetooth & devices. Select your TV from the list and follow the on-screen instructions to enable screen mirroring.
VGA:
If your laptop has a VGA port, which is usually shaped like a trapezoid with two screw holes on either side and 15 pins inside, you can connect it to your TV for wired screen mirroring. However, it will only work if the TV supports VGA, too. Otherwise, use an HDMI cable to connect the two devices instead. You will also need a separate audio cable since VGA does not carry sound.
Some modern laptops can connect to most TVs wirelessly using Wi-Fi or a feature called Miracast. To do this, make sure that the TV and laptop are both on the same Wi-Fi network and that both support Miracast. Then, follow the prompts for your television’s input or settings menu to choose the correct source. This will display your laptop’s screen on the TV, and you can change settings to control what gets displayed or whether it extends or duplicates the desktop.
If you have a newer Macbook, you can connect directly with USB-C. This option works with many TVs that have USB-C ports and the right adapter or cable.
You’ll need a Thunderbolt 1 or 2 (mini DisplayPort) to HDMI adapter on your laptop and a USB-C to HDMI cable on the TV, depending on your laptop model and available options. When you’re finished, you can press the Airplay icon to stop mirroring.
Wireless:
Using your laptop to mirror your screen to the TV is a simple process. Depending on your device, this can be done wirelessly or through an HDMI cable. In either case, the setup is straightforward to follow.
Many modern laptops have HDMI ports, so connecting to a TV is as simple as plugging in an HDMI cable. You can also use a USB-C or DisplayPort to HDMI adapter (or a cable with one of those connections on one end and HDMI on the other) to connect to older laptops that don’t have HDMI ports.
If you have a MacBook with macOS Catalina or later, or an Apple TV with AirPlay 2, your laptop can connect wirelessly to the TV using screen mirroring. Just open the Control Center on your computer and click the icon of two switches to turn on screen mirroring. Then, select your TV from the list of available devices. Once you’ve selected your TV, you can choose whether to mirror (duplicate) your laptop display on both the laptop and TV or extend these displays so you see different content on each.
If you’re using a Windows laptop, you can connect to your TV through its built-in Miracast support. This is an alternative to AirPlay and works over your Wi-Fi connection instead of the local network.
USB-C:
Screen mirroring allows you to display content from your laptop on a TV, which is particularly useful if you want to give a presentation or stream movies. The process is relatively straightforward, but the method you use depends on your operating system. If you’re using a Windows laptop, you can connect it to a TV via an HDMI cable or Miracast; for Macbooks, you can use AirPlay through the Apple menu.
If you’re using a non-smart TV, it may be easier to set up a wired connection through a USB port. You’ll need a cable that matches the type of port on your laptop and your TV, as well as an adapter if necessary. You can also purchase wireless dongles like Chromecast or Roku that use your home Wi-Fi network to connect your laptop and TV.
Start by connecting one end of an HDMI cable to your laptop’s video output port. Most PC laptops have HDMI ports, but some use other formats like DisplayPort or USB-C. If you don’t have an HDMI cable, you can get a cheap adapter that converts the USB signal to HDMI. Then connect the other end of the cable to your TV or another video input source. Finally, switch to the appropriate source on your TV using its remote control or on-screen menu.


Add comment