

How to Connect Wifi on Laptop Windows 7?
The first step is to open Control Panel and click on Network and Sharing Center. Then, select the category “Network and Internet” and select the wireless connection tab. Next, select the Wi-Fi network, and then click “Connect.” Read more to get information on How to Connect Wifi on Laptop Windows 7?
When prompted, select the network name you wish to connect to. Be sure to choose the same network name as your wireless connection, and be sure to click “Enable.”
The next step is to open Device Manager and click on the “Network adapters” section. From there, click on Uninstall device. This is similar to Step #3, but you will be prompted to delete the wireless driver. Once it’s done, restart your PC and check again.
If the problem persists, you can use the Network troubleshooting guide to correct the problem. To do this, follow the on-screen instructions.
The next step is to open the Network & Internet settings. Double-click on the Wi-Fi icon. In the right-hand pane, click the corresponding button. Once the icon is displayed, click “Connect” to connect to the wireless network.
If you have problems connecting to a network, contact your network provider and ask for help. The Help Desk is available to answer any questions you may have.
If you have a wireless gateway, you can connect Windows 7 to the network through the network. In this case, you must have a compatible wireless router. This means that your laptop should work with the gateway.
Instructions to Configure the Wireless Connection:
If it doesn’t, follow the instructions in the user’s manual to configure the wireless connection. You’ll need to enter an encryption key to complete the process. Once the troubleshooter has solved your problem, you can close the Network troubleshooting guide.
Depending on the model of your laptop, you may have to install an external wireless gateway. To install a wireless gateway, you need to select a network setting. Then, follow the instructions in the user’s guide to installing it.
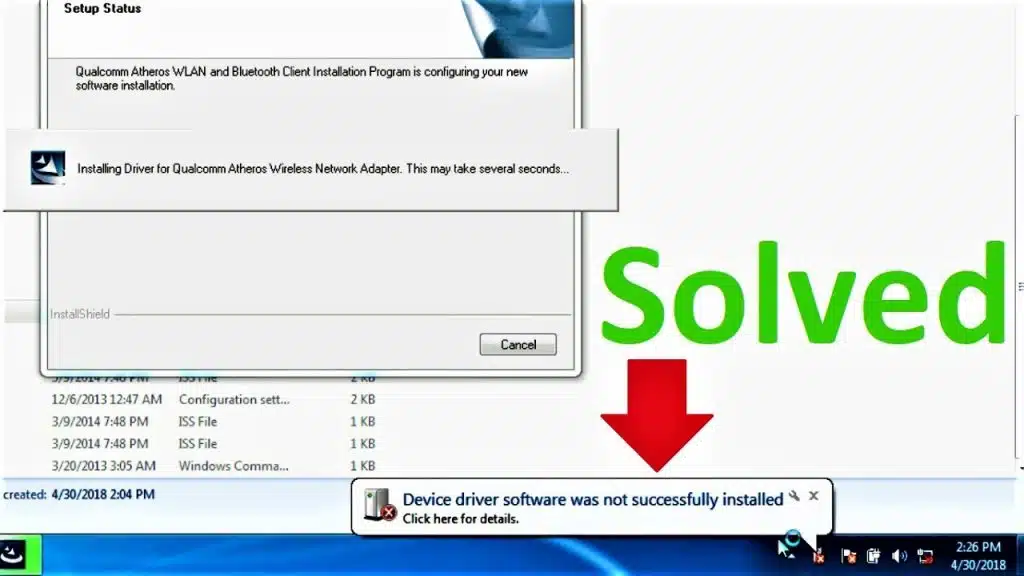
After installing the hardware, you must download the software that will allow the connection. Once installed, the drivers will need to be installed and enabled. The wireless adapter must be configured properly in order to function correctly.
After selecting Network and Internet, you must select the wireless network you wish to connect to. Click on the Wireless adapter in the list and expand it.
If you’re unsure which wireless network to choose, double-click on the wireless adapter driver and click “Connect.” After that, click “Disable” or “Enable” to enable it. Once you’re connected, you’re ready to begin your online activities.
Once you’ve installed the latest driver, restart your computer and check for Wi-Fi. Then, go to the Network and Sharing Center window and click the wireless network connection link.
Settings for the Wireless Networks:
Then, choose “Enable” or “Disable” to enable the wireless network. Once the device driver is installed, you should restart your computer. Then, click on the wireless network connection icon to confirm the connection.
If your machine already has a wireless network, you can connect it with a wireless network. Simply press the Windows button and then select Network & Internet settings. In the Network & Security category, click on the Wi-Fi option.
This will turn on the available networks and show you how to connect. Once you’ve connected, you can start using the internet. Once you’ve completed the initial configuration, you can use the WiFi connection on your laptop.

After a wireless network has been installed, reboot your laptop. Then, press the wireless icon to confirm the connection. Then, enter the security key.
So, press the WPS button to confirm the connection. You’ll be prompted to type in a security key. After you’ve finished with the steps above, you can now test the Wi-Fi on your laptop. If the problem persists, you can always contact the Help Desk of the manufacturer.
The next step is to open Network & Internet settings. From here, select the Wi-Fi icon. It’s also possible to click on the network name in the Network and Services section. To disable the connection, simply click the airplane icon key and press the Fn key.
If the connection is not disabled, restart the computer and check the settings again. This should solve the problem and restore Wi-Fi.


Add comment