

Table of Contents
Fixing Windows Cannot Connect to the Printer Error:
Basically, the 0x0000011b error code is caused by a problem with the printer’s RPC authentication.
To fix this issue, you must make changes to the RpcAuthnLevelPrivacyEnabled registry key. This key controls the authentication level for the remote Winspool interface.
0x0000011b Windows Cannot Connect to the Printer Windows 10 shared Printer:
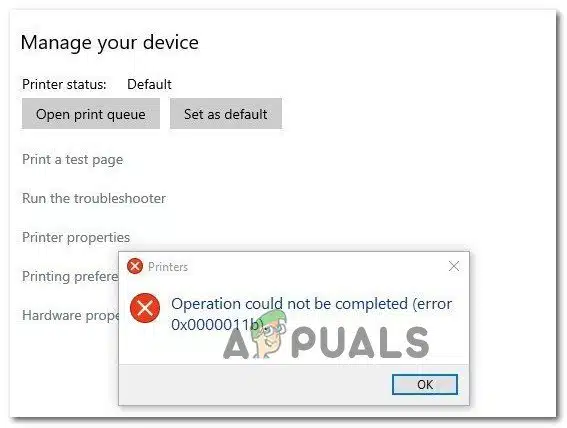
If you’re experiencing an error message 0x0000011b when connecting to a Windows 10 share printer, the problem could be caused by a recent update.
The update is a security patch from Microsoft. To fix the issue, you can either run the troubleshooter or change the configuration of your printer.
First, make sure that you have disabled your print spooler privacy settings on both the print server and the client. By default, Windows encrypts the RPC connection between network printers and print servers.
To disable this feature, you can modify the RpcAuthnLevelPrivacyEnabled Registry value in the HKEY_LOCAL_MACHOST directory.
Another way to fix the error 0x0000011b is to manually add the printer by using its IP address. To do this, open the Command Prompt as an administrator.
Next, type the command wusa /uninstall /kb, followed by the KB number. After you’ve performed this action, you should test the communication with your printer. If you’ve tried these two methods and still experience the error, you can try disabling auto-updates.
Steps to fix error Windows Cannot Connect to the Printer Windows 10 shared Printer:
If your printer is not recognizing your PC, you may experience a Windows cannot connect to the printer error. This can happen due to several reasons.
First, you might have turned your printer off or not installed its drivers correctly. Second, your computer could have an antivirus installed that interferes with the printer. Third, you may have to update your Windows operating system.
If you are able to print, you may be able to fix the error by deleting the PRINTERS folder or restarting the Print Spooler service.
To do this, go to the Services window and right-click on the Print Spooler service. You can then modify the registry key to enable the printer to connect. You should also make sure that you apply the changes to both PCs.
If you still cannot connect to the printer, you can also try installing the printer driver from the UNC path. This should resolve the problem. Next, you should restart the spooler, which is responsible for the printer’s print jobs. After that, you can try to connect to the printer using the UNC path.
Adding a printer to a network:
Windows 10 has an easy method for connecting to shared printers. To do so, go to the Control Panel, and then select Devices and Printers. You can click on the Add a printer link in the toolbar to add a printer.
The system will then install the printer and download the required drivers if necessary. If the printer is not listed in the list, you can add it manually by using its TCP/IP address or hostname.
To add a printer to a network, the computer that owns the printer must be connected to the network, and the printer must be set up to be shared. When setting up the shared printer, it’s important to use certain characters in the printer’s name.
For example, the printer name must be “my printer”. Also, you must know the user name of the computer that will be receiving the printer, as well as the printer workgroup name. Depending on your operating system, you may need to enter a password.
If you have a network printer, it’s possible that Windows 10 won’t recognize it. The printer may not be recognized because it’s connected to the network via a USB cord. Make sure that the USB cord is securely connected to the computer to avoid issues.
Be sure to remove any hubs, docking stations, or other devices that might prevent a solid connection. If Windows 10 doesn’t recognize your printer, you can try to manually install the printer driver for it.
Uninstalling problematic updates:
If you’ve been experiencing problems with your shared printer after installing Windows 10 updates, try uninstalling them. If this doesn’t work, you may want to consider reinstalling the operating system.
This process can take a few minutes, but it’s essential that you restart your PC before you do so. You may have to disable automatic updates on your PC to complete the process.
KB5005565 is one such update. It patches the print spooler against an exploit that can prevent the printer from being used by non-compliant systems. However, this update may not be compatible with some systems.
As such, it might not be possible to use the shared printer. In this case, you can try to disable the registry value by uninstalling the KB5005565 update. However, this method requires knowledge of registry editing and may expose your system to threats. As a result, you should back up the registry before proceeding.
Another possible way to fix the printer issue is to run a command prompt as an administrator. Type “cmd” to launch the Command Prompt, and type wusa /uninstall /kb5004567 to uninstall the KB5004567 update.
After you’ve done that, you can try to install the printer by entering its IP address. If this still doesn’t work, try disabling auto-updates for your printer.


Add comment