
Table of Contents
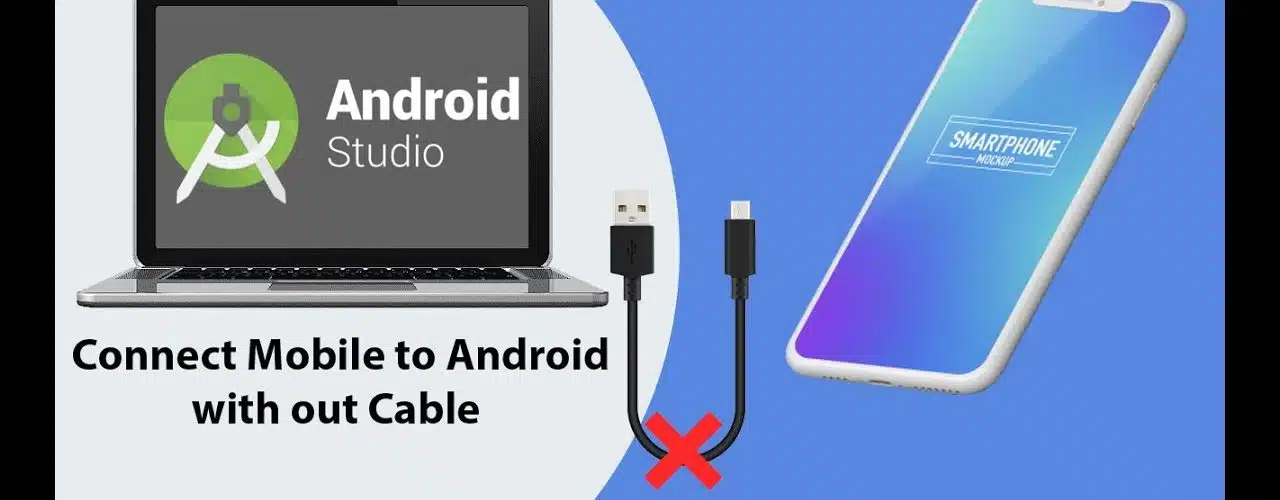
How to Connect Android Device to Android Studio
You can connect an Android device to the Android Studio using the ADB or PTP/MTP interface. The folder that contains your device is called “Android device”. It is located in the SDK directory.
The Android device is named “google” (Google is the manufacturer of the Nexus 7 tablet and the Nexus 10 tablet). The target node is listed in Project Manager. The device must be unlocked and not sleeping.
To connect an Android device, launch the Android Studio. Go to Project Explorer. Select your device and press OK. When the dialog is displayed, enter the device’s id.
If you’ve entered the correct id, the app will be installed and run on the Android device. The next step is to configure your Android SDK. Once you’ve completed the steps above, you can start developing your app.
Once you’ve installed the Android SDK, connect your device. You should now be able to see your device in the list of connected devices. To connect your device, make sure to install the appropriate USB driver. If you have not installed it yet, you can do it later.

Install the Necessary Softwares Android Studio and SDK:
So, once you’ve done that, open Android Studio and install the SDK. Once the installation process is complete, you can begin development. But you should make sure that you’ve enabled USB debugging on your phone or tablet.
To connect your device to the Android Studio, you must first enable the Developer Options on the device. This allows your phone to run applications without any restrictions.
After this, you’ll need to enable USB debugging in the settings of your device. Once this is done, open the Settings window in Android Studio and select the option “Connect Your Android Device to Your PC”. When the program finishes, you’ll need to restart the app to connect to the Android phone.
To connect your device to Android Studio, you need to enable USB debugging on your phone. Using the USB connection, you can use the USB cable to connect to your phone. Ensure that you have a suitable USB adapter.
Add your Android device to the Computer:
Adding a device to your computer will make it compatible with Android studio and allow you to test your app. You can then use the device in your project, or you can use the Experitest Cloud platform for development.
After connecting the device to your computer, the Android emulator must be activated. For this, you must enable the Developer Options and USB debugging on your device. Lastly, you need to enable the Android Platform Tools on your Windows PC.
Once the emulator is installed, open Android Studio and select the device you wish to test. Once you have finished setting up the virtual Android device, you can start developing your app. This will automatically start the emulator on the virtual hardware and connect your Android app to the emulator.
After you have installed the Android SDK on your Windows computer, connect your physical device to your computer using the USB cable. You must enable USB debugging on your device to make your development easier.

Process to connect the Device:
Afterward, you should see a location prompt in the emulator window. Tap on “Start Scan” to start the process. The app will be installed on the device. If you have a working Android, connect it to the emulator.
After installing Android Studio on your Windows machine, connect your device to your development machine. Then, you should select the Android SDK. This will enable the Android SDK and the emulator.
When you are done with this, you can access your device through the emulator. You should be able to test your application on the device. In addition to the emulator, you can also run your applications on a real device. Then, you can launch your Android application on your target Android smartphone.
You can easily connect your Device:
To test your app, you need to connect your device to the development machine. Now, select the SDK and click the Build number.
Then, you will need the SDK to connect your device to your PC. After you have done this, you should click the “Build” button. To do this, you need to install the Android SDK on your development machine. You should see a list of packages in the SDK manager.


Add comment