
How to Connect AirPods Pro to iPhone 13 Pro Max?
How To Connect AirPods Pro To iPhone 13 Pro Max? To get started, make sure your iPhone or iPad is running iOS 10 or higher. You’ll also need an original AirPods case or AirPods Pro with the lid open.
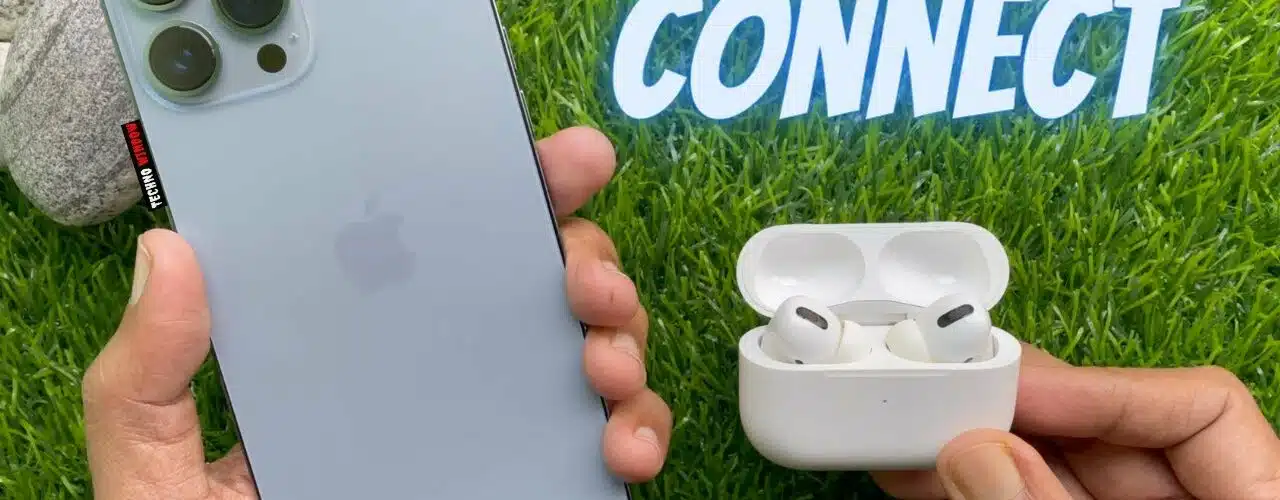
Then, put your AirPods in their charging case and hold the case close to your iPhone or iPad. Follow any on-screen instructions to connect.
Connecting:
AirPods Pro is Apple’s newest wireless headphones with improved audio quality and features. Like all Apple headphones, they need to be paired with an iPhone or Mac before they can be used. The process is pretty simple. If you’re signed into iCloud, the AirPods will automatically switch between your iPhone, iPad, and Mac, depending on which device is closest and turned on. They’ll also automatically connect when you begin playing media on any of those devices and during select events, such as a phone call or an alert.
Unlike previous generations of the AirPods, the new Pro model has an optional ear clip that helps keep the earbuds in place while you’re listening or working. Apple includes four different ear tips in the box, allowing you to customize the fit and seal. The case also has a dedicated button that opens and closes the lid to initiate pairing and other commands.
If you have trouble connecting the AirPods Pro to your iPhone 13 Pro Max, try restarting your device. This may reset the Bluetooth settings and restore a previously established connection. You can also try turning off and on your iPhone’s Low Power mode, switching between audio output options, disconnecting other Bluetooth devices, or updating the iPhone’s software.
If the above steps don’t work, try manually connecting your AirPods to your iPhone. First, make sure the earbuds are in the case and closed. Open the case next to your iPhone and press and hold the setup button on the back of the case until the status light flashes white. Then, follow the prompts on the screen to finish the setup process.
The AirPods Pro are compatible with most Apple products, including the iPad and Mac. To pair them with an iPad or Mac, open the Settings app and tap Bluetooth. Then, turn on Bluetooth and find your AirPods in the list of available devices. Once they appear, tap the AirPods icon and follow any additional prompts to complete the pairing process.
Similarly, to pair the AirPods with an Apple Watch, open the Apple Watch app and tap Music. Then, choose the AirPods icon and follow any additional on-screen prompts to complete the pairing process. Once you’ve paired the AirPods with your iPad or Mac, they will automatically connect to those devices when you begin playing music or other media. The AirPods will also connect to the Apple Watch when you put them in your ears and follow any prompts to enable “Hey Siri” functionality or set other sound controls.
The AirPods are also compatible with most other Bluetooth-compatible devices, including Android phones and speakers from competing manufacturers.

The process is fairly simple and similar to that on iOS devices. In most cases, all you need to do is make sure the earbuds are in their case and the case is open, then press and hold the setup button until the status light flashes white on both the Pods and the case.
Pairing:
If you have just purchased a pair of Apple AirPods Pro, you’ll want to know how to connect them. The headphones use a wireless connection and feature Apple’s H1 or H2 chip to ensure high-quality audio playback, as well as features such as Hey Siri, hands-free calling, and noise cancellation. Thankfully, the pairing process is pretty simple. Simply open the case and follow the on-screen prompts that will appear on your iPhone or iPad. Before beginning the pairing process, make sure that your iPhone or iPad is running iOS 14.3 or later and that it has a good battery level. Lastly, make sure that the AirPods Pro have at least a 50% charge.
After a few seconds, an on-screen animation will appear and ask you to tap “Connect.” Once you’ve tapped Connect, the headphones will begin the Bluetooth pairing process with your iPhone or iPad. During this time, the status light on the case will flash white and your headphones will enter pairing mode. If you see an error that says “AirPods Pro can’t connect,” try resetting the headphones and then repeating the process.
Once the AirPods have successfully paired with your iPhone, an animated popup will ask you to tap “Done.” You’ll now be able to play music through them or answer phone calls using Siri without having to touch your iPhone.
You can also connect AirPods to other Apple products like the iPod touch, Mac, and Apple TV. Just make sure that you’re connected to the same iCloud account and that all devices are updated to the latest version of iOS or macOS. If you don’t have the latest update, it’s possible that your device doesn’t support Bluetooth codecs used by AirPods. In this case, your headphones will revert to a lower-quality SBC codec and you won’t hear as high-quality sound.
The procedure for connecting AirPods to a Windows PC is slightly different but still fairly straightforward. You’ll need to have the AirPods charging case open and close to the computer. Once the AirPods are in pairing mode. Click the Bluetooth icon in the menu bar (Mac) or the Bluetooth option in the Control Center (Windows). Then, select Add a device in the window that appears or the search results page (Windows) and follow the on-screen prompts to finish the process.
If you have your AirPods in the charging case. Press and hold the setup button until the status light on the case flashes white. Then, select your AirPods Pro when they appear in the list of available devices. After a few seconds. Your AirPods should be automatically connected to any other devices that have the same iCloud account and the same updates.


Add comment