
Table of Contents
How To Connect Arlo Camera To WiFi?
How To Connect Arlo Camera To WiFi? You can use an Arlo camera to monitor your home without a hub or base station. But you’ll need a WiFi network that broadcasts 2.4 GHz and 5 GHz Wi-Fi frequencies.
Most newer Arlo cameras don’t require a base station, but you still need one for older models to enable local video storage. Download the Arlo app and follow the instructions for installing your camera.
Features Of Connect Arlo Camera To WiFi
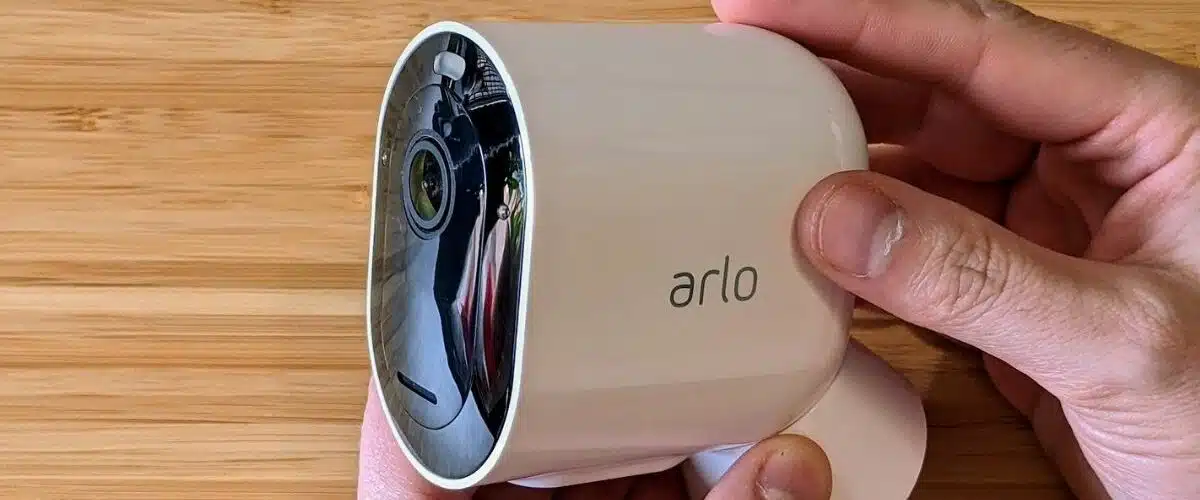
- Arlo is a popular choice for home security because of its high-definition video recording and smart integrations with other devices. It also has a range of different wireless and cordless options for home use. Some models also have built-in storage for a backup in case the internet goes down or the camera is disabled. Others have rechargeable batteries that are good for months or even a year on a single charge, depending on usage.
- To set up an Arlo camera, you’ll need a high-speed internet connection and meet the system requirements for your router. In addition, each Arlo camera uses a different amount of bandwidth, so you’ll need to account for this when monitoring multiple cameras.
- Most Arlo cameras can connect directly to your Wi-Fi network without needing a base station. However, some models like the Arlo Pro 3 and Arlo Ultra 2 require a base station for their full functionality, including storing local video footage. If you choose to use a base station, follow the manufacturer’s instructions for connecting it to your Wi-Fi network.
- Some Arlo cameras feature adjustable motion zones, which determine how wide or narrow the area in front of the camera is recorded. You can adjust these settings in the Arlo app or on a device connected to the same network. Generally, you want a wider view outdoors, where there aren’t walls blocking the view, and a narrower view indoors, where it’s unnecessary to record more than your walls allow and can save video bandwidth.
- Arlo is a popular choice for home security because of its high-definition video recording and smart integrations with other devices. It also has a range of different wireless and cordless options for home use. Some models also have built-in storage for a backup in case the internet goes down or the camera is disabled. Others have rechargeable batteries that are good for months or even a year on a single charge, depending on usage.
- To set up an Arlo camera, you’ll need a high-speed internet connection and meet the system requirements for your router. In addition, each Arlo camera uses a different amount of bandwidth. So you’ll need to account for this when monitoring multiple cameras.
- Most Arlo cameras can connect directly to your Wi-Fi network without needing a base station. However. Some models like the Arlo Pro 3. Arlo Ultra 2 requires a base station for its full functionality, including storing local video footage. If you choose to use a base station, follow the manufacturer’s instructions for connecting it to your Wi-Fi network.
- Some Arlo cameras feature adjustable motion zones. You can adjust these settings in the Arlo app or on a device connected to the same network. Generally, you want a wider view outdoors. There aren’t walls blocking the view and a narrower view indoors. Where it’s unnecessary to record more than your walls allow and can save video bandwidth.
Setup
After syncing your Arlo cameras to your network and account, you should test the camera’s motion detection. To do this, walk in front of the camera to make sure it’s correctly detecting motion and recording as intended. If it’s not, contact the manufacturer or your ISP for assistance.
You’ll need a wired or wireless router that supports 2.4 GHz Wi-Fi to use an Arlo camera. Also, you should be within range of the router to receive the best signal possible. Avoid placing your camera too far from the router, and limit the number of obstacles between the router and the camera. Brick, concrete, water, and metal can all absorb Wi-Fi signals.
To connect an Arlo wire-free camera to your Wi-Fi, plug the Home Base into a power outlet and connect it to your router with the included Ethernet cable. If your Arlo camera is battery-powered, insert the battery and make sure the LED on the camera is blinking blue.
If the LED on the camera is not blinking, you need to reset the device. You can do this by pressing and holding the sync button for two seconds, or you can reset it using the Arlo app. To reset an Arlo Pro 5S camera, you’ll need to disable Band Steering. Most Wi-Fi modems use Band Steering to connect devices to the best available Wi-Fi frequency.
Connecting to a 2.4 GHz Network
If you have an Arlo camera or doorbell that can connect directly to a router, you’ll need to manually connect your mobile device to the 2.4 GHz network band during the setup process in the Arlo app. Many routers broadcast WiFi networks in both 2.4 GHz and 5 GHz bands, so make sure that you select the 2.4 GHz wireless network’s SSID (which is usually indicated by a 2, 2.4G, or 2G at the end of the SSID).

Once your mobile device is connected to the 2.4 GHz network. Launch the Arlo app and press the Sync button for two seconds. A blue LED on the camera blinks rapidly to confirm sync. If the LED doesn’t flash, check your wireless connection settings and re-sync the camera.
During the initial setup of an Arlo camera. You must be within 3 to 6 feet of your Wi-Fi router during the QR code scan and synchronization process. If the LED on the camera doesn’t begin blinking blue after a few minutes. Try restarting the process and positioning your camera closer to your router. If the problem persists, you may need to reinstall. And reconfigure your home router’s software or change your mobile network’s login credentials. You also might need to remove and re-add your camera to your account. If the issue persists, contact Arlo support.
Connecting to a 5 GHz Network
If you want to connect your Arlo camera to a 5 GHz network, make sure the router supports the band. If it does, the setup process is similar to that for a 2.4 GHz network. Then, follow the in-app instructions to complete the connection.
During the setup process, you may notice that the LED on your camera’s housing blinks blue or amber. During this time, the Camera is attempting to detect a SmartHub or base station. If it does not find one, follow the in-app instructions to connect the camera directly to a router.
Arlo cameras can be connected to either a 2.4 GHz or 5 GHz network, but only if the SSID and password are the same for both networks. To change networks, open the Arlo app and select your camera. Tap Change Network and select the new SSID and password.
If you have an Arlo Secure cloud subscription, you can add activity zones to your camera’s view to record specific areas of your property. The zones can be adjusted from a mobile device or a computer browser. However, it is recommended that you log in to a computer instead of a smartphone because it is easier to adjust the zones on a larger screen. To do so, navigate to the Settings menu in the Arlo app, and choose My Devices. From here, select your camera and click the Device Utilities button.
Troubleshooting
Arlo cameras are a popular choice for home security thanks to their easy installation process and impressive resolutions. However, some users have experienced issues with their devices that cause them to go offline. Thankfully, several easy troubleshooting steps can help restore the camera’s functionality.
One of the most common causes of an Arlo camera going offline is a router configuration issue. Make sure that your router’s 2.4 GHz network is broadcasting using the same name as your mobile phone’s Wi-Fi connection (SSID) and that you’re not using a VPN connection on your smartphone. You should also consult your router manufacturer or ISP for specific Band Steering instructions.
Another common reason for an Arlo camera to go offline is a lack of a strong enough Wi-Fi signal. Ensure that your camera is within 10 feet (3 meters) of your router and Arlo SmartHub or base station. Alternatively, you can use an extender to increase the distance between your camera and your router.
And that it is free of moisture, dirt, or debris. If necessary, follow the guide to replace the lens. If the problem persists, contact Arlo Customer Support.
Conclusion
The Arlo Ultra system uses a base station to connect the cameras over a Wi-Fi connection. You can also choose to use local video storage, which eliminates the need for a cloud subscription.


Add comment