
Table of Contents
How To Connect Battery Charger To Car?
How To Connect Battery Charger To Car? Before connecting the charger to the battery, inspect it for any obvious problems. It should be clean and free of any dirt or corrosion.
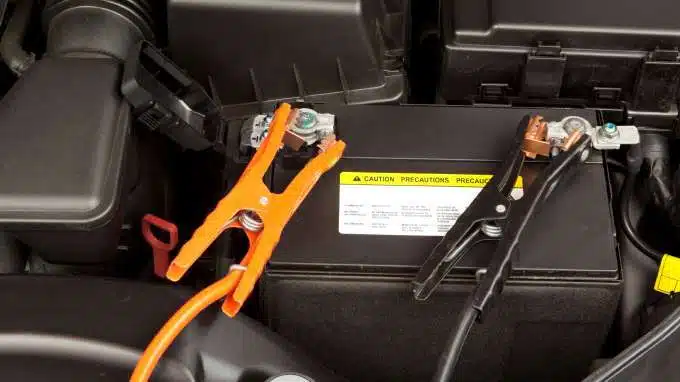
Also, make sure the red clip is attached to the positive terminal and the black clip to the negative terminal. It is important to match the cables correctly to avoid sparks and other damage.
Turn Off the Engine:
Before connecting the battery charger to your car, make sure that it is powered off. It uses household current to charge the battery, and it can be dangerous if it is connected to your vehicle when the engine is running. Also, check the charger’s instructions for how to operate it, since every battery charger operates a little differently.
Examine your car’s battery to locate the positive and negative terminals. The positive terminal is usually marked with a “+,” while the negative terminal has a “-” symbol on it. If necessary, remove any plastic covers from the battery’s terminals to prevent corrosion and ensure a good connection between the charger and your car’s battery. Then, connect the battery charger’s red clamp to the positive terminal and the black clamp to the negative terminal. Make sure that the connections are tight.
If the charger has a timer, consult its manual to determine how long it should run for to properly charge the battery. After the timer is finished, it is safe to disconnect the charger. When you’re done, replace the positive cable first and then the negative one. Also, be sure to put the battery back into its tray. Finally, plug the charger into a standard outlet and turn it on. The charger’s volt and amp meters should read higher on a dead battery and lower on a fully charged one.
Remove the Battery:
You should never charge a battery without removing it first. It’s not just a matter of convenience; batteries emit hydrogen gas as they charge, and this can cause fire or explosion. The risk is heightened if you use a high-voltage charger, so it’s best to follow the instructions that come with your device for safety.
Before disconnecting the battery, open the hood of your car and locate the positive and negative terminals for your vehicle’s battery. These are two lead terminals that sit at the top of your battery, with attached clamps. The positive terminal will be marked with a “+” indicator, and the negative terminal is typically black and marked with a “-” symbol. If necessary, remove the plastic caps that may be present on your battery terminals to make it easier to access them.
Once you have a clear view of the battery, remove the negative cable and push it far aside (again, for safety reasons). Then loosen the nut that holds the positive cable to its terminal, releasing it from the positive clamp that held it in place. You can then remove the positive cable and battery from the tray that it sits in, if necessary. During this process, you should also take the opportunity to clean these connections and their leads. If you see any corrosion, be sure to dissolve it with baking soda water before reconnecting the battery.
Connect the Charger:
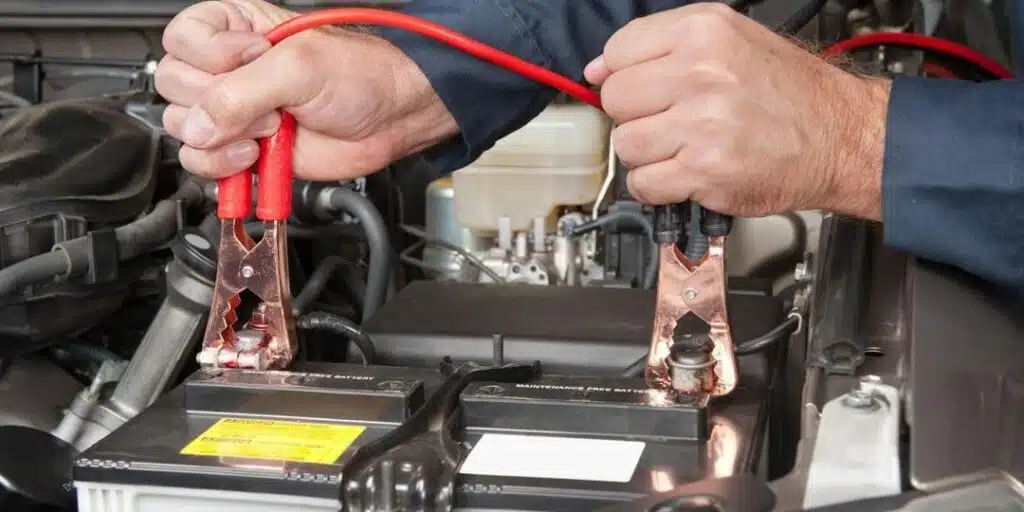
The battery charger has alligator clips that are shaped like small claws. Hook the positive (red) cable of the charger to the positive terminal on your car battery. Wiggle the clamp around a bit to ensure it has a firm grip. Then, connect the black negative cable to the negative terminal of the battery (the one with the – indicator). You may have to remove the charger and the cables from the vehicle in order to disconnect them properly. Be sure the charger is completely off before connecting and disconnecting so you don’t get shocked.
Some batteries will need to remain on the charger for hours or even overnight in order to reach a full charge. Once the battery has been charged, you can remove the charger and the battery cables from the battery in the reverse order they were attached, with the negative cable (black) being removed first.
Depending on the type of charger, you may be able to set it to run for a specific amount of time or shut it off automatically once it’s done charging. Check the battery charger’s manual for more information about the proper operating mode for your particular battery. Always follow the instructions provided for your charger if they conflict with these guidelines. After the battery is disconnected, you’ll need to clean off the terminals, using a wire brush or commercial cleaning solution as necessary.
Turn On the Charger:
Car batteries produce hydrogen gas when they charge, and the battery (and the charger) have been known to explode under certain conditions, causing serious injuries. To reduce the risk of injury, always use a battery charger in an open and well-ventilated area. It’s also a good idea to wear protective glasses and gloves when handling the battery and charger.
Open the hood of your vehicle and remove the cover from the battery terminals (positive and negative). If the terminals are dirty, clean them with a wire brush or other cleaning solution, then reconnect the covers. Next, connect the positive cable from the charger to the positive battery. Terminal and the negative cable to the negative battery terminal. Connect the charger’s power cord to a standard domestic outlet (not an extension cord).
Once the charger is connected, it should be set to its slowest charge rate. Some battery chargers have an ampere meter that shows how much charge is being transferred to the battery. A high reading means more charge is being applied, while a low reading indicates less charge is being transferred. If the battery is fully charged, the charger should shut off automatically and. The cables can be disconnected in reverse order – the black (negative) clamp first, then the positive. Then, you can start your vehicle.


Add comment