

Table of Contents
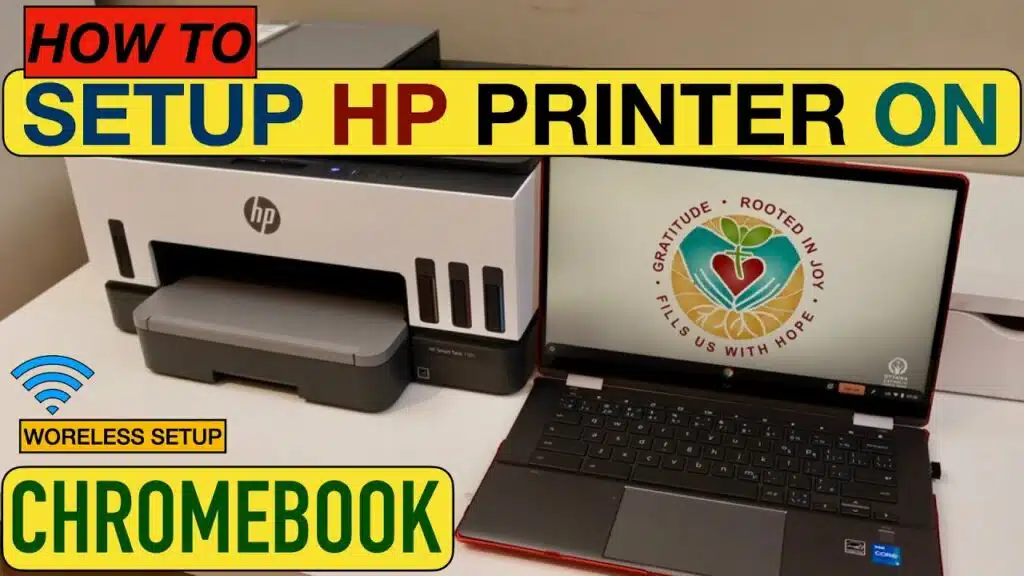
How To Connect Chromebook To Printer?
How To Connect Chromebook To Printer? Most modern printers will work well with a Chromebook, especially those that are connected over Wi-Fi. Major brands like Brother, Canon, and Epson will all get along just fine.
You can connect a printer to your Chromebook in a few steps. However, you might need an app from your printer’s manufacturer if you want to use special features like stapling or hole punching.
1. Plug it in:
If you have a printer attached to your home or office Wi-Fi network, printing from Chromebooks is as simple as plugging it in. Just ensure that both the printer and the Chromebook are connected to the same network, then follow the printer’s instructions for adding it to your network.
If your printer isn’t on the same Wi-Fi Network as your Chromebook, you’ll need to attach it to a Windows, macOS, or Linux on your Wi-Fi network and share it with your Chromebook. You can use the same method on a laptop or desktop that’s running any other version of Windows or macOS.
Once the printer is added to your Chromebook, you can print from it as if connected directly to your laptop. You can also scan documents if your printer has Scan-to-Network or Scan-to-Email set up.
To open the printer settings on your Chromebook, click the system clock in the status bar or select the Settings icon from the Launcher. When the Settings app opens, type printer in the search field and select your printer from the list of Best Matches. You can save as many printers as you like. If the printer you want isn’t listed, you can download its app from the Google Play Store. There are apps for HP, Epson, Canon, and other brands of printers.
2. Connect it to your Wi-Fi network:
Whether you want to print documents from your home office printer or a Wi-Fi-supported printer at work, connecting a Chromebook to a local network is quick and easy. The laptop will automatically detect the printer, assuming the device has a wireless connection to the Internet (it might also be wired).
To connect a Chromebook to a Wi-Fi network, click the time at the bottom of your screen, and then the gearwheel icon you’ll see. This opens your computer’s general settings. From here, you can scan the network to find any available printers. When you’re done, you’ll be able to print documents from the laptop by selecting the device and then pressing Ctrl+P or the equivalent on a Mac.
If you’re connecting to a secure network, like your home Wi-Fi or one at your workplace, make sure that you have the network identifier and password handy. You’ll need this information when you open your network’s settings and configure the Chromebook to join the network.
If you’re connecting to a network that you connect to frequently, make sure that you enable Prefer this network and Automatically connect to this network so the Chromebook will recognize and connect to it every time you’re at that location. This will save you time, and help keep your devices secure. For more helpful tips and tricks, visit our tech support page.
3. Set it up:
When you want to print something from a Chromebook, you can use the keyboard shortcut Ctrl + P. It opens a new window that shows you all your options for printing, including the printers you’re connected to. If you see a printer that you can print from, select it and click Print. You can also use an app on your phone to print, but you’ll need to install the printer manufacturer’s app.
To connect a wireless printer to your Chromebook, follow the device’s setup instructions. Most printers have Wi-Fi settings that let you choose a network and enter its password, but the process can vary from one model to another. Check the manufacturer’s website for detailed instructions.
You can also set up a wired connection with a USB cable. Plug the USB cable into the appropriate port on your printer, then attach the other end to a USB plug on your Chromebook.
Make sure your Chromebook and printer are on the same Wi-Fi network. If you’re using a wired connection, select the system clock icon located in the bottom-right corner of the screen and click the gear icon that appears. If you’re using a wireless connection, select the Wi-Fi icon and enter your Wi-Fi network’s password when prompted. This opens the Settings menu. If you aren’t logged in, sign in with your Google account.
4. Print something:
While it’s nice to live in a paperless world, there are times when you need a hard copy. Printing documents from a Chromebook is surprisingly easy and there are several ways to do it.
One of the most popular methods is to use Google Cloud Print, Which works with a wide range of printers and offers features like automatic reprinting if a document has changed. Another option is to print directly from the Chromebook using an attached printer connected via a USB cable. This method is less convenient but can be useful for older printers. That doesn’t support Wi-Fi printing or if you need to print from a different location than the computer.
To set up local printing. You’ll need a printer that supports the long-time Unix-style CUPS system and has a driver available for Chrome OS. You can find an up-to-date list of compatible printers here. Once the native CUPS setting is enabled (in the Settings. Menu at chrome://flags/#enable-native-cups) you’ll see a new Printers option above the standard. Google Cloud Print options in the Settings menu.
Once you’ve added a Printer to your list of devices, you’re ready to go! To print something from your Chromebook, open the page, image, or document you want to print and press Ctrl + P. The device will scan your network for available printers. When one is found, click it to select it and then follow any on-screen instructions to complete the printing process.


Add comment