
Table of Contents
How To Connect Printer To Network – Windows 11?
How To Connect Printer To Network – Windows 11? Often, the printer will have software installed to get online. The instructions for this software will be on the printer’s website or in its instruction manual. This method may take a few seconds to connect to the printer.
1. Turn on the printer:
Most modern printers are network-capable. Meaning that they can connect to a computer over Wi-Fi or using a wired ethernet connection. The instructions for doing this are typically in the manual that came with the printer. Or you can find a similar method on the printer manufacturer’s website (usually in the “Support” or “Software” section).
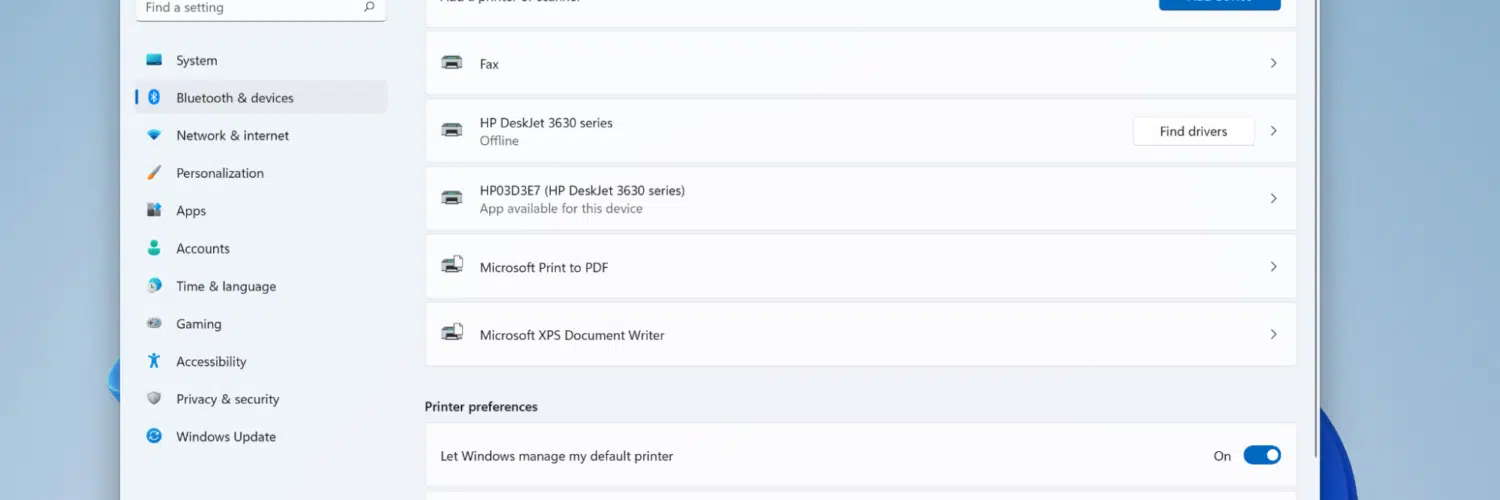
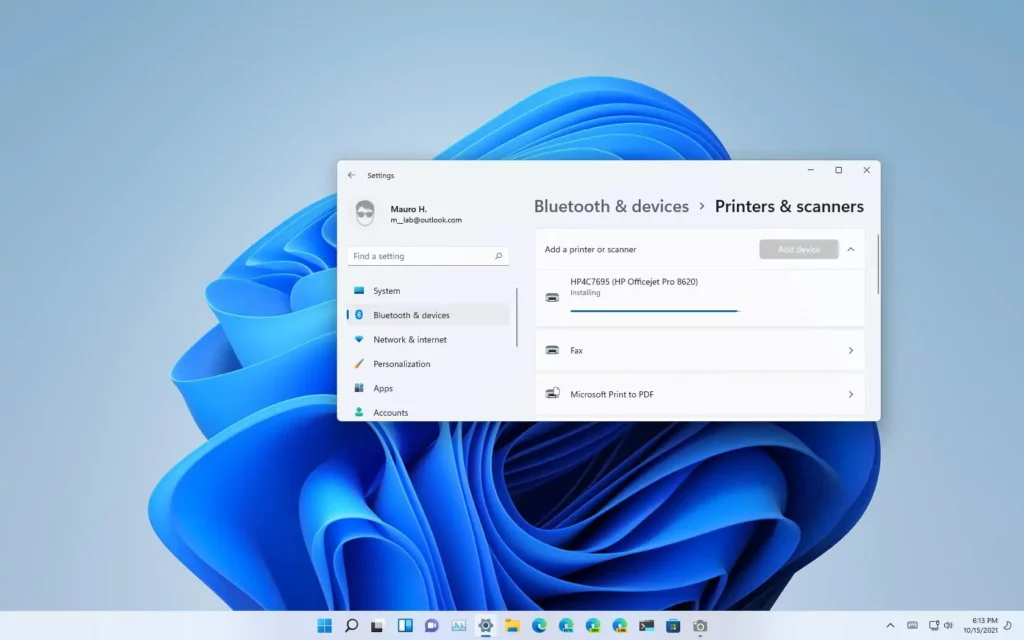
If you’re connected to the same wireless network as the printer. Add a device button on the Printers & Scanners page in Settings. If you don’t see it. Make sure that your PC and the printer are both connected to it. The same wireless network – this is the most common cause of not seeing the printer try restarting the router.
2. Connect the printer to the computer:
Some printers require you to connect them directly to your computer. Using software downloaded from the manufacturer’s website. Does not support adding network-capable printers through the router’s GUI (graphical user interface). You should consult the manufacturer’s instructions to find out how to proceed.
If not, select Add a network, wireless. Or Bluetooth printer and follow the steps in the wizard to complete the process
If you’re connecting a printer over Wi-Fi, be sure to use the same password for your home network. You can find the password by opening the HomeGroup page on your Windows. devices or Printers & scanners. Click Add a printer or scanner and follow the steps in the wizard to complete your connection.
3. Install the printer driver:
These are small pieces of software that make the printer work with the operating system. You can find the latest version of your printer’s driver. By searching for it in Device Manager or visiting the printer manufacturer’s website.
If you are using a wireless printer. Need to change the network settings on the printer. In some cases passwords. If this does not solve the problem, you can install a different version of the driver. You can download a new driver from the printer manufacturer’s website or use a generic postscript or PCL printer driver.
If you are using a Mac. You may need to connect the printer to the Mac via USB to get it online. To do this, open System Preferences and click on Sharing.
4. Add the printer to the network:
If you’re using a wireless network printer. You can usually connect it to your Windows computer. By running the software that came with the printer or by using the Windows Devices and Printers tool. If the printer uses a static IP address. You’ll need to change a setting in Group Policy. If you’re unsure how to do this, consult the router’s user manual or contact the manufacturer. To do this, you’ll need to know the printer’s assigned IP address. (You can find this by printing a wireless network test report from the printer’s control panel).
In the “Search for available printers” box, type the name of the network to which the printer belongs. Select the printer and follow the prompts to finish adding it.
The best way to connect a Mac to a wireless network is to use the built-in AirPrint feature. Which automatically detects and installs drivers for supported printer models. If you’re using a more obscure model. You’ll have to download the latest driver from the manufacturer’s website and follow the installation instructions.


Add comment