
Table of Contents
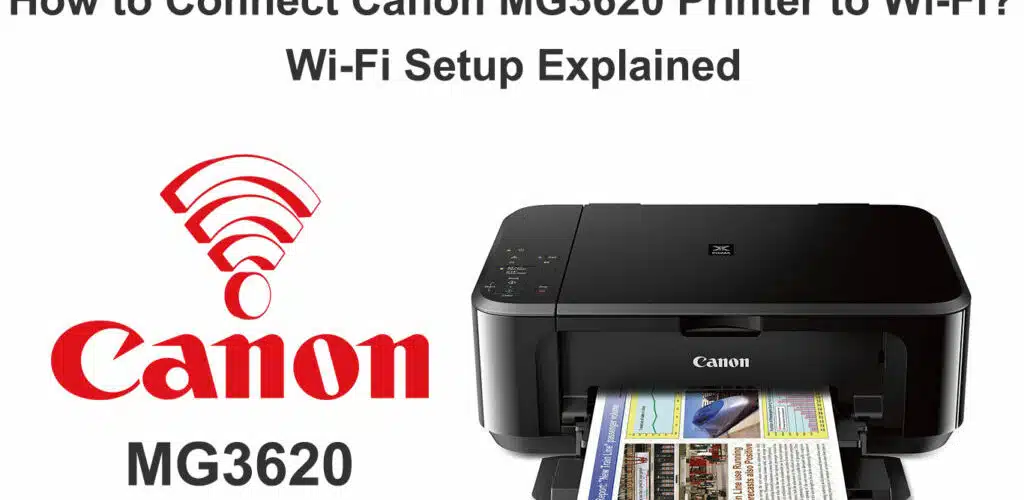
How to Connect Canon MG3620 Printer to WiFi?
How To Connect Canon MG3620 Printer To WiFi? The Canon MG3620 printer is an efficient and versatile printing solution. It can be connected to a wireless network for convenient usage. This article will discuss the steps to connect the printer to WiFi.
You can connect the printer to WiFi using a PC, smartphone, or the WPS push button. This method is a quick and easy way to connect your Canon printer.
1. Turn on the printer:
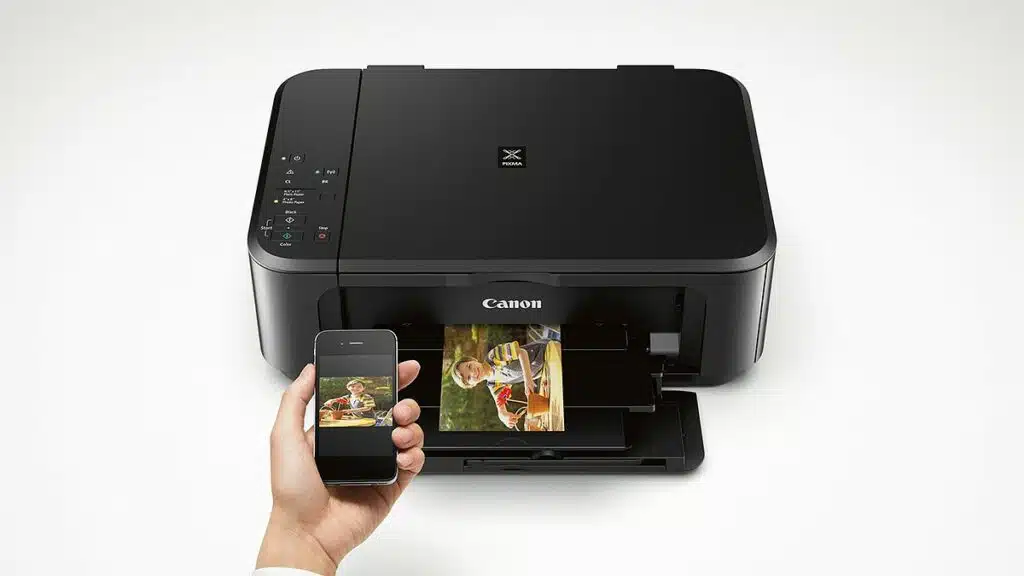
The Canon MG3620 printer is an all-in-one inkjet device that can print, scan and copy documents. It offers high-quality prints and a variety of features, including Bluetooth support, which makes it easy to connect with mobile devices. Its versatility and ease of use make it a great choice for both home and office use. It also comes with a wide range of printing apps, including AirPrint, Google Cloud Print, and Canon.
In order to connect the printer to the WiFi, first turn it on and ensure that the ON light is lit. Next, press the black start button and then the Wi-Fi button. Once the ON light flashes, hold down the Wi-Fi button and press the WPS push button on the router within two minutes. The printer should now be connected to the WiFi and the ON light will remain lit.
After connecting the printer to the WiFi, users can then download the printer driver on their Windows computer. Once the driver has been downloaded, users can follow the on-screen instructions to complete the wireless setup process. If they encounter any issues, they can contact the customer support team to resolve them. These simple guidelines will help users get their printers up and running without any hassles. They can then enjoy printing and scanning wirelessly from their Windows or Mac devices.
2. Connect the printer to the router:
If you’re having trouble connecting your Canon printer to WiFi, it may be because the wireless setup and installation process didn’t execute properly. To check if this is the case, look for the network configuration information printed on the printer’s panel. It should include the SSID, password, and other network settings. This will help you determine whether the problem is in your router or the printer itself.
Once you’ve found this information, it’s time to connect the printer to your router. First, press and hold the Wi-Fi button on the printer until the ON lamp flashes. Next, press the color button and then the Wi-Fi button again. Finally, make sure that the Wi-Fi lamp is flashing quickly.
You can also use a USB cable to connect the printer to your computer. This will allow you to install the printer driver on your computer and pair it with your wireless network. Once the connection is complete, you can remove the cable and use your printer wirelessly.
Keep in mind that you shouldn’t place your printer too close to your router. If you do, the signal could become weak and cause problems with your printing job. For this reason, it’s best to separate them by at least 6 feet (about 2 meters). You can even try connecting your printer to your router using a wired Ethernet connection if you’re having trouble getting the wireless connection working.
3. Install the printer driver:
If you want to connect a Canon printer to your Wi-Fi network, you will need to install the printer driver. This can be done either by using the installer on your CD or downloading it from the manufacturer’s website. Once you have the software, follow the installation instructions on the screen to complete the process. If you encounter any problems, contact a reliable printer support service for assistance.
If the Canon printer is connected to your home network via a wired connection, you can skip this step. If you are using a wireless connection, however, you must install the drivers on your computer. This process will vary depending on the model of your printer and your operating system.
Once you have the driver installed, you can connect your printer to your computer. First, turn on the Canon printer and wait for the on-lamp to flash. After that, press the WiFi button. When the on-lamp flashes, the printer will start scanning for wireless networks. Then, select the network you wish to use and enter its SSID. If the network is password-protected, you will need to know the password to access it.
Once you’ve completed the setup process, you can start printing documents from your computer. Depending on the type of printer you have, this may take a few minutes.
4. Connect the printer to the computer:
The Canon MG3620 is a wireless printer that allows you to print documents from any computer on your home or office network. This printer is compatible with both Windows and Mac operating systems. You can connect the printer to your computer using a USB cable or a Wi-Fi connection. This method is easy and convenient. You can also use the Canon MG3620 printer setup to connect to your smartphone or tablet.
The first step is to turn on the printer and connect it to your wireless network. To do this, plug one end of the USB cable into the printer and the other end into your computer. Then, select the printer name when it appears on your screen. After this, install the printer driver. After the installation, you can start printing from your computer.
You can also connect the Canon MG3620 to your Wi-Fi network by using a WPS push button. This method is quick and simple, but you must have a wireless router with an active internet connection. You can also connect the printer to a wired network by following the same steps.
To set up a wireless connection, open the application and click on the Start Setup button. Follow the on-screen instructions and fill out your country and license agreement. If you are using a Windows computer, you may receive a dialogue box from the user control or antivirus software.


Add comment