
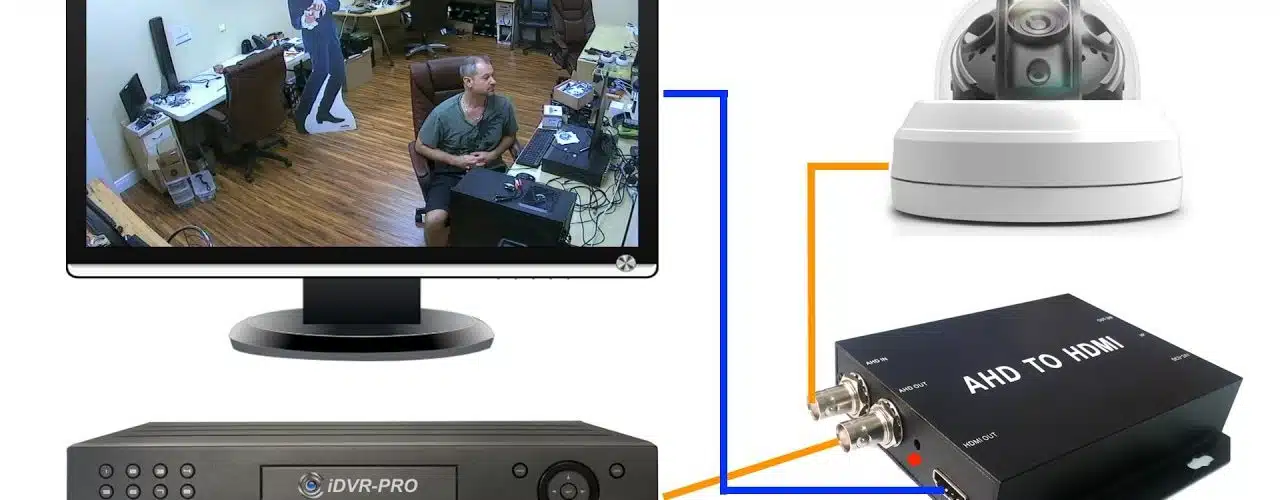
How to Connect His Vision DVR to TV Wirelessly:
The first step in connecting a Hikvision or Netgear DVR to a television is to turn the equipment off. You can do this by pressing the “Source” or “Input” buttons on your TV.
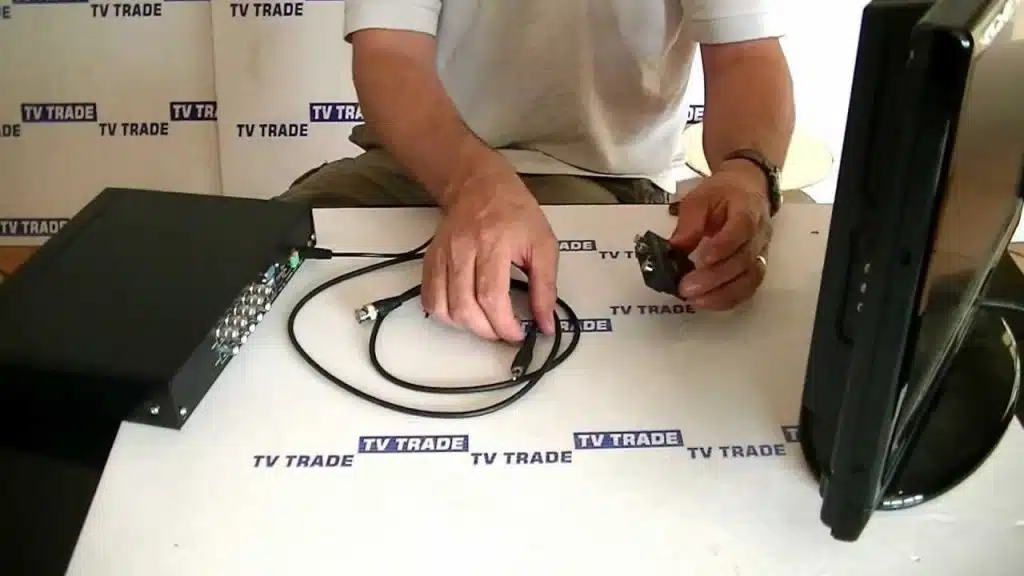
Most often, this corresponds to the “Video” option. Alternatively, you can plug the devices into a wall outlet or power strip. In any case, be sure to keep them off until the process is complete. Next, connect one end of the S-video cable to the DVR.
How to configure a Netgear DVR for remote access via the Internet:
To configure a Netgear DVR for Internet access, first, check the network settings on your router. Then, enable port forwarding. If you need a static IP address, you can set it on the router. If not, you need to enable DHCP on the router.
Once you have done this, you can connect the DVR to the data port on your router. Most routers come with four ports for hardware.
You will need a CAT5 cable for this. The manufacturer may include a cable with the system, but it is usually too short. You should measure the length of the cable and then purchase one that has the right length.
You can also use the DVR to connect from outside your network. To do so, you can enter the public IP address of your DVR in the URL field. After typing the address, you should get a prompt saying that an ActiveX web service is being used.
Once you have connected your DVR to the network, you can configure it to allow remote access through the Internet.
To do this, you need to configure your router so that it will forward the data from the DVR. Next, you need to set port forwarding.
This will enable your web browser to access the video stream even if you’re not connected to the home network.
As mentioned above, Remote Management is not available on all Netgear products. If you’re not interested in this feature, you can disable it in the remote access settings menu of your router. This option is usually turned off by default. However, this feature can be turned on by accident.
If you want to configure your Netgear DVR for remote access via the Internet, you need to enable UPnP (Universal Plug ‘n Play).
This feature allows your DVR to connect to the Internet. Some routers do not automatically enable UPnP by default, and you may need to enable it manually after adding it to your network.
How to configure a How to Connect his vision DVR to TV Wirelessly for remote access via the Internet:
Before you start configuring the Hikvision DVR for remote access via the Internet, you need to configure the router. It should have a port for local connection and one for connecting to the Internet.
The router will provide the IP address for your DVR. Once this step is complete, you can try accessing the DVR from a computer. You need to enter the correct username and password.
Using Hik-Connect, you can access your device from another computer. This can be at work, at home, on holiday, or even in a pub.
Alternatively, you can access the device from your mobile device. If your router supports HTTP, you can connect to your Hikvision DVR remotely.
Next, download the Hik-Connect app. The app will prompt you to create an account. Once you’ve done this, you’ll receive a verification code through email. After you enter this code, you can view live images of your DVR.
To configure Hik-Connect, go to Hik-Connect. If you’ve installed the software and are ready to use it, you’ll need to enter the Verification Code and Admin Password. It’s a good idea to write these down so you’ll remember them later.
To configure Hikvision DVRs for remote access via the Internet, you need to install Hik-connect on your PC.
Hik-connect works on most modern computers, including Windows and Mac computers. You can also use a mobile app to view the video footage on your PC.


Add comment