
Table of Contents
How to Connect to a Shared Printer on a Network?
How To Connect To A Shared Printer Windows 11? There are multiple ways to connect a printer over the network. The most common way is to enable File and Printer Sharing on the primary Windows 11 computer.
Another option is to add the printer manually. To do this, go to the Settings app and select Bluetooth & devices > Printers & scanners.
1. Enable Network Discovery:
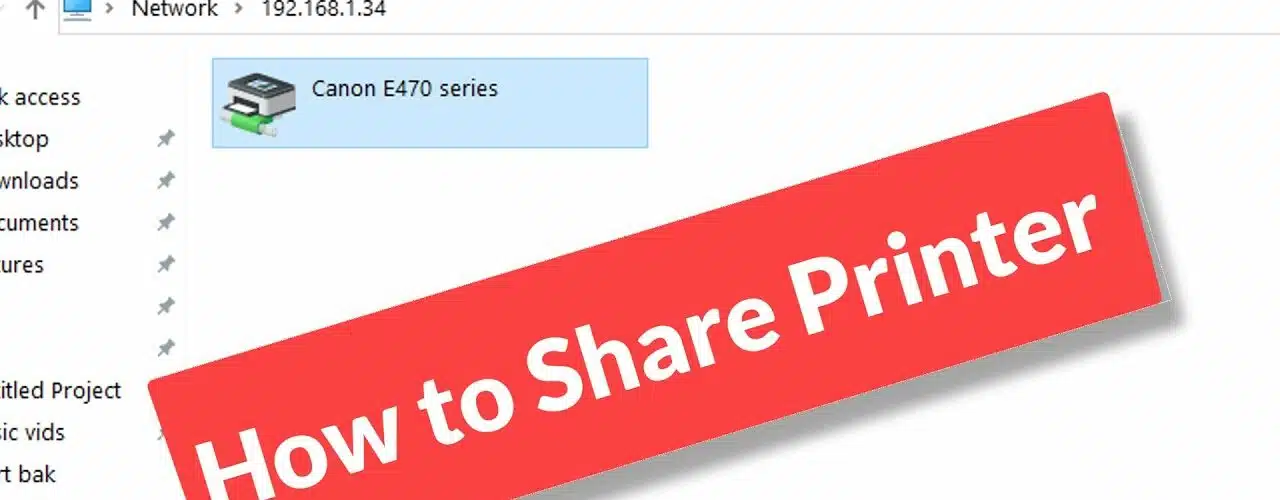
When you connect to a shared printer on a network, the first thing you need to make sure is that the printer is actually shared. You can do this by going to the primary computer where the printer is connected and checking that the printer is set to be shared.
Once the printer is shared, you should be able to see it in the list of available printers when you go to Settings and then Bluetooth & devices or Printers & scanners. If you don’t see it, try adding it manually instead – just enter the IP address or hostname of the printer into the Add device box and it should show up in the list.
You can also check that the firewall is not blocking the connection to the shared printer. Sometimes this can happen and you will have to temporarily disable the firewall in order to get it working again.
It is also possible that the router is not configured correctly, and this can cause problems with connecting to a shared printer. If this is the case, then you should reboot your router and try again. You can also run a dedicated troubleshooter that is designed to detect and fix problems with printer sharing. If you have tried all of these steps and are still unable to connect to a shared printer, then you may need to contact your network administrator for assistance.
2. Install the Printer Driver:
Printers can be connected physically with a USB or CAT5/UTP cable to a Windows computer, or wirelessly via Wi-Fi to the same network. Once a printer is installed and configured correctly, it can be automatically detected and added to the computer by the Settings app in Windows. If the printer is not discovered, it might have been installed incorrectly or its driver might need to be updated.
Start by making sure that the printer is powered on and connected to the same wired or wireless network as your PC. Then, go to the ‘Printers & scanners’ page in Settings. Click + Add a printer or scanner. This opens a list of devices found on the local network. If the printer isn’t there, you can search for it by name or IP address. Click the printer you want to connect to, then follow the on-screen instructions to install the driver.
If the printer is shared on a Mac, you can access it directly from any other computer in the same workgroup using a system Apple calls Bonjour.

This is similar to how you would connect a Mac to a Windows computer over a wired or wireless network. If you’re having trouble with your Mac, see How to Solve Common Mac Printing Problems for tips on fixing problems that may be affecting printing over the network.
3. Turn on Printer Sharing:
Depending on the model of your printer, you may need to enable network discovery in order to connect to it. Typically, this is done through the Printing Settings. To access the Printer Settings, open the Start menu and search for “Printers” or navigate to the corresponding section of Settings.
If you have a networked printer, you will need to share it with other users on the same network before you can use it from another computer. To do this, click the Printer folder in the Control Panel and select “Printer properties”. On the Printing tab, expand the “Share this printer” field and check the box next to it.
You will also need to enable file and printer sharing on the computer that is connected to the shared printer. If you are not sure how to do this, consult the documentation for your specific printer or contact the manufacturer.
Finally, if you are using a firewall on the networked computer, ensure that it is not blocking printer sharing. If it is, change the settings to allow all incoming connections. Also, ensure that the firewall is configured to not block ICMP packets from being sent to the printer server. Once you have done this, you can print from the other computer on the network to the shared printer.
4. Connect the Printer:
Once you’ve made sure that the printer driver is installed on the primary computer and that the printer-sharing option has been enabled, it’s time to connect to the shared printer. To do this, open the Devices and Printers window on your network computer.
In most cases, the printer should already be listed in this window. If not, click the Add a printer link and follow the onscreen instructions. The Windows wizard will scan for discoverable printers on the network and display them in the list. You can select the printer from the list or, if it’s not listed. Use the “Select a shared printer by name” option and enter the full name of the primary computer. And the printer into the box provided. If your network uses a password for sharing devices, you’ll also need to enter. The credentials of the primary computer in order to continue.
The easiest way to print from a shared printer is on a. PC that’s part of the same Homegroup as the one that’s hosting it. PCs that are part of the same Homegroup can automatically connect to printers. On other computers in the same way that they connect to file folders and other resources.
You can also use the traditional printing options that are still available if you don’t want to enable. Homegroups or if your network doesn’t support them. This method isn’t as easy, but it should get the job done.


Add comment