
Table of Contents
How To Connect To Raspberry Pi Over Ethernet?
How To Connect To Raspberry Pi Over Ethernet? The Raspberry Pi is a tiny single-board computer that can be used for many projects. It has a lot of potential and can be incredibly useful in your home or workplace.
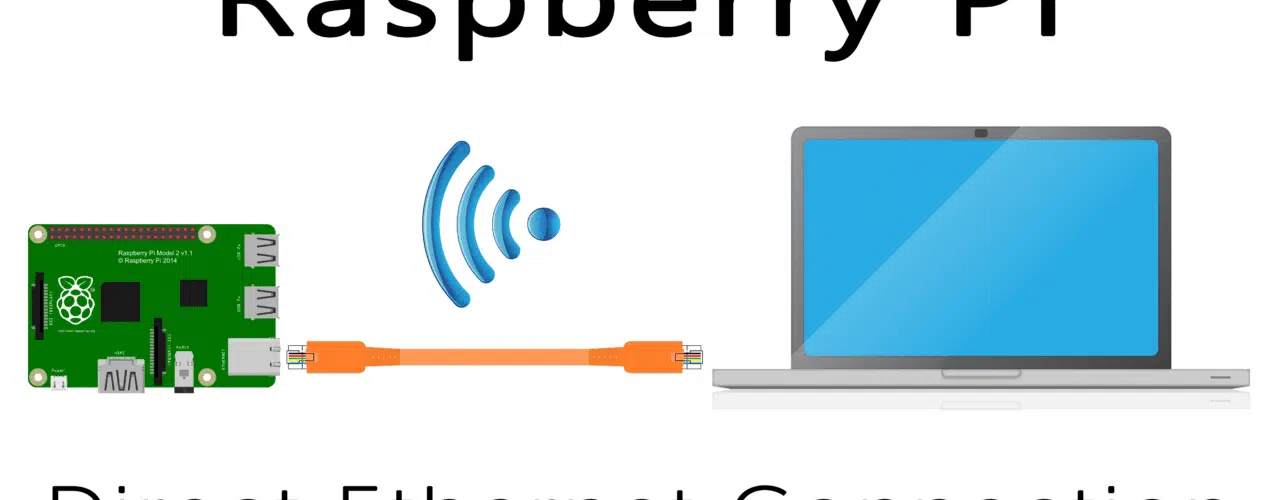
You can directly connect your computer to the Raspberry Pi over an Ethernet cable without having to plug in a monitor, keyboard, or mouse. The main requirement is a DHCP server running on the laptop.
Features Of Connect Raspberry Pi Over Ethernet
- The Raspberry Pi has built-in wireless networking capabilities but connecting to your network via a wired Ethernet connection offers more stable and reliable connectivity than WiFi. This is especially useful if you need to use your Raspberry Pi for SSH or remote desktop access but do not have access to a laptop or PC with a wired internet connection.
- Using your Raspberry Pi over a wired Ethernet connection also bypasses your home Wi-Fi network and allows for more stable connections to the Raspberry Pi from outside of your network. In addition, a direct ethernet connection is faster and more reliable than connecting to your Pi over WiFi as it is not sharing bandwidth with other devices on your home network.
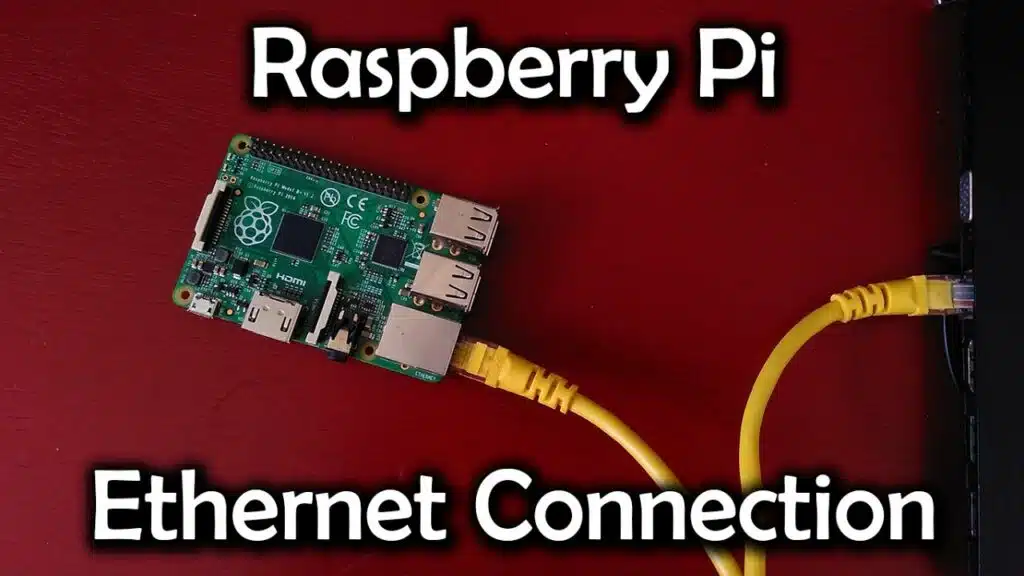
- To get started, you will need an Ethernet cable that has RJ45 connectors on both ends. Plug one end into your computer and the other end into your Raspberry Pi. Connect the wired ethernet connection to your router and then power up the Pi. Once the Pi is powered up you should see various lights lit on the board.
- Once you have the DHCP server installed on your Windows PC, you can use a command line program called Nmap to scan for your Raspberry Pi’s IP address. If you see the command line window open, you can now enter the ssh command to connect to your Pi remotely from a Windows-based PC.
Power
Power Over Ethernet (POE) is a method of supplying both power and network connectivity through a single cable. This can be useful if the Pi 4 is being installed in positions away from power sockets or wifi or for CCTV installations where the camera module requires both power and fast networking.
To enable POE on a Raspberry Pi. A separate power supply needs to be purchased which is capable of providing 5V 3A over the Ethernet port. This can be connected to the Raspberry Pi using a POE+ HAT which is a low-profile add-on board. That fits on top of the GPIO connector on the Raspberry Pi 4. Plug in the power supply with the labeled ‘Power In’ port and then connect a short Ethernet patch. The cable between the Data Power In (Green LED) and the Ethernet port is situated on the bottom of the Pi.
If your router supports POE then a standard Ethernet cable with RJ45 connectors on both ends will work fine. The network cable mustn’t be too long as this can cause electrical interference and loss of data.
Connect the network cable to your PC and then the router and ensure that all connections are secure. If your Windows computer is configured to share its internet connection then the DHCP. (Dynamic Host Configuration Protocol) service. On your router should be able to dish out an IP address for the Raspberry Pi over the wired network connection.
Ethernet Cable
The Raspberry Pi is a trendy single-board computer that can be used for many projects like robotics, home automation, media centers, and more. While it has built-in wireless networking capabilities, it’s often preferable to use a wired connection. It’s easier to work with, and it offers more stable and reliable connections than WiFi.
You can connect the Raspberry Pi over Ethernet to your Windows PC (Personal Computer) to remotely. Access its command prompt, Desktop, or both via SSH or VNC. It’s a bit more involved than using WiFi, but the results are well worth it!
The most important thing you’ll need is an Ethernet cable. The one you use will depend on what kind of computer you have. But typically anything that has an Ethernet port will work. They look similar to phone cables but have double the wires (8 vs 4). The connector is also slightly larger and has a small lever on top to help you secure and unplug it. It’s called a Registered Jack 45 (RJ45) connector, and you’ll find it on computers, modems, switches, routers, and more.
Make sure you have a standard Ethernet cable with RJ45 connectors on both ends. And it’s at least 3 feet long. You’ll also need a power supply for the Raspberry Pi, and a network adapter in case. Your computer doesn’t have an Ethernet port built-in.
Router
A Raspberry Pi is a small, affordable computer that can be used to do many things. It is often used as a router, directing network traffic between devices. It can also be configured to function as a robust Raspberry Pi firewall router, enhancing network security by filtering and controlling data flow.
The Raspberry Pi is a computer that can be connected to your home network via an Ethernet cable. It can then communicate with other devices in the network, or connect to the internet for web browsing and streaming. The Raspberry Pi can also be configured as a wireless router, providing Wi-Fi access to wired and WiFi devices in the home.
Using a Raspberry Pi as a router is easy. It has a Gigabit Ethernet port on its board, which can be connected to a standard home network switch. It can also be used with a USB to Ethernet adapter to provide an additional LAN connection. However, it is important to note that the Raspberry Pi 4 only has 1 Gigabit Ethernet port.
To connect to the router of a Raspberry Pi over Ethernet, you must first enable DHCP (Dynamic Host Configuration Protocol) service on your home network. Once this is done, the Raspberry Pi will be able to obtain an IP address from your router and access the internet.
Computer
The Raspberry Pi is a popular single-board computer used for projects like media centers, robots, and more. It has built-in wireless networking abilities, but a wired Ethernet connection offers more stable and reliable connectivity than WiFi. If you have a Raspberry Pi sitting around without much use, you can easily connect to it over a wired Ethernet connection from your PC (Personal Computer).
To connect to your Raspberry Pi over Ethernet, first, make sure your computer is powered on and running Windows. Right-click on the Wi-Fi icon in your system tray and select “Open Network and Sharing Center”. Click on “Ethernet”. Note the default gateway IP address shown. This is the IP address of your computer’s ethernet adapter and will be the IP address you will use to SSH into your Raspberry Pi later.
Next, open the properties for your ethernet adapter and ensure that “Obtain an IP address automatically” and “Get DNS server address automatically” are checked. Finally, make sure that “Allow other network users to connect through this computer’s Internet connection” is checked.
Once you’ve configured your PC to share its internet connection with the Raspberry Pi over Ethernet. You can remotely access the computer by using a program such as PuTTY or an external application like XRDP. You can also use this setup to host a variety of network services on your Raspberry Pi, such as Plex Media Server, Owncloud/Nextcloud cloud storage, torrent downloading with Transmission, and more!
Conclusion
Raspberry Pi is a trendy single-board PC (Personal Computer) that is primarily used for various projects. Its reliability and GPIO pins allow users to create weather stations that can monitor environmental conditions and contribute to community-based data collection. They can also use it to experiment with introductory AI and machine learning concepts.


Add comment