

Most modern PCs come with Bluetooth support, so connecting your Xbox controller to Windows 10 or 11 shouldn’t be too difficult. You can use a USB wireless adapter like the one that came with your console or a standard micro-USB cable.
First, make sure your controller supports Bluetooth (the Series X|S models have a small button next to LB that begins flashing rapidly when in pairing mode). Then, plug the adapter into a USB port and allow it to install drivers.
Table of Contents
1. Plug the controller into a USB port How to Connect Xbox Controller to PC Bluetooth Windows 10:
Many gamers prefer using a console controller when playing on their PC, as it offers a more accessible button layout. Thankfully, Microsoft has made it easy to connect an Xbox controller to your computer — whether you want to use a USB cable or Bluetooth.
For the simplest option, simply plug the controller into a USB port on your computer. The controller will automatically connect to the PC, and the light on the Guide button should stop flashing.
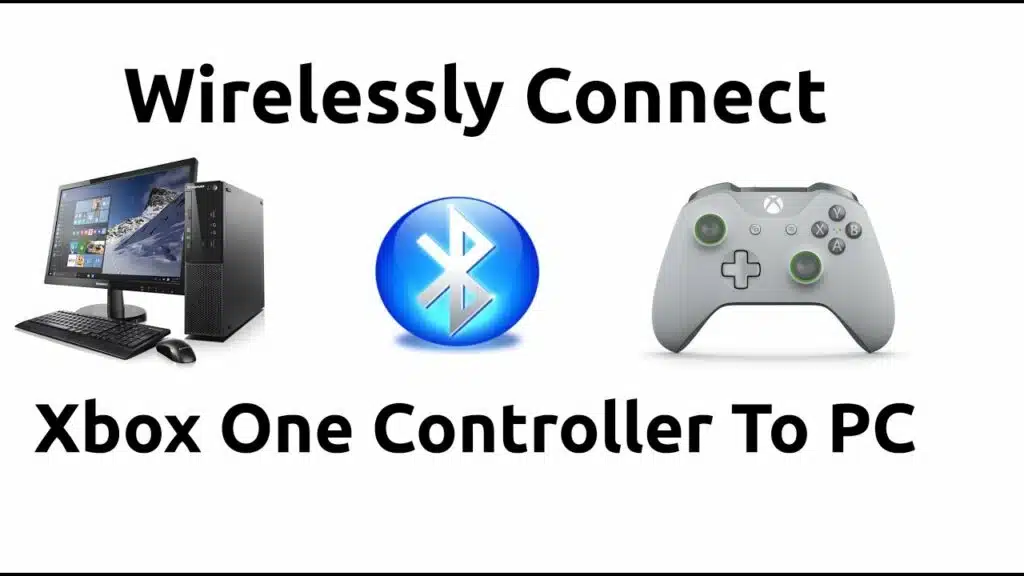
You can also connect a wireless controller with an Xbox Wireless Adapter (or a compatible third-party adapter) for Windows. To do so, plug the adapter into a USB port on your computer and let Windows install the drivers.
Once the adapter and controller are paired, you can play games on your computer with little to no latency or dropped connections. To do so, open the Settings menu on your PC and navigate to Devices > Bluetooth & other devices.
2. Turn on the controller:
Most current Xbox Series X|S and Xbox One controllers, as well as the second-generation Elite Wireless controller, support Bluetooth connectivity. This makes them compatible with a variety of PCs and laptops, without the need for a wired connection.
Before you start connecting your controller, make sure that it’s powered on. Press the Xbox button to do so. You’ll know that it’s on when the light starts flashing rapidly.
It’s also worth noting that the LED on the controller and the USB adapter will both flash while the controller is in pairing mode. When the light on both devices stops flashing, it’s ready to connect to your computer.
To start the process, you’ll need to open the Settings app on your PC and select Bluetooth & other devices (Windows 10) or Add Device (Windows 11).
This will prompt your computer to search for your controller, which it should find shortly after you’ve started the process. From here, you’ll be able to choose the controller as your preferred device.
3. Press and hold the Pair button How to Connect Xbox Controller to PC Bluetooth Windows 10:
The Xbox button on the controller flashes slowly, indicating that it’s not synchronized with anything.
To get it into pairing mode, press and hold the Pair button on the controller, which is a small button along the top next to the LB. The button will start flashing more rapidly, indicating that it’s in pairing mode.
After a few seconds, the controller should appear in the Add Device window in the Bluetooth & Devices menu on your PC. Select it, then click Done.
If the Xbox button on the controller is still blinking slowly, try charging or replacing its batteries. This can often fix a problem that causes a controller to stop working properly. If the problem persists, you might need to use an Xbox Wireless Adapter.
These are proprietary dongles that work with the controller through a proprietary connection instead of Bluetooth. Plug the adapter into a USB port and follow the steps in our guide to set it up.
4. Plug the adapter into a USB port:
If you’re having trouble connecting your controller to Bluetooth, it might be a problem with the drivers. You can use Driver Genius to find out if the drivers are up to date and download and install the correct versions. Once the drivers are updated, you should be able to connect your controller to Bluetooth.
If your computer doesn’t have Bluetooth, you can use an Xbox Wireless Adapter. This is a USB device that can connect your controller to your PC without using Bluetooth.
Plug the adapter into a USB port on your computer and let Windows install the drivers. Once the drivers are installed, you can start gaming.
To connect your controller to the adapter, press the Guide button (the Xbox symbol) and hold the Pair button until it starts flashing.
Then, open the Add a Device window and select Bluetooth. Once your PC finds your controller, select it and click Pair. Now you can play games on your PC with the Xbox Wireless Controller.


Add comment