
Table of Contents
WordPress – Unable To Connect To Your Database Server Using The Provided Settings?
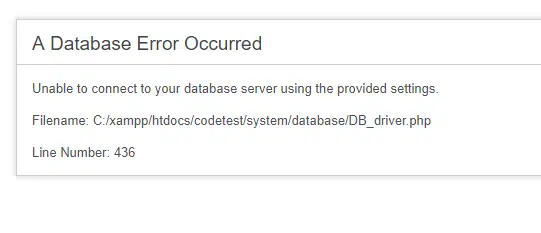
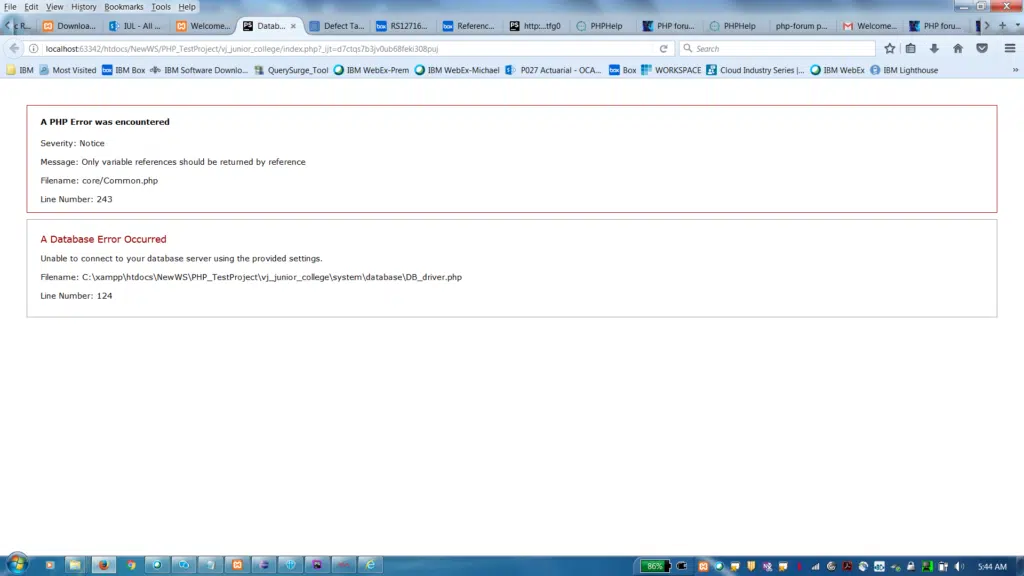
Unable To Connect To Your Database Server Using The Provided Settings? An “error establishing a database connection” message in WordPress is a serious problem that can cause your website to go down. It can be caused by a number of different things, and it’s important to fix this issue as soon as possible.
Fortunately, this is an easy issue to fix. In this article, we will discuss some of the most common causes of this error and provide some tips on how to resolve it.
Check Your Proxy Settings:
A proxy server is a type of computer that acts as an intermediary between your local network and the Internet. This allows you to access websites and services that would otherwise be blocked by your firewall or ISP. Proxy servers can be useful, especially in large organizations, but they can also cause problems if not configured properly.
To check your proxy settings, open a web browser and go to the Settings menu. In Internet Explorer, select Options, then Advanced, and then click Change proxy settings. Enter the IP address of your proxy server and the port number, then save your settings. You should now be able to connect to your database server.
In the Proxy Server Setting dialog box, you can configure several settings for your connection to your database. The Hostname and Port fields are the host names and ports for the database server. The Username and Password fields are the credentials for connecting to your database. The No Proxy field lets you specify one or more host names or IP addresses that should not require a proxy. You can use an asterisk (*) to indicate all hosts, or a comma to separate multiple addresses.
If your organization uses a proxy solution and automatic configuration files to define connection settings, select Use system proxy settings. This setting allows you to use the proxy settings specified by your network administrator.
Check Your Network Settings:
Unable To Connect To Your Database Server Using The Provided Settings. You may have blocked connections to your database from your computer’s firewall. Make sure that you have created an outbound rule allowing connections to the host and port specified by your database settings. If you’re using encryption, you’ll also need to create an inbound rule allowing the application name (e.g. MySQL) to be used in the connection string.
The host is the IP address of the server that you’re trying to connect to, or the database hostname. The port is the TCP/IP port that the database server listens on (the default is 3306). The username and password are your login credentials for connecting to your database.
Bridge can’t connect to your database because it doesn’t have access. This error indicates that your database doesn’t allow Mode to connect, or the network settings on the computer running Bridge don’t allow it to access the database.
To resolve this issue, you’ll need to either install Bridge on a machine that has direct access to your database or adjust the network settings on the computer that runs it to allow Mode’s servers to connect directly. You can do this by following these instructions:
Check Your Firewall Settings:
If you’re using a network service to connect to your flexible server, the firewall on that service may prevent network traffic from reaching the flexible server. To fix this, you need to add an additional firewall rule that allows your connection. You can do this by navigating to the database overview page and selecting Set Server Firewall on the toolbar.
Once you select this, the Firewall settings page opens. From here, you can create an additional server-level IP firewall rule that opens port 1433 on the server for your current client address. Once you select Save, the new firewall rule will be created and your connection should work.
Before adding the additional firewall rule, make sure that your flexible server is in a public or private VNet or resource group. This is necessary to avoid accidentally creating a firewall rule that is only available for your own subscription.
If you have multiple accounts configured in the same way, you might want to consider converting them to groups instead of account profiles. This will allow you to better control access to the database. Additionally, if you need to protect an application with unique protection requirements, it might be best to use a group profile rather than an account profile. You can find more information about this in Managing Account and Group Profiles.
Check Your Database Settings:
Having the right database settings can have a big impact on an SQL Server instance’s behavior, performance, and availability. It is important for DBAs to understand all the available database properties and how they are configured.
To change a database connection property, click the Data Source Properties icon on the toolbar or use View | Tool Windows | Database. Select a data source profile and specify connection details. To test the connection, click the Test Connection button.
For a secure and reliable connection, configure a password for the database user. In addition, if the database is running on a dedicated server or VPS with root access, it is recommended to enable password protection for this database.
The database time zone setting affects the database’s ability to read date times in local time (if the database backend supports it). The default value is “USE_TZ”, which means that the database returns aware date-times (those that take into account the current time zone of the client) instead of UTC. It’s also possible to set this option for individual databases by adding a TIME_ZONE clause in the query string. However, this should be used with caution as it can cause performance problems.


Add comment