
Table of Contents
How to Connect Android Studio to Phone:
In order to connect Android Studio to a phone, you need to make sure both devices are on the same wireless network. You also need to enable the developer options on the phone.
Once you have done these two steps, you can now begin to develop apps. You will need a wifi receiver for this.
Steps to Connect Android Studio to Phone to a device:
If you want to use Android Studio to develop apps for Android devices, you need to connect the phone to the computer first.
For this, you will need a WiFi receiver for your PC and your phone must be on the same network. You should also enable the developer options on your phone if you have not done so.
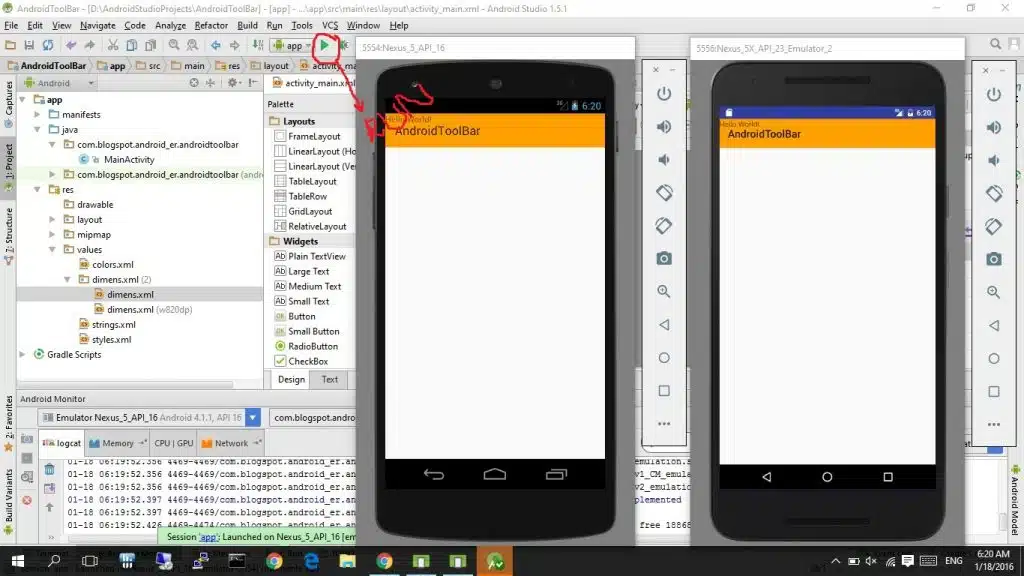
To do this, open the Android Studio program and launch the AndroidSample project. You can also run the project in an emulator by clicking the Run button in the toolbar.
Once the emulator is open, a deployment target selection dialog will be displayed. Select a Nexus 9 device to test your application.
When the process is complete, you should be able to open your Android device. If you do not see the device listed on the list, click the “Change Device” button on the right-hand side.
If you still cannot connect the device to Android Studio, use the Connection Assistant to troubleshoot the issue. It will guide you through the process step-by-step. You can find this tool under Tools > Troubleshoot Device Connections.
Once you’ve opened Connection Assistant, follow the prompts to connect the device to the computer over USB. Then, enable USB debugging.
Setting up a Wi-Fi Network Connect Android Studio to Phone:
If you connect your Android Studio to your phone via Wi-Fi, it will automatically scan for available Wi-Fi networks. You can get a list of available networks by using the WiFiManager#startScan method.
Once you’ve found a valid Wi-Fi network, you can use the WiFiManager#getConfiguredNetworks method to retrieve its network ID. You can also use the WiFiManager#addNetwork method to configure the network.
If you’re having trouble connecting to your device with wireless debugging, you’ll need to enable it in your device’s settings. This can be tricky because some Wi-Fi networks block p2p connections.
If this is the case, you can try connecting using a cable, or by using another Wi-Fi network. Additionally, sometimes, ADB over Wi-Fi turns off automatically – this can happen if your device switches networks, or disconnects from it.
Wi-Fi Direct is a type of Wi-Fi connection that uses peer-to-peer technology to allow applications to connect and interact with other devices nearby. Unlike Bluetooth, Wi-Fi Direct extends the capabilities of Wi-Fi networks.
It allows devices to discover each other by broadcasting their services to the network. In addition, Wi-Fi Direct analyzes the capabilities of the devices to determine which device should act as a server for each peer.
Installing a USB driver on an Android device:
Installing a USB driver on an Android-powered device is essential for developing multi-device applications. To do this, follow the instructions provided by the manufacturer of the device.
Some manufacturers also provide software links for downloading and installing this driver. Google’s USB driver is a common option for Android devices, but it is not available for all models.
Nexus 10 tablets and the Nexus 7 phone use a version of Google’s driver. Once you’ve downloaded the USB driver, you can install it using the Android SDK manager, which is located in the Start menu.
The next step is to connect the Android device to your computer. In the Android SDK Manager, go to the EXTRAS tab. Click the arrow next to USB drivers. This will open the Driver Manager, where you can see the list of drivers for the device. Choose “yes” to confirm installation or “do not install”.
Configuring ADB:
The first step in configuring ADB when connecting Android Studio to your phone is to set up your phone to debugging mode. Then, you must configure the phone’s ADB settings.
This may vary from phone to phone. Depending on the OS and access controls, you might have to configure a specific setting for your device. You can find out more about the different options for debugging your phone at the Android Developers website.
To configure ADB when connecting Android Studio to your phone, run the following command on the emulator. Make sure to specify a port number for the emulator.
In addition, you should specify the identifier of the phone. For instance, if your phone is a Motorola PCS, type 22b8 into the identifier field.
Once you have your phone detected, you can start development. To do this, you must enable USB debugging.
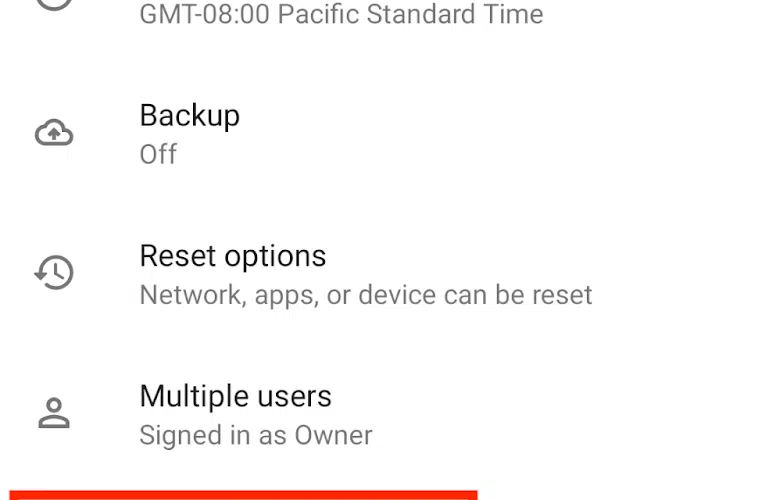
To enable USB debugging, go to Settings > Developer Options and toggle the setting. After this, connect your phone to your PC with a USB cable. Once connected, click the “VD Manager” icon.


Add comment