

Table of Contents
How to Connect External Monitor to MacBook Air:
If you want to connect an external monitor to your MacBook Air, you can either use an HDMI cable or an AirPlay adapter.
Once connected, you can adjust display settings and use the external monitor as a primary or extended display. You should ensure that both the MacBook and the monitor are connected to the same Wi-Fi network.
DisplayLink Manager helps how to Connect External Monitor to MacBook Air:
When you connect an external monitor to your MacBook Air, it needs to support the DisplayLink protocol.
This technology is a combination of DisplayPort and USB that allows you to send video information to an external display over the same port.
A DisplayLink manager software program enables you to manage DisplayLink connections on your Mac.
The software allows you to configure the connection between your MacBook Air and an external monitor.
It also allows you to fix the problem if your monitor is not detected by your Mac. It is important to note that DisplayLink is supported by most Thunderbolt docks and hubs.
The DisplayLink Manager beta for macOS is free to download from Synaptics’ website. The beta version supports up to two external monitors and works with all macOS Monterey and Big Sur versions.
The final release is expected in late December. Users of the M1 MacBook Air and 13-inch MacBook Pro models have reported good results with DisplayLink adapters.
With DisplayLink, you can connect multiple external monitors to your MacBook Air. While Apple’s tech specs only allow you to connect one external monitor, DisplayLink adapters allow you to connect up to four.
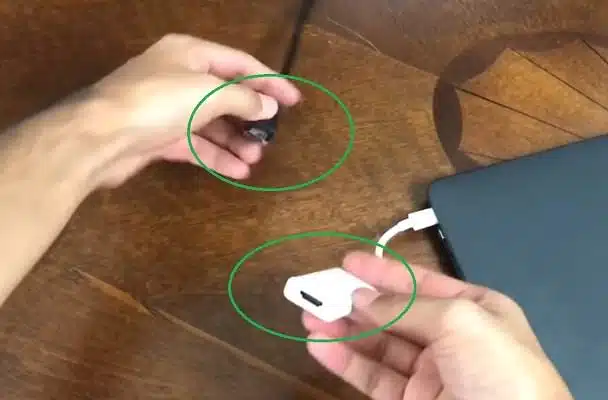
Adapter needed how to Connect External Monitor to MacBook Air:
If you want to use an external monitor to work on your Macbook, it’s important to make sure it has a compatible port. If the display you’d like to use has an HDMI port, you’ll need an adapter.
However, if your monitor doesn’t have a HDMI port, you’ll need to purchase an adapter made for the Mini Displayport. You can buy these at electronics retailers.
Fortunately, connecting an external monitor to your MacBook is a fairly simple process. If you want to connect a DVI or VGA monitor, you’ll need an adapter with the proper connectors.
You may also need a USB-C hub to add more connections. You can also use a Type-C cable to connect your external monitor to your MacBook.
If you want to connect a 4K monitor to your MacBook Air, you’ll need a HDMI 2.0 adapter. Unlike older versions of the cable, HDMI 2.0 allows for a stable signal and loads the display immediately without flickering. HDMI 2.0 is also supported by Samsung Galaxy Type-C USB smartphones.
Adjusting resolution:
To adjust the resolution of the external monitor, open the Display menu in the Menu Bar of your Mac. From there, you can choose the screen resolution, toggle mirroring, and change refresh rates. You can even select a Retina display. You can also bookmark the resolution settings.
First, you need to make sure that the monitor is connected and all software is up to date. Next, open System Preferences and click the Displays tab.
Hold down the Alt or Option keys while opening the Displays pane. You should see a button that says Detect Displays. Click it and your Mac should detect the external monitor.
You can also adjust the display’s color settings. Some third-party displays feature RGB buttons that allow you to adjust the display’s color.
This allows for richer colors and greater visibility. But note that the brightness settings may not be the same as the resolution settings on your Mac’s built-in screen.
Changing refresh rate:
If you are using an external monitor with your MacBook Air, you may want to change the refresh rate. This is done in the advanced display settings.
It is important to choose the right refresh rate for your monitor if you want to have smoother motion. You should also check if the display cable is compatible with high refresh rate. If not, you may have to perform troubleshooting.
To change the refresh rate, go to System Preferences and then click Displays. In the Displays section, change the refresh rate to 60Hz.
This will make your external display work with your MacBook. You can also change the resolution. If the refresh rate is still not correct, you may have to replace the display cable.
It is also possible to change the refresh rate when connecting an external monitor to a MacBook Air M1. Unfortunately, the MacBook Air M1 does not have a dedicated graphics card.
However, a 144Hz monitor will offer higher frame rates than a 60Hz monitor, giving you the edge over other gamers.


Add comment