
Table of Contents
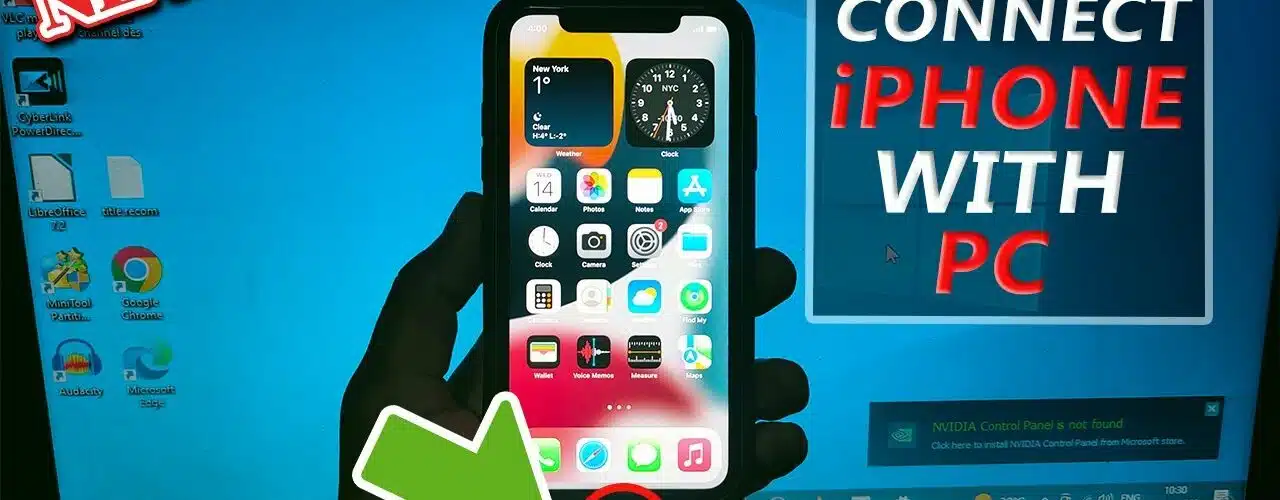
How to Connect iPhone USB to Windows 7?
How To Connect iPhone USB Windows 7? You can share your iPhone’s internet connection with your computer using Wi-Fi or USB tethering. This wikiHow explains how to connect your iPhone to your Windows computer over Wi-Fi or USB.
If your computer doesn’t recognize your iPhone, the issue may be related to a problem with your computer or USB cable. Try connecting to a different computer and/or USB cable.
1. Download and Install EaseUS MobiMover:
EaseUS MobiMover is a powerful iPhone transfer software that lets you backup, manage, and restore data to/from your iOS device.
It supports a variety of file types such as music, movies, TV shows, home videos, audiobooks, podcasts, iTunes U, and more. It also has a comprehensive content management feature where you can handpick your media files and organize them in the way you want. You can also select and transfer specific items rather than a whole folder at once.
Once you’ve installed the program, connecting your iPhone to the computer is a piece of cake. You’ll get a pop-up message on the screen of your iPhone asking you to “Trust this computer”. Just tap on it and you can proceed to connect your phone.
The app will automatically detect your iPhone and display all the data you have on it. You can then select the data you want to transfer and click on “Transfer”. It will start transferring the selected data from your iOS device to the Windows PC and then save it in a new folder in the location of your choice.
MobiMover has an extra cool feature that lets you shift data between two different iPhones. This is especially useful if you’re switching to a new iPhone or if you just want to have an extra copy of your data on your desktop.
This feature makes MobiMover a really handy tool to have. You can also use it to transfer professional pictures from your Mac to your iPhone so you can carry them with you on the go. The only downside is that you have to install the app on both your iPhone and Mac for this function to work.
2. Connect your iPhone:
You can use a USB cable to connect your iPhone to the computer and access its files. This method is convenient and reliable. It allows you to transfer files, sync content, and perform other tasks. It also gives you a wide range of options for device management.
To begin, you will need a USB cable that features a lightning connector. Plug one end of the cable into your iPhone’s charging port. The other end of the cable should be plugged into a USB port on your computer.
The computer should recognize the connection and prompt you to “Trust This Computer.” Trusting the computer will allow the software to access your device’s files.
Once the connection is established, your iPhone will appear as a drive in your file explorer or Finder. You can then browse and transfer files to and from your iPhone. If you are experiencing problems with your connection, try restarting both the iPhone and the computer. The problem may be caused by a temporary glitch in the system.
Another way to connect your iPhone to the computer is by using AirDrop. This method is more convenient than the USB cable, but it does require a Wi-Fi or data connection. To use this method, you will need to have the latest version of iTunes and iOS installed on your phone. You will also need to have cellular data turned on.
Once you have installed the necessary software, you can connect your iPhone to your computer. To do this, simply follow the steps in the previous section. Once the connection is complete, you can transfer files between your computer and iPhone, or access your files remotely. Once you are finished, be sure to disconnect your iPhone from the computer. To do this, click the “Safely Remove Hardware” or “Eject” icon in your taskbar or system tray.
3. Start transferring:
Using a USB data transfer cable to move files from one computer to another has come a long way since the days of punch cards and floppy disks. USB is the leading type of file transfer technology and provides the best combination of speed, reliability, and security. It is so popular that most computers and accessories use this interface. The process of transferring files is simple, and there are a variety of different cables to choose from.
You can use your iPhone’s charging cable to connect it to a Mac running OS X 10.9 (Mavericks) or later, or to a Windows PC running Microsoft Windows 7 or newer. You can also connect your iPhone to a Mac or PC wirelessly using AirDrop or Phone Link.
If you’re using a USB cable, make sure that the end that plugs into your iPhone is a Lightning or USB-C connector. You can purchase a charger adapter for older iPhone models that have a standard USB port.
When you’re ready to begin transferring files, open the folder that contains your data and select it. Click the Share tab, and then follow the onscreen instructions to finish sharing. Once the folder is shared, you can access it on any computer that has the same network connection as your source computer.
If your iPhone isn’t recognized by iTunes, the issue may be related to a bad USB connection or a dead USB port. Try using a different USB port, or disconnecting any other devices or accessories before connecting your iPhone. If you see a “Trust this Computer?” alert on your iPhone, select Trust.
Errors during file transferring can occur because of copy protection and other factors. These errors are usually easy to resolve by checking the flags on the individual files and changing their permissions if necessary.


Add comment