
Table of Contents
How to Connect Laptop to TV Wirelessly?
How To Connect Laptop To TV Wirelessly? Many modern laptops have HDMI ports that can connect to your TV. You can also use a VGA cable if your laptop doesn’t have an HDMI port or an adapter.
There are also wireless ways to display your laptop screen on a TV, such as using Google Chromecast or the screen-sharing tool that comes with Windows 10 based on technology called Miracast.
HDMI:
The most common method for connecting a laptop to a TV is with HDMI. This can be done with a standard HDMI cable, or you can use a wireless HDMI transmitter and receiver. Wirelessly HDMI systems avoid the need for complicated wired infrastructure, and the transmitter and receiver can be moved without reinstalling cables. These systems also tend to be cheaper than other solutions.
However. The disadvantage of this method is that it requires you to be very close to your TV. Or have long cables strewn across the room. The cables can also cause interference and signal loss. You may need to use gaffer tape to keep the cables from pulling down your TV or laptop.
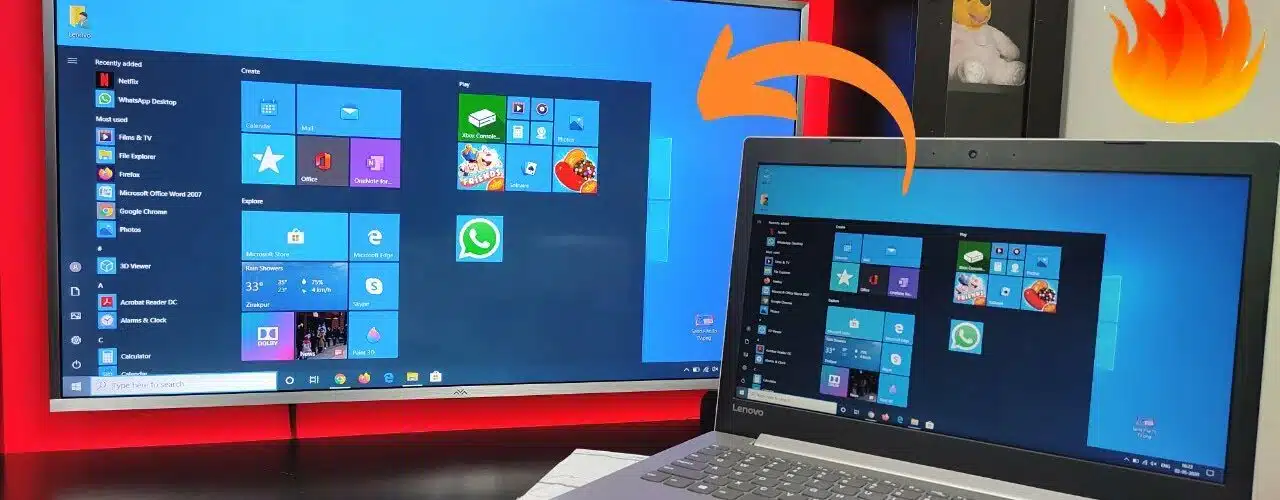
If you have a newer laptop, you may be able to connect wirelessly using Miracast or Wi-Fi Direct. You will need a smart TV that supports this feature, and your laptop must support it as well. You can check which connections your laptop supports by navigating to Settings app > System > Display. Select the Multiple Displays option, and then click the Detect button.
This method will either duplicate the screen on your laptop to the TV or extend the image to the TV and make it a second display. The latter is usually used for presentations and other business applications, as it allows you to move windows between the laptop and the TV.
VGA:
A laptop computer is a small personal computer that features a screen and an alphanumeric keyboard. It is portable, making it a good choice for work and school. However, its screen is often not large enough to do some tasks. In such cases, connecting the laptop to a TV is a great option. There are several ways to do this, including using an HDMI cable or wirelessly.
The easiest way to connect a laptop to a TV is through an HDMI cable. Plug one end of the cable into the laptop’s HDMI port and the other into the HDMI input on the TV. Then, use the TV’s remote to select the correct input based on where the cable is connected (for example, HDMI 1, HDMI 2, etc.).
If your TV does not have an HDMI port, you can connect the laptop to it via a VGA cable. This connection carries both video and audio, but it does not support HDCP. For best results, choose a VGA cable with at least 25 pins and use an adapter to convert it to an HDMI cable.
Once the cable is connected, you can use the TV’s remote to switch between different display options — duplicate screen, extend, or second screen only.
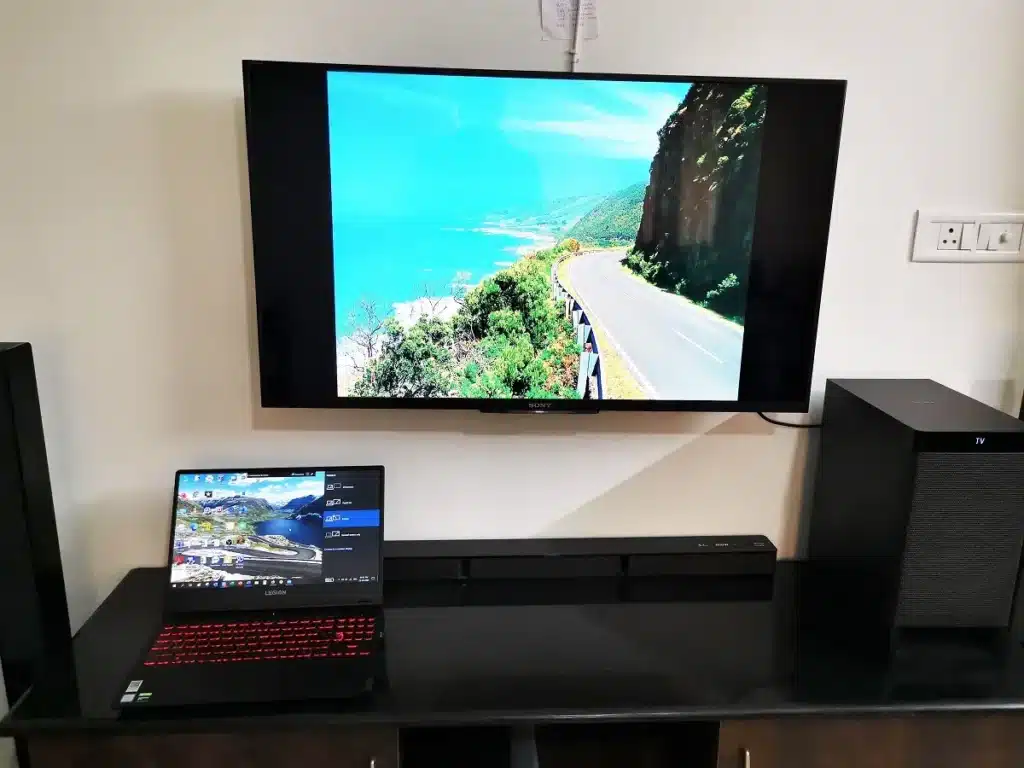
Duplicate mode displays an exact copy of the laptop’s screen on the TV, which is useful for giving presentations or working on two programs side-by-side. Extend mode allows you to drag windows from the laptop to the TV and vice versa.
USB-C:
If you have a newer laptop with a USB-C port, it can connect to your TV directly. This method works only if both devices support Wi-Fi Direct and the TV supports it. Depending on your laptop model, you may need to purchase an adapter or cable to make this work. Most modern laptops have this type of port, but check the manual to be sure.
You can use a USB-C to HDMI adapter for this connection, or a USB-C hub with an HDMI output (such as this $18 one from Anker). The TV should be set to the appropriate input, and you’ll need to adjust its brightness to match that of your laptop.
Once you’ve made the connection, you can select one of the following projection modes from the Windows 11 Project menu:
Duplicate duplicates your desktop on the TV and is ideal for giving presentations. Extend extends the image to your TV and makes it a secondary display, which is useful for moving windows between screens. The second screen only disables the laptop screen and shows the image only on the TV, which can be handy if you want to watch movies.
You can also choose to connect a non-smart TV using an HDMI cable or a VGA cable. Be aware that VGA only carries video and no audio, so you’ll need to use a separate cable for that.
Miracast:
There’s another simple way to connect a laptop to a TV. Without the need for extra adapters or equipment: using Miracast. This is a popular wireless technology that lets your PC project. Its screen to any TV or display that supports it. To use this method, you’ll need to make sure both your TV and laptop support Miracast. You can find out by checking either the device’s manual or by visiting the manufacturer’s website for more information.
If your TV and laptop have matching ports, all you need is a standard HDMI cable to connect them. Just plug the cable into the appropriate port on each device, then turn on the TV and select the proper input with the remote control. If your TV has HDMI but your laptop only has an older VGA connector, you’ll need a VGA to HDMI converter. These are relatively inexpensive and can be found by searching online.
To connect a Miracast-supported TV to your laptop, follow the steps in the first method, but instead of selecting the “Miracast available” option, select “Connect to a wireless display link.” You’ll also need to enable Wi-Fi on your TV if it doesn’t already have it enabled. This is typically done by navigating to the TV’s settings menu and choosing the option from the list that appears. Once the connection is established, you’ll see a toolbar at the top of your desktop that includes a status icon and text indicating that your TV is connected to your computer.


Add comment