
Table of Contents
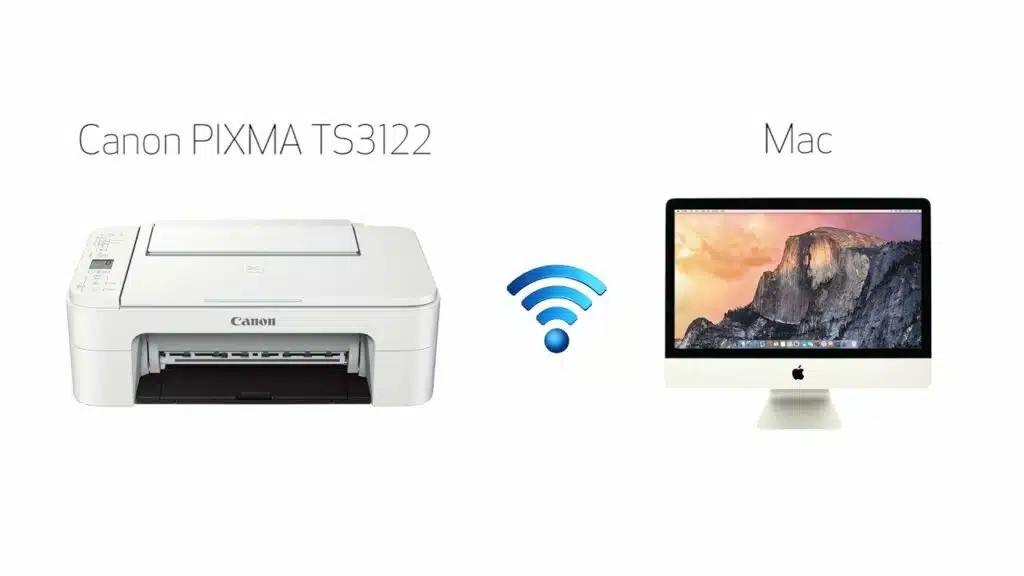
How to Connect a Canon Printer to Your Mac Wirelessly With USB?
How To Connect MacBook To Canon Printer Wirelessly With USB? If you want to connect your Canon printer to your wireless network, you can follow this procedure. Before you do, make sure that your printer is updated and that you have the latest software for it.
You can use Wi-Fi Protected Setup (WPS) or a direct USB connection. You should also ensure that your printer is turned on.
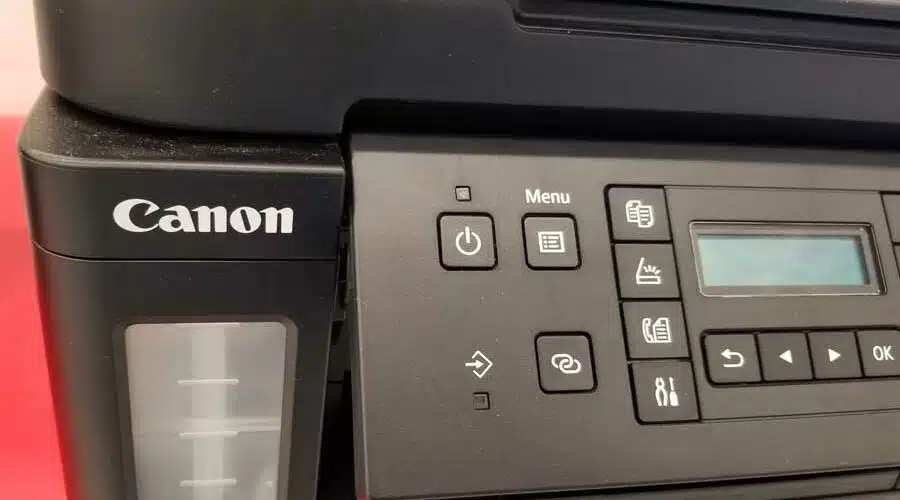
Step 1: Turn On Your Printer:
Plug the printer into a power source and turn it on. This typically requires you to hit a button or power switch on the printer itself, but it can also be done by accessing your printer’s menu through its LCD. Once the printer is turned on, you can proceed to the next step.
Make sure that the printer’s USB cable is plugged in securely to both your printer and Mac laptop or desktop. This is especially important if you’ve been having trouble connecting to your printer recently. It’s not uncommon for cables to quietly work themselves loose over time, and this can be enough of an obstacle to prevent your Mac from communicating with your printer.
While you’re at it, it’s a good idea to check that the printer is properly connected to your wireless network as well. If the connection is solid, you should be able to see the printer appear in your list of available printers when you open System Preferences > Printers & Scanners.
If the printer doesn’t show up, you can try adding it manually. To do this, click the + button in the Printers & Scanners window and select Add a printer. A dialog will then appear listing printers on your network, and you can then select your Canon printer. It may take a minute or two for your printer to appear on this list.
Step 2: Connect Your Printer To Your Mac:
If your printer is set up for wireless printing, it will automatically connect to your Mac when you open the Print menu. Then you can use Command+P to start printing. However, if you’re using an older Canon printer that doesn’t support wireless printing, you’ll need to follow these steps to get it connected to your Mac.
To connect your Canon printer to your Mac, first, make sure that both your computer and the printer are hooked up to the same WiFi network. Next, plug the USB cable from the printer into your computer. Once the cable is plugged in, your Mac will automatically detect the printer and download and install any necessary software.
Once the printer is connected to your computer, you can open System Preferences and select Printers & Scanners. If the printer isn’t showing up in the list, click the + to add at the bottom of the list. Your Mac will search for your printer and, if it finds it, it will display the name of the printer in the “Use” dropdown box.
If your printer doesn’t appear in the list, you may need to update the printer driver on your Mac. You can do this by going to the Apple menu and selecting System Preferences and then clicking Printers & Scanners.
Step 3: Download And Install The Printer Driver:
If your printer does not automatically appear in the list of available printers after you install the driver, you must manually add it. To do so, open the Apple menu and select System Preferences. Select Printers & Scanners, and click + to add the printer. If the printer does not appear, try restarting your computer or using a different USB cable to connect the printer. You can also check for driver updates on the manufacturer’s website. Most manufacturers release new drivers regularly to address security issues and improve performance.
Once you have added your Canon printer to the list of available printers, you can proceed to install the driver. First, you need to make sure that your printer is connected to the internet. Then, you need to download the latest driver from the manufacturer’s website. Then, double-click the pkg installer file to begin the installation process. Once the driver is installed, you can now start printing on your Canon printer.
If you’re unsure how to connect your printer to the wireless network, consult the printer’s instruction manual for specific instructions. Most manufacturers provide documentation on retrieving the printer’s MAC address or IP address. Once you have these addresses, follow the steps below to connect your printer to a wireless network. Alternatively, you can use an Ethernet cable to connect your printer to the network.
Step 4: Set Up Your Printer:
You can use the printer’s touchscreen to connect to your wireless network via WPS or manually (it varies by model). Press and hold the setup button for 3 seconds or more, then select the printer name from the list of available Wi-Fi devices. If you’re using an older router, this may take a few minutes. Once you’ve selected the printer, it should start searching for a wireless connection and connecting automatically.
Once your printer is connected to the WiFi, it should appear in the list of available printers on your Mac. If it doesn’t, you can add it by going to the Apple menu, selecting System Preferences, and then clicking Print & Scan or Printers & Scanners. Select the Canon printer from the list, and then click Add Printer.
If you see “Canon Printer Not Found” or a similar message, there may be a problem with the USB connection between your MacBook and Canon printer. If this is the case, check that both devices are plugged in if needed and turned on. Also, make sure that the cable connecting them is plugged in tightly and that any USB ports on both devices are not blocked or covered.
You can also print from your computer using the free printing application provided by the manufacturer of your Canon printer. For example, Canon offers a free app called Canon PRINT Inkjet/SELPHY that works on both iPhone and Android devices.


Add comment