
A wireless mouse lets you move around your laptop or desktop without the hassle of too-short USB cables.
It also has the ability to put powerful functions at your fingertips, like advanced scrolling capabilities and customizable buttons.
To connect your mouse to your laptop, follow these simple steps. They’ll get you started quickly and easily.
Table of Contents
1. Plug the Mouse Receiver into a USB Port:
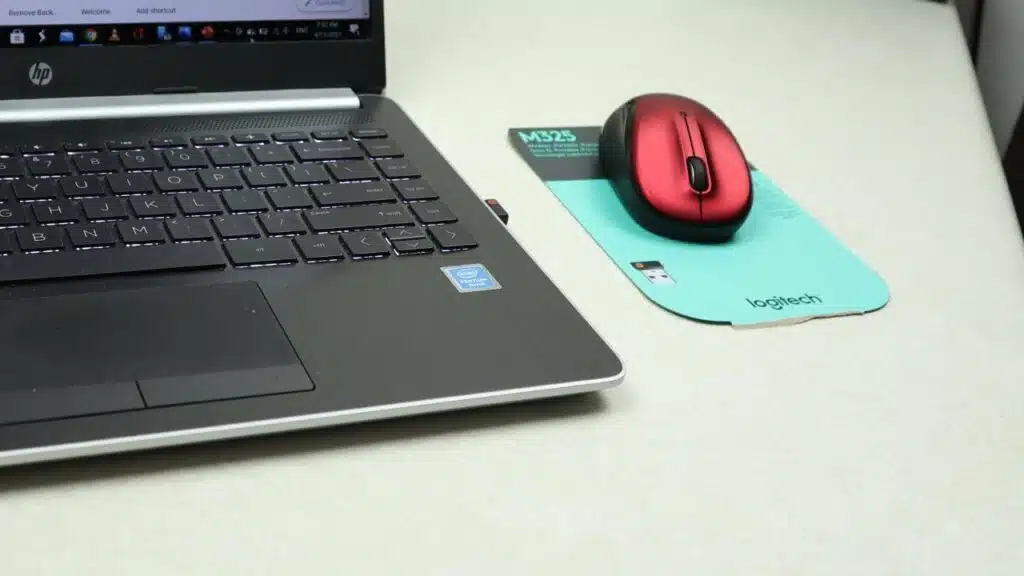
A USB mouse has a tiny receiver that plugs into a USB port on your laptop to make it wireless. It’s usually a small, almost flush device that can be left in when you travel or stored inside the mouse for easy transport.
It works by sending signals to your laptop via Bluetooth. Some mice come with a special connection button that you press to pair the device with your laptop.
Alternatively, you can also use a software tool to pair the device. Some programs will scan the web for compatible devices and download their drivers automatically.
It’s important to remember that the USB port on your computer must be compatible with the USB receiver bundled with the mouse. For example, a USB 2.0 port will not work with a mouse that requires USB 3.0 or higher speed.
2. Turn on the How to Connect Mouse to Laptop Wireless:
If you have a laptop that isn’t wireless, or if your mouse doesn’t work with Bluetooth, you may need to connect the mouse to the computer via USB. Plug the receiver bundled with your mouse into one of the USB ports on your laptop or desktop.
Also, If the receiver is plugged in correctly, the tracking light on the mouse will illuminate and your cursor should move.
Also, If your cursor doesn’t move, there may be something blocking the optical sensor on your mouse or receiver.
If the problem persists, try a different mouse or receiver. If your wireless mouse has batteries, replace them with fresh ones.
3. Pair the Mouse:
Also, If you have a Bluetooth mouse, it’s easy to pair it with your laptop wirelessly. No extra software is required, and Windows handles most of the pairing process.
A Bluetooth mouse connects to your computer by using its built-in antenna. Once it’s paired, it automatically connects each time you use it.
Some mice also have a receiver that you plug into a USB port. The receiver converts the wireless signal into a standard USB connection your computer can understand.
The receiver is usually found on the underside of the mouse, and may also have a storage container inside for batteries. Make sure the batteries are fresh and installed correctly.
Then, move your mouse around the screen to check if it is connected. If you see the cursor move on the screen, it’s paired. If it doesn’t, try unplugging and replugging the receiver or changing the USB port into which it is plugged.
4. Turn on the Laptop:
Also, A wireless mouse transmits radio signals that encode information about your movements and the buttons you click. This signal is received by a receiver, which usually plugs into a USB port or installs into one of the many expansion slots on your computer.
The receiver then decodes the RF signal and sends it to the operating system as normal. The receiver can be a separate device that plugs into your computer, a card installed in one of the expansion slots, or a component that is built into your computer’s motherboard.
Some laptops have a button or switch that you can slide to turn the wireless network on and off. These buttons or switches are often labeled with a wireless icon that looks like waves coming off of a circle or line.
If your laptop is not detecting any wireless networks, you may have accidentally turned the Wi-Fi off. Try turning it on again using the same instructions.


Add comment