
Table of Contents
How To Connect Roku To TV Without HDMI?
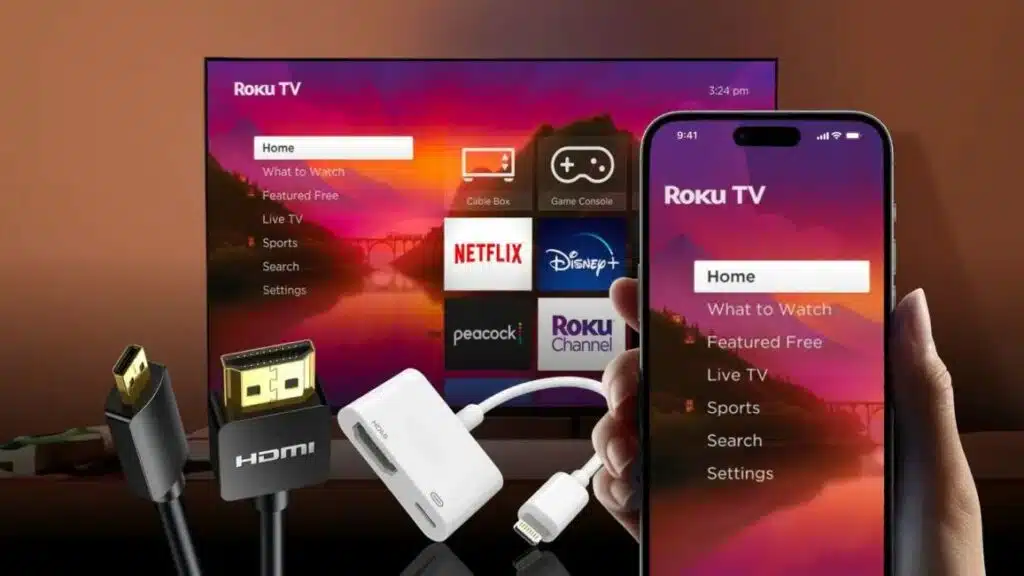
How To Connect Roku To TV Without HDMI? Many older TVs don’t have HDMI ports. However, Roku players and sticks can be connected to these TVs using different adapters.
These adapters bridge the gap between digital and analog allowing Roku to connect to older TV models using composite, component, S-Video, or VGA connections. Follow this guide to get your Roku connected!
Composite:
For older TVs without HDMI ports, you can connect Roku through the component and composite inputs. These are typically located on the back of the TV and look like three RCA cables (yellow, white, and red). You’ll also need to use an HDMI-to-composite converter.
Before connecting, make sure both the TV and the Roku are turned off. If your TV has a VGA port, it’s important to note that this only transmits video, not audio. Once the cable is plugged in, you’ll be prompted to choose an input and agree to the user agreement.
Next, plug the adapter into power. The HDMI to SCART adapter linked above uses a USB power cable, but most of these types of adapters work with any powered USB cable or adapter. Then, plug one end of the red component cable labeled video into the adapter’s PR port. Finally, plug the other end of the red component Cable into your TV’s Component port and change the TV’s input to this port. Roku will automatically detect this change and power it on.
Component:
Using a component cable (or an HDMI to component converter) you can connect Roku to TVs that have composite ports. You can also use this method if your Roku device has a SCART port, which is commonly found on older TVs. First, plug the Roku device into a power source. Depending on the model, this may require a micro USB cable. Some adapters have a USB port for power, but it’s best to use a wall outlet that provides sufficient current.
Next, connect the adapter’s composite cables to your TV’s composite input ports. They’re typically color-coded, and you must ensure that each cable is plugged into the appropriate port. If the Roku’s PR port is labeled Video, for example, you should plug a red component cable into that port.
After connecting to your TV, Roku will ask you to update its software. Follow the on-screen instructions to do so. Once it’s updated, your Roku will begin streaming media to your TV. If you have a voice remote, it will ask you to pair it with the TV.
S-Video:
If you have a very old TV that has S-Video ports, you can connect your Roku to it using an HDMI to S-Video adapter. However, the quality of this connection will be low and you won’t be able to watch HD content.
Plug one end of the power cable into the adapter’s Power port and the other end into a working wall outlet (if the cable is USB, it may need a powered USB port on your TV or a USB power adapter).
Connect the adapter’s composite cables to the matching color-coded ports on your TV. Make sure they are plugged in tightly and securely, and that the RCA/composite switch on the adapter is set to NTSC or PAL as appropriate for your region.
Turn on your TV and the Roku player or stick. Follow the on-screen prompts to connect to your Wi-Fi network.
If the TV asks for a password, enter it using the on-screen keyboard and select Connect. The Roku will begin downloading the latest software and preparing to stream media. Once this process is complete, the Roku logo animation should appear on the screen.
VGA:
Roku can connect to TVs that do not support HDMI using a powered converter box. Component, S-Video, and VGA connections can also be used with the correct adapter. Make sure the adapter is sufficiently powered by connecting its power cable to a wall outlet.
Connect the other end of the adapter’s composite cables to your TV’s RCA ports. These are usually color-coded, so be sure to match them correctly. Lastly, plug the adapter’s audio port into the TV’s audio input port. This is typically a 3.5mm headphone-type jack and may be labeled as such on your TV.
Now that your adapter is connected, it’s time to connect the Roku. First, ensure the Roku is powered by plugging its power cable into a wall outlet. If it’s a streaming stick, it can be plugged directly into the adapter. If it’s a set-top box, use an HDMI extender cable to reach the adapter. Lastly, plug the Roku’s HDMI connector or cable into the adapter’s HDMI port, ensuring it is secure.
DVI:
If you have a Roku stick (model 3810) or older model, you’ll need a powered HDMI-to-SCART adapter to convert the digital signal into the analog signals your TV can understand. This kind of cable adapter has two types of connectors on each end, so it won’t pass along higher resolutions or audio.
Plug the small end of the power cable that came with the adapter or a separate USB-compatible power cable into the adapter’s Power port and the other end into a working wall outlet. If the power cable is USB, ensure it’s connected to a working USB port on your Roku box or stick.
Connect the other ends of the adapter’s composite cables to your TV, ensuring they’re properly plugged into the correct ports for their colors. Then, connect the audio cable to your TV’s audio-in port, typically a green port near the DVI or VGA port you connected earlier. Adjust your TV’s input to Component, and you should see the Roku logo appear on-screen. Wait a few seconds while the Roku system updates its software.


Add comment