
How to Connect the Computer to the Printer Wirelessly:
If you want to connect your printer to your network, you’ll first need to install a wireless network adapter. Once you have this, you can then add the printer to your network.
However, there are some limitations of wireless connections, such as the fact that they can only send and receive information in half-duplex mode.
Adding a wireless printer to a laptop:
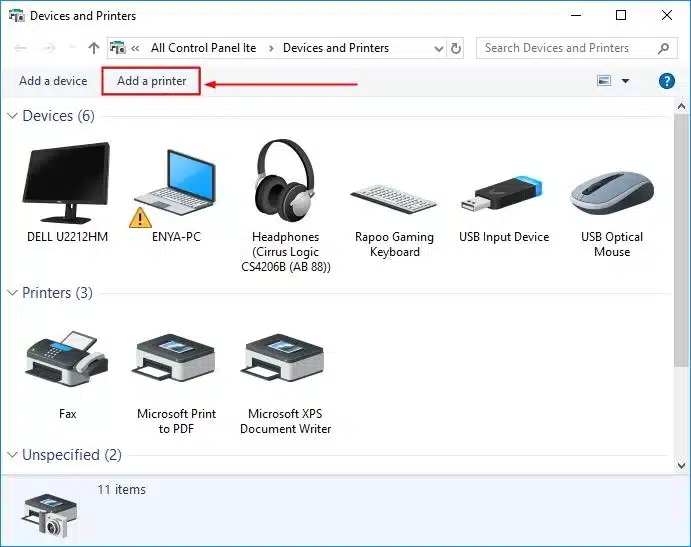
When adding a wireless printer to your laptop, you have a couple of options. If you use Windows, you can choose “Add a device” or “Add a printer.” Windows will then ask you to install a printer driver.
Once it’s installed, you can print to the printer from your laptop just like you would from any other printer.
The only difference is that you’ll have to make sure that the printer is powered on and connected to Wi-Fi. Also, you’ll need to insert the paper into the printer’s paper tray.
If you’re using Windows 11, you can add a wireless printer from the Control Panel. In the left panel, click the Start button and select “Settings.” Select “Printers and scanners.”
Select “Add a device.” Then click on the “Add device” button. Windows 11 will automatically detect the printer and set it up for you.
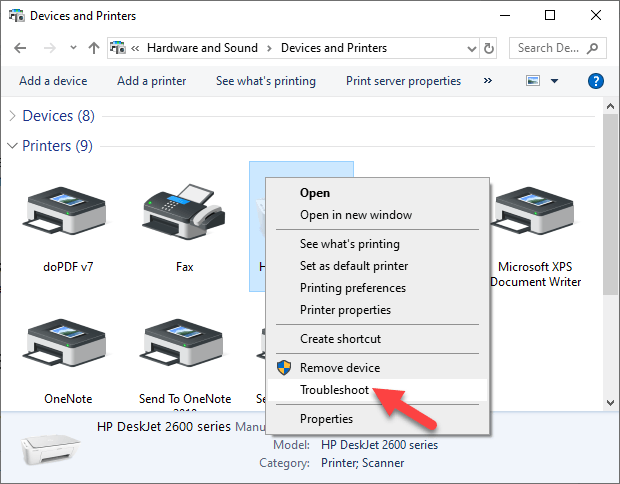
If you’re using a Mac, you can also add a network printer to the printer list. In the Control Panel, click on “View devices and printers.” In this window, click on “Add a printer” and type in the IP address, TCP/IP address, or hostname of the printer.
How to connect the computer to the Printer wireless Adding a wireless printer to a home network:
If you have a wireless printer, you can add it to your home network easily. The printer has a special WPS button that you can use to connect to your network.
Press this button and hold it for 5 seconds. After it has detected your network, tap OK. The printer will remember the settings you’ve previously set.
Next, you need to configure the How to connect the computer to the Printer wireless connection. Choose the Wi-Fi Auto-Connect option. After selecting the option, you’ll be asked to enter a security key.
Once you’ve done this, the printer will start the process. Ideally, the connection will happen immediately, but if it takes longer, you can always contact your Internet Service Provider for help.
First, make sure that your PC is connected to the same wireless network as the printer. Then, open your printer software and click “Add Device.”
Click on the printer name to open the printer’s properties. Once the printer is added to your network, you’ll be able to print from any PC or device that has an Internet connection.


Add comment