
If you are looking to connect to a VPN, Windows 10 has an easy-to-use built-in client that makes it fast and simple.
Start by logging into your Windows 10 computer as an administrator and open the Network & Internet window. Next, select Add a VPN Connection.
Table of Contents
1. Open Network & Internet:
Windows 10 is a great operating system, but it can also be a pain if you don’t have a good network connection.
Fortunately, Windows 10 has a solution for this problem that can help you get online as quickly and securely as possible.
The first step is to open the Network & Internet section of the Control Panel. This section is where you can set up a new Ethernet, WiFi, or VPN connection.
In the next window, select Add a VPN Connection to create a virtual private network (VPN) connection.
Choose the VPN type you want (usually PPTP or L2TP) and then enter your public IP address or dynamic DNS address in the Server name or address box.
You should also configure port forwarding on your router so that it knows to send out traffic to the VPN server.
2. Click How to Connect VPN Windows 10:
If you’re using a VPN service, most of them have an intuitive Windows 10 app that makes it easy to set up. But if you’re not using an application, it’s possible to connect a VPN manually in Windows 10.
To start, click the Network icon on the taskbar and then select Settings > Network & Internet. From there, click VPN.
Now, enter the server name or address (if applicable), VPN type, and sign-in information. You can also set a password if you’d like the extra security.
If your VPN provider allows it, you can choose a custom connection name for the VPN in the “Connection Name” field. However, this is not recommended for security reasons.
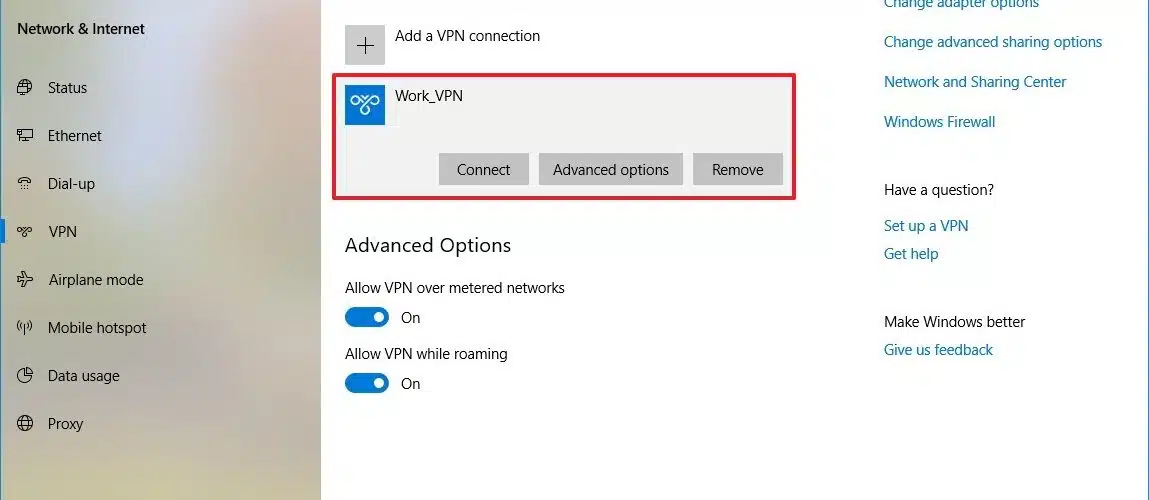
3. Select Add a VPN Connection:
A VPN (Virtual Private Network) is a great way to access files and resources remotely and securely.
For example, a VPN server can allow employees to access their office network and files from home or other locations without having to connect to the company’s internal network.
However, it’s important to remember that a VPN needs to be set up correctly in order to work properly.
For example, if the VPN connection is automatically set up by Windows 10 and isn’t working properly, it’s a good idea to check that the connection is properly configured.
To do this, first, you need to know the public IP address your Internet service provider assigns to you. You’ll need this information to make a connection with your VPN server.
4. Enter the required information:
Using a VPN can protect you from hackers and other cybercriminals. It can also help you avoid Internet Service Providers (ISPs) that may share your data with advertisers and the government.
Fortunately, Windows 10 offers built-in support for VPNs. However, the process can be a little daunting for those who are new to setting up VPNs.
To get started, open Network & Internet and select VPN from the menu.
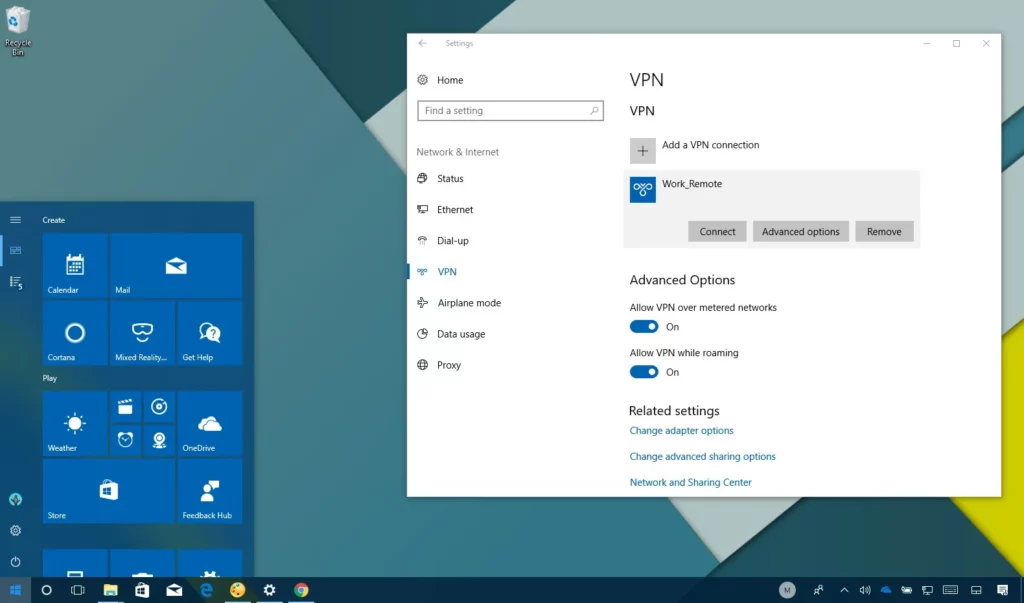
Once you’ve selected Add a VPN Connection, you should see a configuration screen that asks you to enter the required information.
This includes the VPN provider, server name or address, and type of VPN. You will also need to choose the type of sign-in info and add a username and password for extra security.
5. How to Connect VPN Windows 10 Click OK:
Before connecting to a VPN, Windows 10 will ask you to select which type of protocol you want to use. The four most common are PPTP, L2TP/IPSec, SSTP, and OpenVPN.
The type of protocol that your VPN uses is a critical part of its security. It determines how secure your data is and how quickly you can connect.
If your VPN uses PPTP, it’s recommended that you avoid it as it has known security vulnerabilities. If your VPN provider uses SSTP, L2TP/IPSec, or IKEv2, it’s best to choose one of those instead.
Once you’ve selected your VPN connection, click OK on the Network & Internet settings page. It should appear in the list on the right side of the screen. If it doesn’t, you may need to run a troubleshooter.


Add comment