

Table of Contents
Windows 10 WiFi Connected But No Internet? Here’s What to Do?
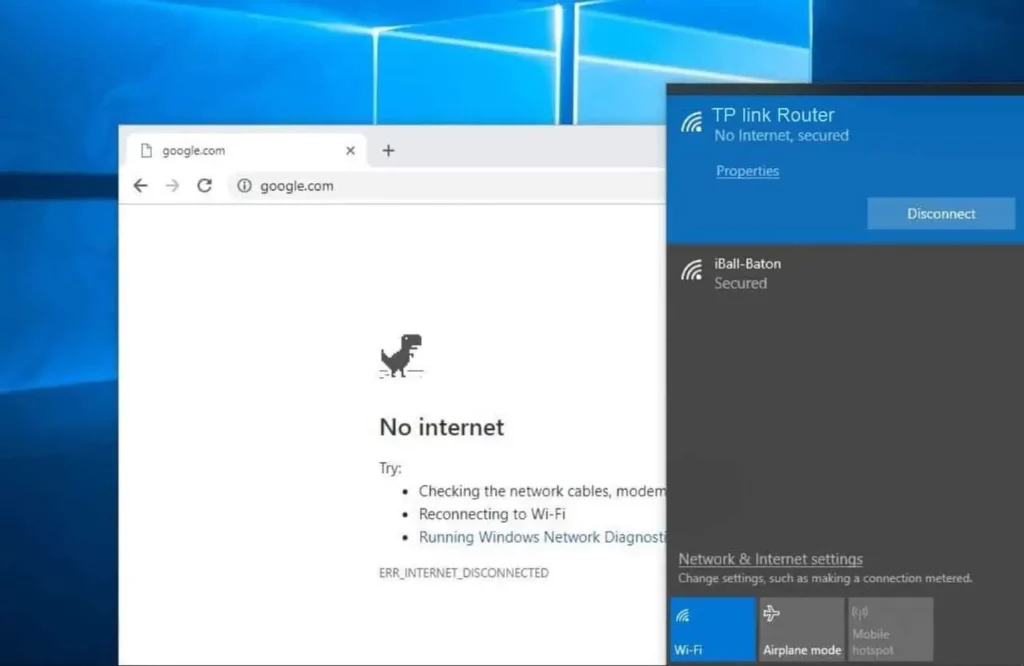
Windows 10 WiFi Connected But No Internet? If you’re running Windows 10 and your WiFi icon shows “Connected” but you can’t get online, here are some tips that might help.
Start by updating your WiFi network adapter drivers. You can do this by opening Device Manager, expanding the Network Adapters section, and then right-clicking on your wireless adapter.
1. Check your network connection:
Once you connect to a Wi-Fi signal, Windows records and remembers a lot of information about it. That can be good, but it can also trip you up if anything about the network changes and Windows doesn’t update its records accordingly. If your computer has old information about your network connection and it’s acting strangely, you can try erasing that data to get everything back in working order.
The easiest way to do this is by running the built-in troubleshooter. It will analyze your system for errors and help you fix them. You can also use third-party software tools such as Malwarebytes and CCleaner to scan your system for malware that could be blocking your internet connection.
Another option is to reset your network settings. This can be done by opening the Command Prompt as an administrator, and typing “netsh winsock reset” or ipconfig /flushdns”. You can also try updating your drivers to make sure they are up-to-date. You can do this by going to the Device Manager, selecting your network adapter, and then clicking the “Update driver” button.
2. Check your router:
If your Windows 10 device is connected to WiFi but has no internet access, likely, that your router isn’t working. In this case, you’ll need to reset your router.
This can fix many different problems, including faulty drivers, DNS issues, and WiFi adapter issues. To do this, press the Windows key and X at the same time, then click Command Prompt (Admin).
When you’re done, restart your computer and see if it’s able to connect to WiFi. If not, try another method or contact your ISP for help.
If you’re unable to connect to WiFi, it may be because you’re using a metered connection. To check this, go to Settings > Network & Internet > Wi-Fi, then make sure the “Set as metered connection” switch is off. This should fix the problem and allow you to connect to WiFi again. If not, you should call your ISP and ask for a refund of your monthly bill. You should also make sure your router has an updated firmware version to ensure it works properly with your system.
3. Check your network adapter:
Once your PC connects to a Wi-Fi signal, it records and remembers a lot of information about that signal. This can be useful, but it also means that if anything changes about the signal — such as its name or its type of connection — your computer might get confused and stop working correctly.
If your PC is showing that it’s connected to WiFi but you can’t access the Internet, this could be because your network adapter has an outdated driver. You can solve this problem by using the Windows 10 built-in Device Manager to update your network drivers.
To do this, open Device Manager, expand the Network Adapters section, and then right-click on your network adapter. Click Update Driver and follow the instructions to install the latest driver for your network adapter. Once the driver is updated, restart your PC and see if you can connect to WiFi and access the Internet. This method should work on most Windows 10 devices. If it doesn’t, try another solution. If your Windows 10 WiFi is Connected But No Internet issue persists, try using a malware scanner like Malwarebytes to remove any files that might be blocking your connection.
4. Check your network settings:
Some computer problems can be caused by outdated network drivers. To fix this, download the latest driver from your manufacturer’s website and install it. Once you’ve done that, restart your PC and see if the problem is fixed.
You can also try changing your network settings to fix this issue. For example, you can change the power plan to “High Performance” or disable DHCP on your wireless network adapter.
Another thing you can do is to change your DNS server settings. This is important because if your DNS servers aren’t working properly, it can cause internet connectivity issues. To do this, go to your computer’s Properties window and click the Internet Protocol Version 4 (TCP/IPv4) properties button. Then, select the Use the following DNS server addresses option.
You can also try disabling your antivirus software and other security programs to see if that fixes the problem. This is because antivirus software can sometimes interfere with network connections and cause problems like this. If none of these methods work, you may need to reset your network settings.
5. Check your internet connection:
When you get this error message, it usually means that your computer is connected to a WiFi network, but it’s not getting any internet data. This can happen for a variety of reasons, including an outdated or corrupted DNS server or a faulty network adapter driver.
To fix this, you’ll need to clear your DNS cache and reset your IP address. To do this, open your network connection settings and double-click on the network you’re connected to. This will open a new window with information about the network. Click the Change adapter options button, then select Internet Protocol Version 4 (TCP/IPv4) from the list.
From here, you can set up your own DNS servers or let Windows choose them for you. Once you’ve done this, you should be able to connect to the internet without any issues. If not, try resetting your router or trying one of the other solutions in this article.


Add comment