
Table of Contents
How to Connect Canon MG3600 Printer to WiFi Without WPS?
How To Connect Canon MG3600 Printer To WiFi Without WPS? Now that you have your new Canon printer, you want to start printing things. But before you do, you need to know how to connect it to your WiFi network.
Fortunately, this process is simple. Follow these steps to set up your Canon MG3600 printer and connect it to your Wi-Fi network.
1. Turn on the printer:
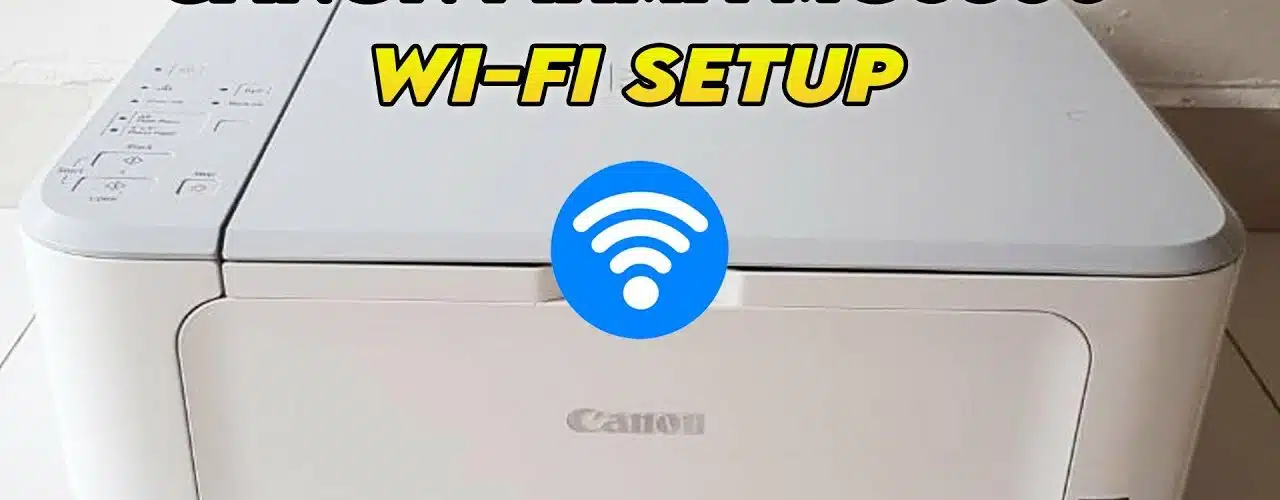
The Canon Pixma MG3600 printer is a wireless inkjet printer series with a variety of Wi-Fi connectivity features. It is a great choice for home use or light office needs. It is capable of printing documents and photos with high-quality results, and it has a reasonable cost per print for photos. Its user-friendly design makes it easy to set up and use. However, setting up the Canon MG3600 printer to WiFi can be tricky if you are not familiar with the process. To avoid any issues, follow the steps below to get your printer connected.
Before you start, make sure that the printer is turned on and that the WPS button on your router is accessible. This will allow the printer to automatically connect to your wireless network. The Wi-Fi and on lights will flash as the printer searches for available networks. Once it has found a network, the lights will stop flashing and the power light will remain lit.
If the printer cannot connect to your wireless network, try the following steps:
Check that the power and USB cable are securely plugged into the machine and the computer. Check that the wireless signal is strong and that there are no obstacles between the machine and the router. You may need to change the channel on your wireless router. Also, be aware that security software on the machine may interfere with wireless communication between the machine and the network.
2. Press the WPS button on your router:
WPS (Wi-Fi Protected Setup) is a wireless network feature that allows devices to connect to a router without using a password. It’s a simple way to connect wireless devices, such as printers, to your home or office network, and can be used on most wireless routers. To use WPS, first locate the button on your router and press it. The router will then begin looking for devices that want to connect to it. If it finds your device, it will connect to the network and you can start printing.
The location of the WPS button varies from one router to another, but it is usually on the back of the router or near the power button. It may be labeled “WPS,” or it may have an icon that looks like two arrows in a circle interrupted by a dash. To use the button, you will need a computers or other device with a web browser and an Internet connection.

Once you’ve pressed the button on your router, wait for a few minutes. The router should then connect to your wireless network and display a success message. If you don’t see a success message, try entering the eight-digit PIN on your computer or other device that is connected to the router. If the PIN is correct, the LED on the router will stop blinking and stay on.
3. Wait for a few minutes:
If you are having trouble connecting to WiFi without using WPS, try waiting for a few minutes. This can help your printer connect to the network more quickly. Moreover, it will ensure that all the components of your wireless router are working properly. It will also save you from wasting time trying to troubleshoot the problem. Keeping your drivers updated is another way to make sure that your Canon printer is functioning well.
The WPS button on the router allows you to connect devices to your wireless network without a password. This is especially useful if you have many devices, such as computers, tablets, or smartphones. In addition, it can be used to connect devices to your home Wi-Fi system that are difficult to reach or require a wired connection.
However, you should be aware that the WPS button is not a secure method of connecting to your wireless network. It may expose your router to attacks and can be abused by hackers to gain access to your wireless password.
To avoid this, you should disable WPS on your router. If you don’t want to disable it, you should consider changing your WiFi security settings to protect your home from attackers. You should also change the wireless password on your router. If you are not familiar with how to do this, you can consult your router’s manual for instructions.
4. Restart the printer:
There are a few easy steps to follow to connect your printer to WiFi without using WPS. The first step is to make sure that your wireless router and printer are both on. Then, make sure that the wires connecting the printer to the network are not cracked. After that, you can try to connect your printer to your Wi-Fi again. If this doesn’t work, you may need to restart your router and printer.
If the above tips don’t work, you can also reset your printer to factory settings. This will clear all of the existing settings and make it easier to connect your printer to WiFi. You can find the instructions for your specific model on the Canon website. The process for resetting your Canon printer is similar to that of resetting your computer. To start, turn off your printer and disconnect the power cord. Unplug it from the wall and wait a few minutes. Then, plug it back in and turn it on.
Then, press and hold the Wi-Fi button on your printer for about three seconds. The lights next to the Wi-Fi button should begin blinking. Once the printer locates a wireless network, the light will stop blinking and become solid green. You can then connect your printer to the wireless network by launching the Canon Print Inkjet/ SELPHY app and selecting your network.


Add comment