

Table of Contents
How to Connect Canon Printer to WiFi TS3522?
How To Connect Canon Printer To WiFi TS3522? In the digital age, wireless printing is becoming increasingly important. It allows you to print documents and photos from any device within your Wi-Fi network’s range.
To get started, you’ll need the network name and password for your home or office Wi-Fi router. These credentials can be found on the label of your router or accessed through its web-based settings.
Setup:
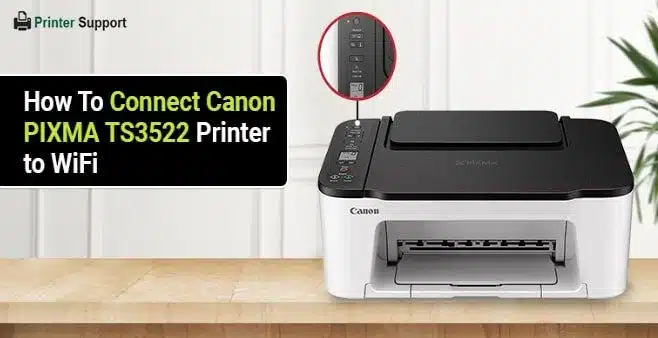
The Canon PIXMA TS3522 is a wireless inkjet printer that allows you to print from anywhere on your home network. It is compact and makes high-quality prints in black & white, as well as documents. It can also scan and copy documents. The device can connect to a WiFi network using the Canon app installed on your phone or tablet. The process is simple and requires only a few steps. To start, make sure your router supports Wi-Fi standards. Ideally, your router should support both the 2.4GHz and 5GHz bands. The TS3522 can connect to either of these, but it’s better to use the 2.4GHz band for stability.
After you’ve finished setting up your computer, plug the power cord into the back of the TS3522 and plug it into a wall outlet. Remove the ink cartridges from the packaging and insert them into their respective slots. Then, load a stack of paper into the rear tray and align the edges with the paper guides.
Once your printer is powered on, press the Wi-Fi button located on its control panel. The Wi-Fi light will begin flashing. Then, open the Canon PRINT Inkjet/SELPHY app on your mobile device and follow the on-screen instructions to register the printer on your wireless network. Once the printer is registered, you’ll be able to print from anywhere on your home network.
Troubleshooting:
Before beginning the wireless connection setup process, it is recommended that you make sure the printer and your network router are turned on. You should also have the SSID and password for your wireless network handy. Typically, this information can be found on the network router itself or by accessing your router’s settings in a web browser.
During the setup process, your printer will begin searching for and connecting to your wireless network. The search will likely take a few minutes, and when the connection is complete, the ON light on your printer will stop flashing.
If you encounter issues with the connection, there are a few things that can be done to resolve them. First, make sure that your network router and the printer are both connected to the same Wi-Fi network. Then, verify that the network names and passwords are identical. You may also want to try restarting the printer. If this does not resolve the issue, you may need to contact your wireless provider.
Once the connection is established, you can print from your Canon TS3522 using the Canon PRINT Inkjet/SELPHY app on your smartphone or tablet. The app offers a variety of features, including mobile printing and cloud printing. You can download the app from the Apple App Store or Google Play. It is recommended that you keep the printer close to your router to minimize signal loss and interference.
Reset:
The Canon TS3522 wireless printer offers the convenience of printing documents and images from any location in your home. This all-in-one printer connects to your Wi-Fi network so that you can print from any computer, smartphone, or tablet. If you’re experiencing problems with your printer connection, there are a few troubleshooting tips that may help.
First, make sure that your printer and router are compatible with each other. The Canon TS3522 is designed to work with 2.4GHz and 5GHz networks, but you’ll want to double-check your router specifications. Additionally, you’ll want to make sure that your wireless connection is stable and that no other devices are sharing the same network with your Canon TS3522 printer.
Another tip is to check for available printer software updates. Installing the latest version of the software can resolve compatibility issues and improve printer performance. You can also try restarting the printer and clearing the print queue to resolve connection problems.
If you still have difficulty connecting your Canon TS3522 printer to your WiFi network, you can always contact the manufacturer’s support channels for personalized assistance. Depending on the issue, they may be able to help you resolve the problem quickly and easily. In addition, you can also consult the user manual for the device to find out more information about the connection process.
FAQ:
Having a printer that seamlessly connects to your wireless network is invaluable in today’s digital age. It allows you to print documents and photos from the comfort of your home or office without being tethered to a single location or device. But setting up your printer to print over Wi-Fi can be complicated, especially if you’re a newbie. Fortunately, there are some simple tips you can follow to get your Canon TS3522 up and running in no time.
The first step is ensuring that your printer and router are both compatible with each other. The router is the brains behind your wireless printing, connecting it to the outside world and distributing that information throughout your home or office. For this reason, it’s important to keep your printer within a reasonable distance from the router and away from obstacles that can weaken your Wi-Fi signal. You may also want to consider using a router with built-in Wi-Fi signal extenders or boosters to improve your wireless coverage.
Once you’ve confirmed that your router and printer are compatible, the next step is installing the necessary software. To do this, you’ll need to download the Canon PRINT Inkjet/SELPHY app on your smartphone or tablet. Once the app is downloaded, select it and then click “Connect to a Network.” A question asking if you’d like to search for networks will appear; choose yes.


Add comment