
Table of Contents
How to Connect Canon Printer to Wi-Fi?
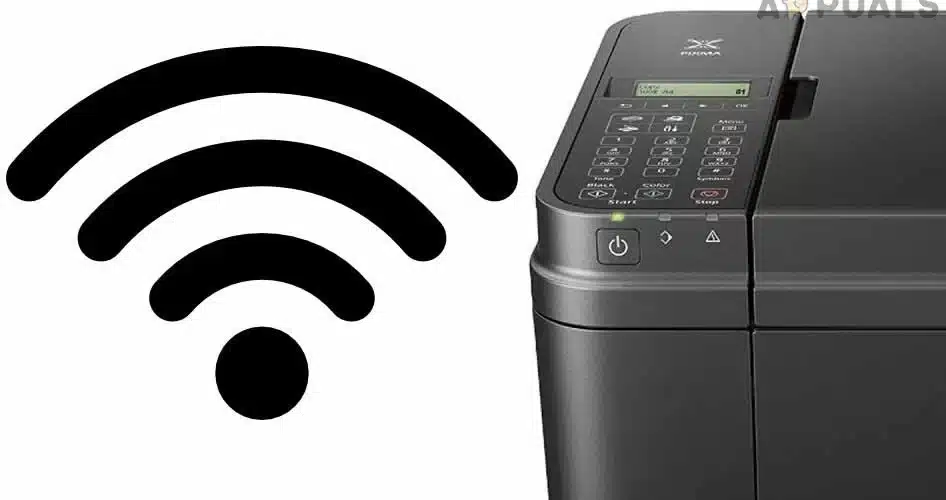
How To Connect Canon Printer To WiFi? Printing wirelessly makes sense for modern homes and offices. It eliminates the need for cable wrangling and USB port juggling.
If you’re ready to make the switch, connecting your Canon printer to WiFi is fairly simple. There are a few different ways you can do it, depending on your printer and router type.
1. Turn on your printer:
If your printer isn’t already connected to a wireless network, you can use the printer’s bundled software or the operating system’s built-in wizards to set up the connection. This process will vary depending on the make and model of your printer, so consult your user’s manual for specific instructions.
Most Wi-Fi-capable printers will display a notification on their LCD screens when a compatible wireless network is in range; simply select the network and follow the prompts to connect. You may be prompted to enter your Wi-Fi password, so it is important to have this information handy.
You can also connect your printer to the internet using its WPS (Wi-Fi Protected Setup) mode. The router and printer share a PIN, which is broadcast during the WPS setup process, allowing the devices to communicate with each other. This method may take longer than connecting the device manually, but it is often easier. To use this method, turn on your printer and make sure it is within range of the wireless router. Press and hold the Wi-Fi button until a menu is displayed, then select LAN Wirele Connect To A Wireless Display Windows 11ss Setup.
2. Press and hold the Wi-Fi button:
If you’re using a wireless printer, make sure it is powered on and that the LAN indicator light is lit. Now, press and hold the Wi-Fi button on your printer until the light flashes blue. The Canon printer will now search for the wireless network and connect to it.
The WPS push button functionality found on many contemporary routers and devices is a convenient means of quickly establishing a secure connection to a network, without the need for entering a complex password. This method is recommended when integrating your device into an existing Wi-Fi network.
To connect your Canon printer to your home wireless network, first open the printer menu and select ‘Home’ from the touchscreen interface. Then, press and hold the Wi-Fi button until the orange light flashes twice. Afterwards, select the LAN Wireless Setup option and press OK. The printer will now search for the available networks and will connect to the one with a corresponding name. The power and Wi-Fi lamps will stop flashing once the connection is complete. This can take up to 2 minutes.
3. Select LAN Wireless Setup:
The printer will begin searching for Wi-Fi networks. When the light next to the Wi-Fi button starts flashing, it means that the printer has found your network and is ready to connect.
You can connect your Canon printer to the internet using the LAN (local area network) function, which allows you to print directly from your smartphone or tablet. This method uses a WPS setup process, which allows you to connect the device quickly and easily without having to enter an SSID or password.
Once you have connected the device to the internet, you can use the Canon PRINT app or PIXMA Cloud Link to print from anywhere in the world. This is a great feature if you travel often and need to work from home or a hotel.
Make sure that your computer and printer are both connected to the same wireless network. You can also connect the printer to a wired connection if necessary. You can use a USB-A to USB-B cable to connect the printer to your computer. Once the installation window appears, select LAN Wireless Setup and follow the on-screen instructions.
4. Enter your Wi-Fi password:
Canon printers are great devices that allow you to print photos and documents from anywhere in the world. They also offer a variety of other features, such as scanning and copying documents. To get the most out of your Canon printer, you’ll need to connect it to Wi-Fi. This will allow you to print from your computer, tablet, or smartphone without using wires. However, if you’re having trouble connecting your printer to Wi-Fi, there may be several issues that could be causing it. One issue is that your printer may not be asking for a password or has an internal error that prevents it from connecting to the internet.
To solve this problem, try updating the drivers for your printer. You can do this by downloading the latest driver from the Canon website and following the instructions for installation. Another option is to reboot your printer. This will help fix any errors that may be preventing it from connecting to the internet.
Finally, you can also try entering your Wi-Fi password again. Most wireless routers/gateways have a label that shows the default credentials. If you can’t find them, look in the device’s documentation.
5. Click OK:
During the wireless setup, you’ll need to connect your Canon printer to your home Wi-Fi network. To do this, press and hold the Wi-Fi button until it flashes twice, then release it after the second flash. Then, follow the on-screen instructions to finish the setup.
Leasing a Canon multifunctional printer (MFP) is an excellent choice for office infrastructure. These devices provide high-performance printing, scanning, and copying. They also have advanced features that simplify document workflows and automate digital filing processes. In addition, some models feature 10.1-inch touchscreens that are responsive and intuitive.
Canon printers are widely regarded as the best in terms of quality and functionality. Their inkjet printers are more cost-effective than other competitors because they offer a higher color page yield. Plus, their Canon MegaTank models have easy-to-refill ink tanks and high-capacity paper trays that help reduce costs even further. Browse a wide selection of Canon all-in-one printers at Lenovo to meet your specific needs. You’ll find the right model to fit into any office.


Add comment