
Table of Contents
How To Connect Epson Scanner To Computer?
How To Connect Epson Scanner To Computer? Ensure the scanner and the wireless network router are connected to the same Wi-Fi network. Note the SSID and password displayed on the scanner label.
Scan to a PDF file or e-mail. Select a destination registered in your product’s control panel, or follow the custom scan settings set in Event Manager.
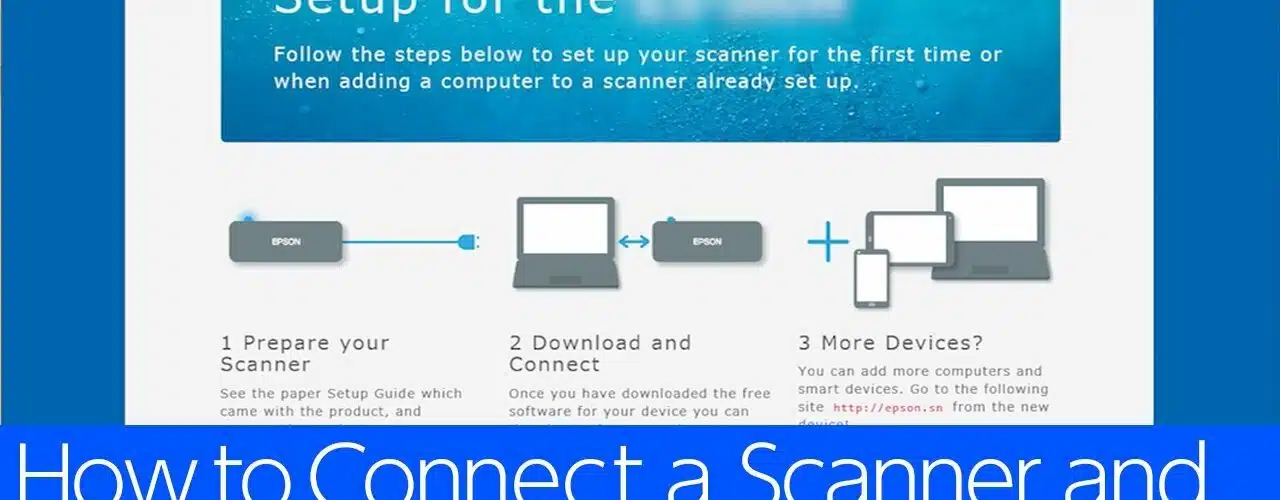
Connecting the Scanner to Your Computer:
Scanners can connect directly to a computer using a USB cable or over a wired or wireless network. This method works best if you have a reliable connection between the printer and computer, and you don’t mind losing a few seconds of speed in transferring the scanned file from the scanner to your computer. And has all the necessary drivers and software installed? This is especially important for wireless connections. The wrong driver or missing software can cause issues when scanning.
If you’re using a wireless connection, follow the instructions on your product’s Start Here sheet to install the printer or scanner software and your wireless network router’s SSID and password. Turn over the scanner’s label to find the SSID and password, then enter them into your wireless router and computer.
Once the network scanner is connected to your Computer, you can scan originals directly to your computer or send them to destinations registered on your product’s control panel via your wireless connection. You can also use Event Manager to set custom scan settings that automatically save scanned files in the destination you select.
The Copy button lets you use your scanner as a photocopier. See Using the Scanner as a Copier for more information. The PDF button allows you to save multiple originals as PDF files on your computer.
Connecting the Scanner to a Network:
Connecting your scanner to a network allows you to use it on the same wired or wireless (Wi-Fi) connection as your computer. This is especially useful if you have many computers that need to access the same scan functions, or if your scanner is located in a remote location away from the home or office where you work. To connect your scanner to a network, you need a router that supports the Wi-Fi protocol and a Network interface card installed on your scanner. Then, you need to install software on the client computer that enables it to connect to your scanner over the network.
Before you can start scanning, make sure that your scanner and the client computer are turned on and working properly. Also, you must be logged on to the client’s computer as an administrator. If you are using Windows XP, 2000, or NT 4.0, you must be a member of the Administrator’s group to set the network address for your product.
Open the Epson Scan 2 utility, or select the application icon for your scanner on your computer. When the utility opens, click the Scanner Settings button, place your original(s) on the document table, and choose the desired mode.
Then, follow the instructions for your selected mode. If you chose to save the scanned image as a PDF file, see Scanning to a PDF File for instructions. If you chose to send the scanned image as an email attachment, see Sending a Scannable File via E-mail for instructions.
Connecting the Scanner to a USB Port:
If you’re unable to connect your scanner to the network. You can use the product to scan directly to a USB device. Place the original on the document glass or ADF. Select a destination for the scan, and follow the instructions on the LCD screen to complete the scan process. When the scan is complete, the scanned image is saved to the external USB drive. You can also save the scan settings as a custom preset.
Make sure the USB cable is securely connected to the product and a working electrical outlet. If you are using Windows, make sure your scanner’s name appears under Imaging device without a question mark (?). Or an exclamation point (!) in the Device Manager window. Make sure Epson Scan is installed on your computer and that it is running. And that the application you want to send scans to is selected in the Send to this program list.
If you’re using a Mac, open the Applications folder and select Epson Software. Click the Epson Scan 2 Utility icon. If the Enable Editing button (Windows) or lock icon (Mac) is visible. In the Add window, select Search for Network, and choose your All-In-One printer or scanner’s IP address. Search for addresses or enter the network address in the Enter address setting and click Add.
Connecting the Scanner to a Wireless Network:
If you connect your scanner to a wireless network, you can scan documents directly to the cloud. This allows you to store them as JPEG or PDF files or send them as e-mail attachments. Scan to Cloud is available for select models of Epson scanners. See the product documentation for details.
To connect the scanner to a wireless network. First, turn it on and set the connection mode switch to the AP mode position. Select the SSID from the list of available networks on your router or access point. And then connect to the network. If your scanner supports WPS, you can use a push-button setup to make the connection.
After connecting the scanner to the wireless network, verify that it can communicate with your computer. Ensure that the router or access point does not have access restrictions (such as MAC address filtering). You can find the MAC address by using the method in the documentation provided with your router or access point.
Install the scanner driver software (Epson Scan 2) on your computer If the scanner is not listed, choose Add from Model, and then enter the scanner’s registration name in Name. If your scanner does not have a name, you can use the search feature to locate it. Or select Enter address and enter the IP address directly.


Add comment